How to Crop Images for Free in Preview on Mac
Cropping an image involves removing the unwanted edges of images to improve the framing and composition. Cropping an image is not the same as resizing. Many people crop images and videos frequently before they share them with others.
For example, let’s assume that you have a cat named Murat. You love Murat and Murat’s birthday is coming, so you want to take a good picture of him to use in his birthday invitation card. So you put Murat on your couch and snap a photo. But you are unhappy with the result because he only fills a small part of the frame. You want Murat to stand out in the photo; after all, he is the star. This is when you may want to remove the unwanted edges and objects in the frame to increase the emphasis on your subject.
In this article, I explain how you can crop images on your Mac. We won’t need to download any apps. We will use Preview, which is a built-in app that comes with your Mac. Here is how we can crop the image in Preview:
1. Locate the image you want to crop. I am going to crop the image below. (Note, this is not actually a photo of Murat.) As you can see, I want to crop this image because I want to draw people’s attention to the cat. Too many other objects in the image are unnecessary and distracting; I want the cat to be the main focus.

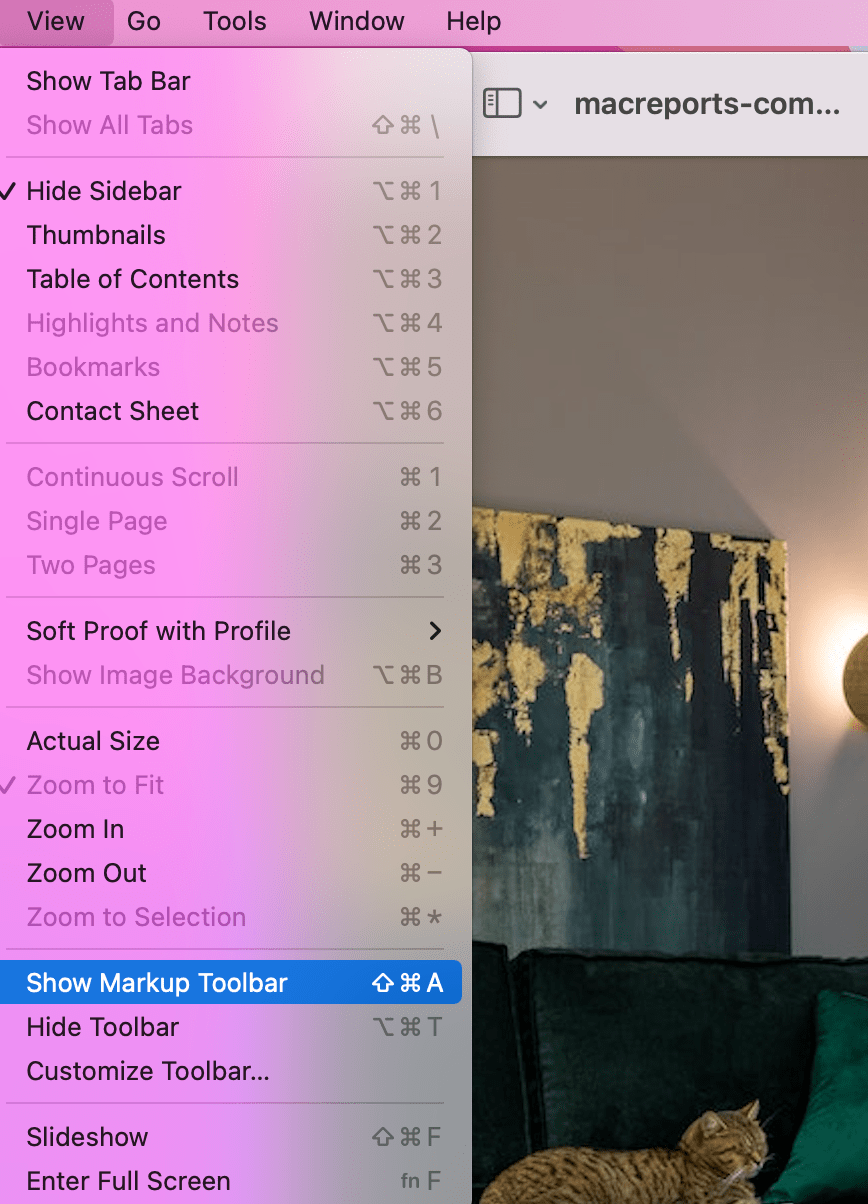
2. Open your image in Preview. If Preview is your default app for opening an image file, just double-click on the image file in Finder. If another app is your default image app, simply right-click (Control-click) the image and select Open With > Preview. After opening the image, click on View in the top menu bar and select Show Markup Toolbar (if it is not showing already). The Markup Toolbar options will appear now.
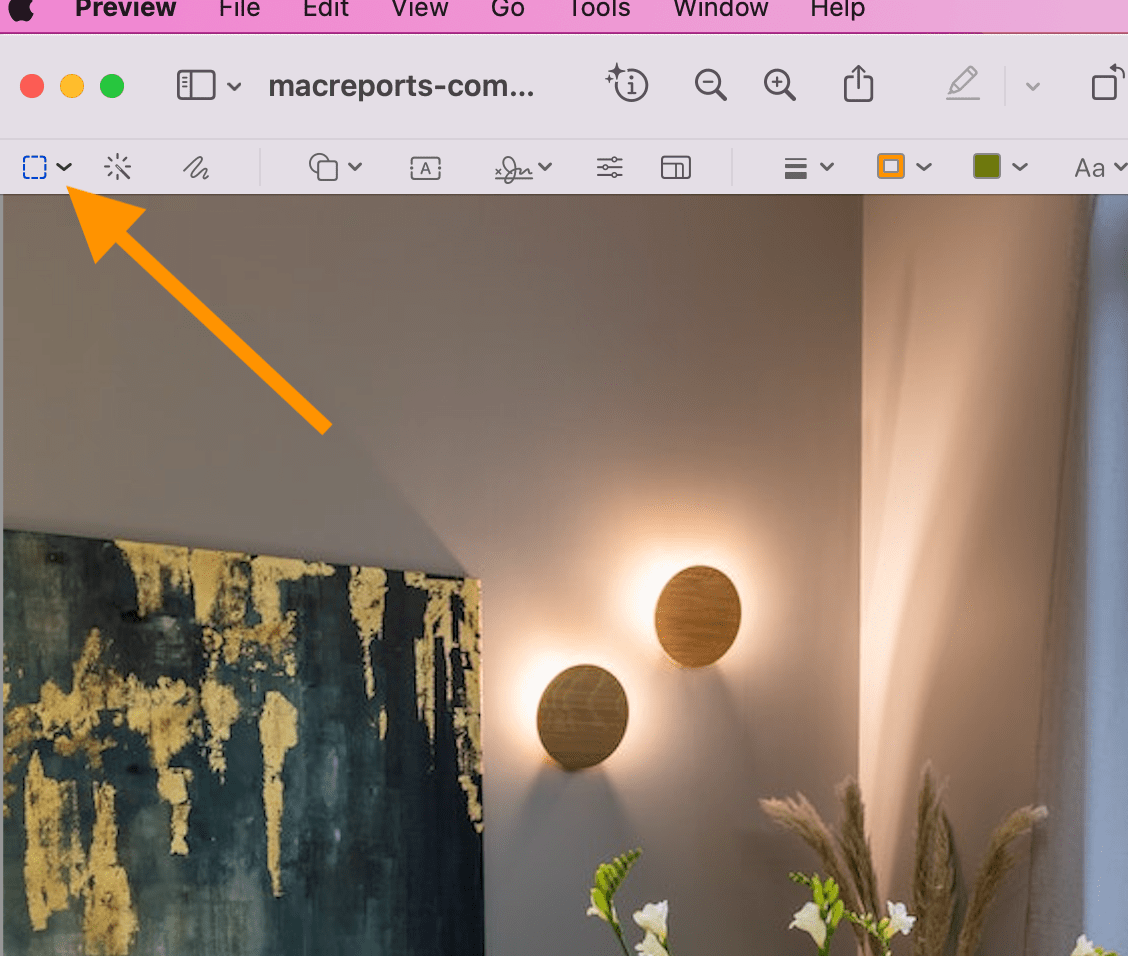
3. From the Markup options, select the Rectangular Selection button.
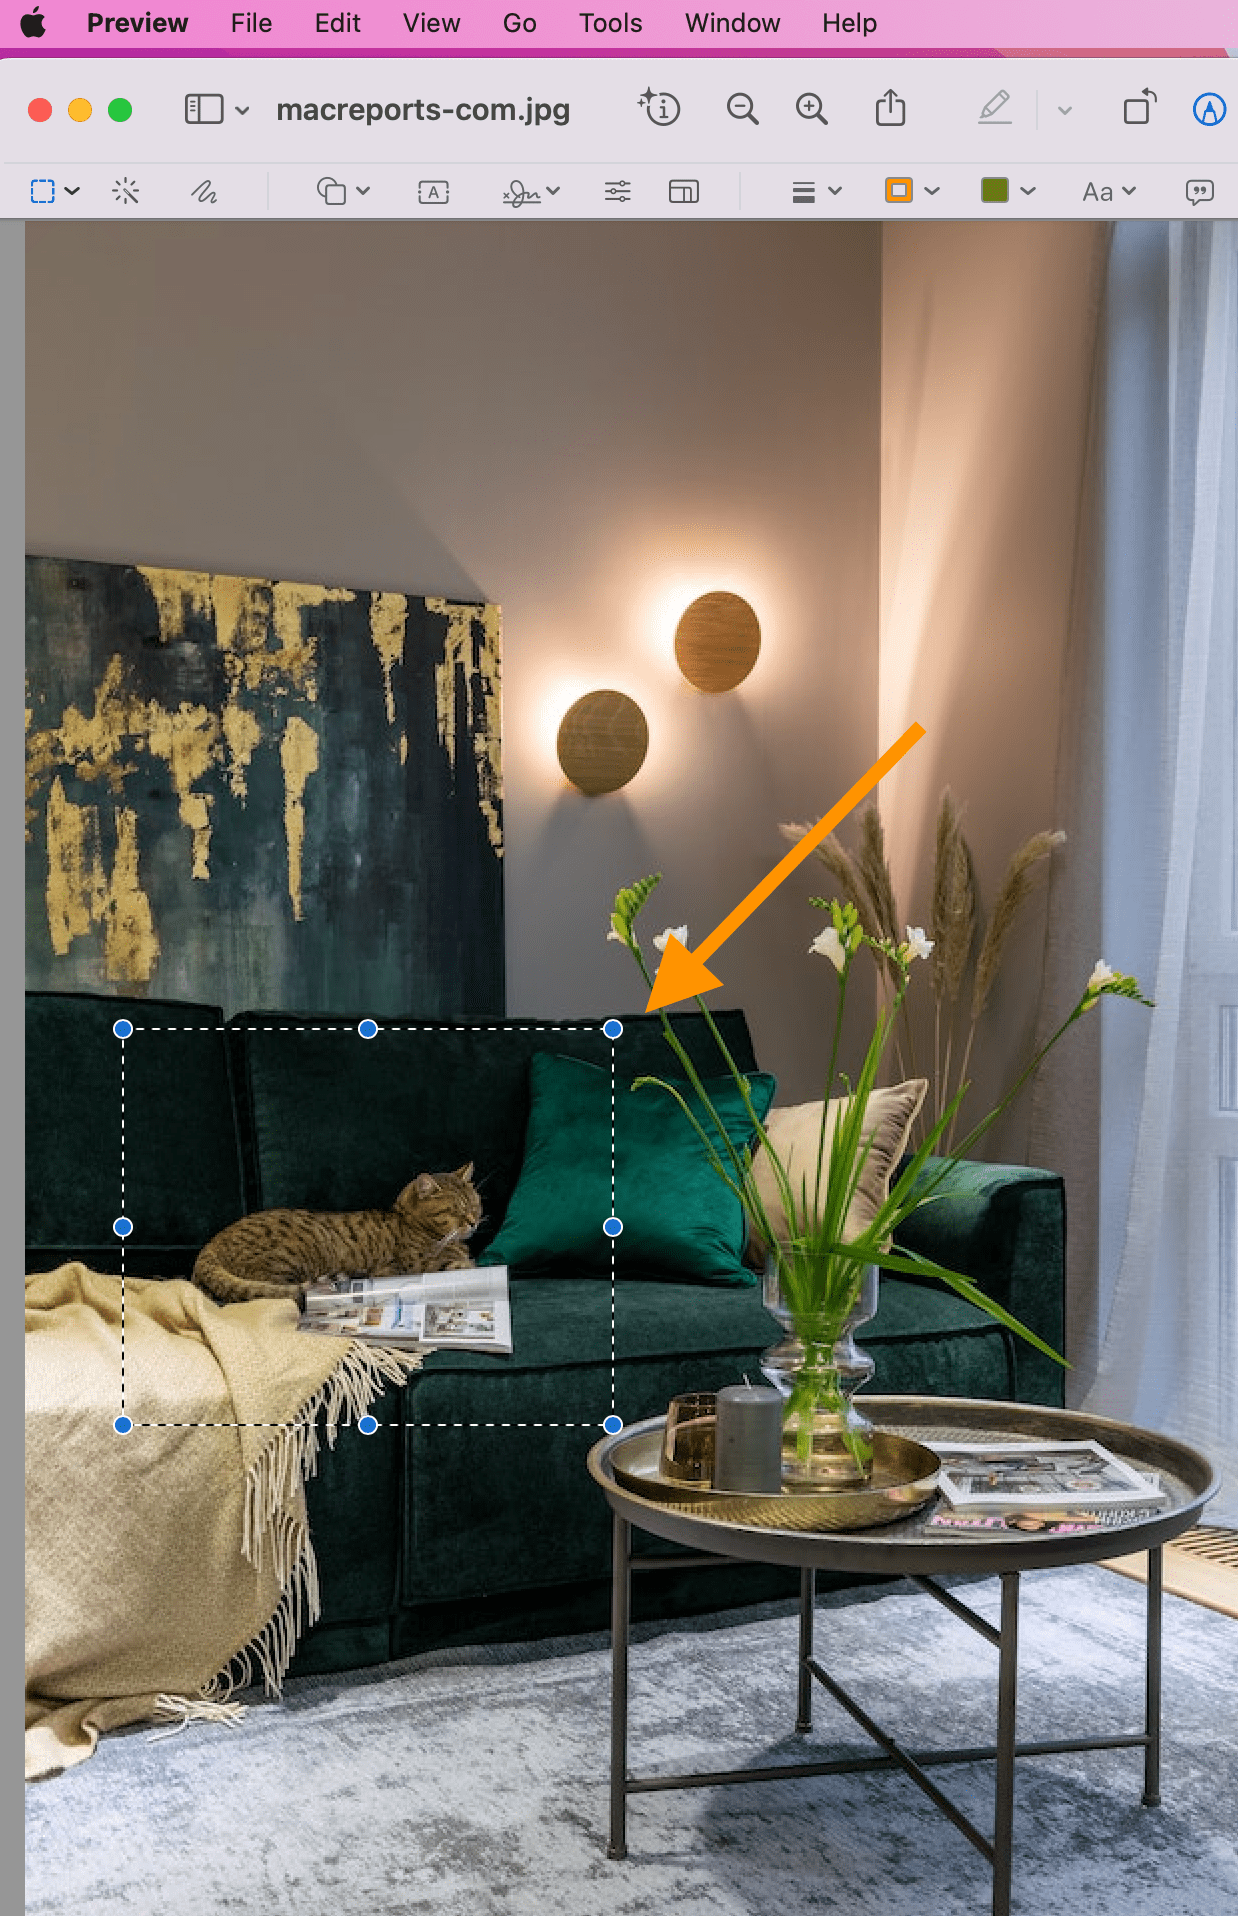
4. Select the area you want to keep. Unselected areas will be deleted. Since our focus is the cat, we will select an area around the cat. You can drag your pointer to adjust the rectangular size. You can also zoom in or out by going to the View menu if needed. As you can see below, I selected an area; the rectangular area has blue dots along the perimeter. You can use your mouse to click and drag on these dots to change the area.
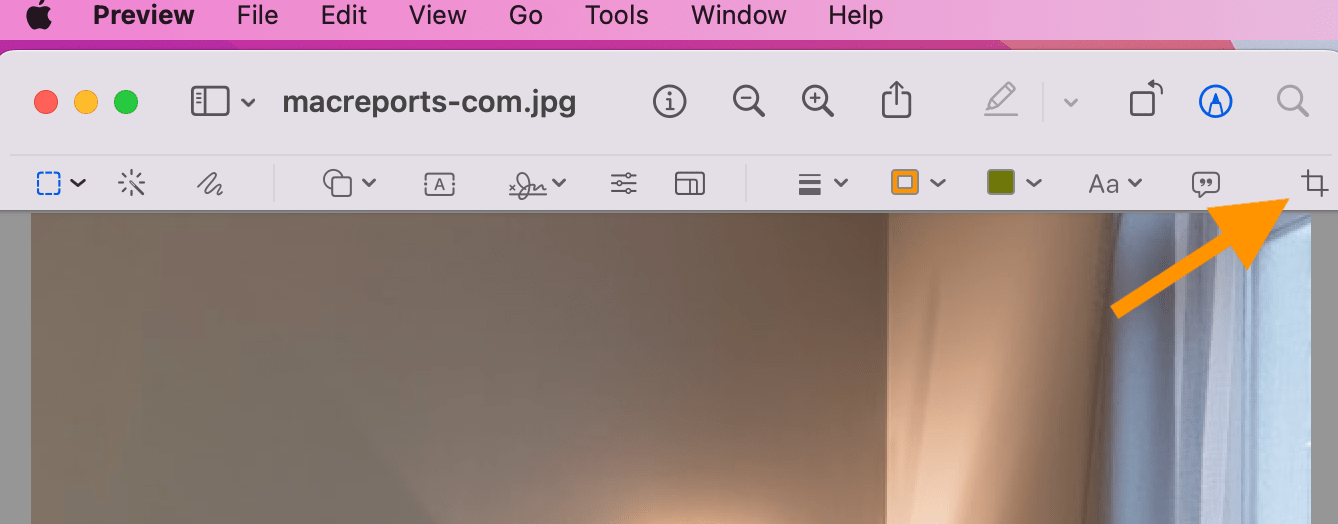
5. When you are ready, click the Crop button. When you click the button, the area outside of the selected area will be deleted.
6. The result looks like this:

7. If you are unhappy about the results, choose Edit > Undo Crop, and you will restore your image to the original version. If you have already saved the image, Undo Crop won’t work. Then you can go to File > Revert To > Browse All Versions.
Related articles

