Where Saved Audio Messages Go and How to Save Them Somewhere Else
You may send and receive a lot of messages. Some people just are more verbal than others. If you have friends like that, they tend to send a lot of voice messages instead of sending traditional texts. This is because they prefer speaking to typing.
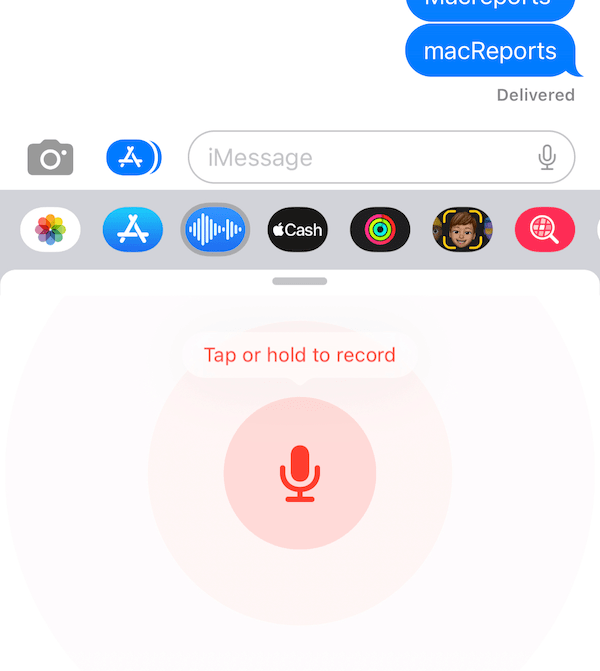
The Messages app on your iPhone and iPad lets you send voice messages to contacts and groups. You can save your sent or received audio messages. Saving an audio message is easy, however, you may not be able to locate your saved audio message. You can also copy and paste the audio message in the Files app. Lastly, you can keep the audio message in the message conversation until you delete it manually. In this article, I explain how you can do each of these.
Where are saved audio messages
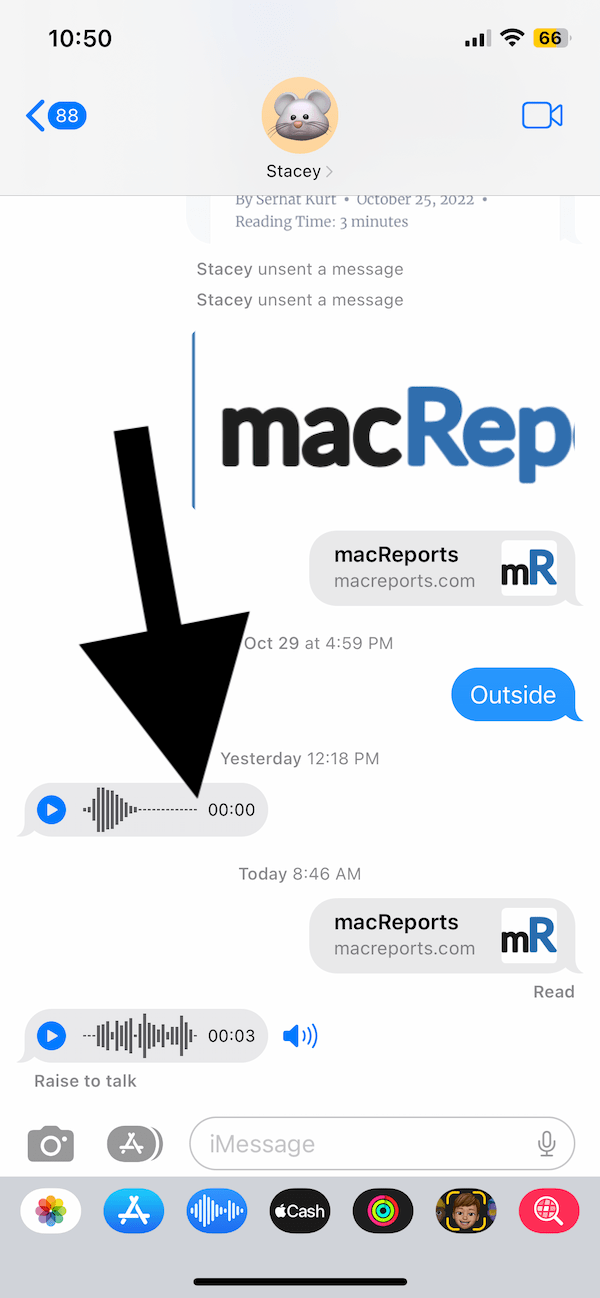
If you long press the Audio Message you sent or received, you will see the Save option. If you tap this option, as I explained above, the message will be saved in Voice Memos.
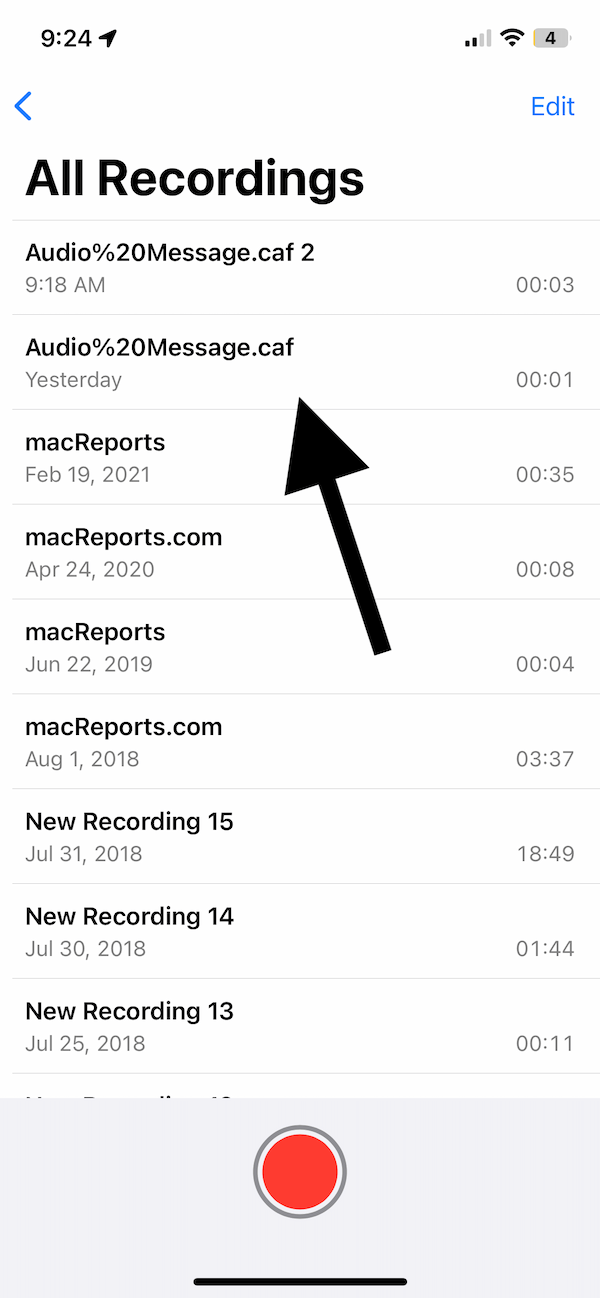
After tapping the Save button, there is no notification or message saying something like “saved.” You won’t even know for sure that your message is saved. But do not worry, your message is saved. After saving an audio message, it will be saved in the Voice Memos app. To access your message, open Voice Memos and tap All Recordings. Your message will be there. The saved voice items will have a caf extension. Caf extension files are audio files. The saved voice message will be named “Audio%20Message.caf”. If you have multiple message audio files, they will be named “Audio%20Message.caf 2” etc.
If you are using iCloud for Voice Memos, then your saved audio messages will sync across your devices that are signed into the same iCloud account. You can turn iCloud for Voice Memos off or on by going to Settings > [your name] > iCloud > Show All and enable or disable Voice Memos.
How to save your audio message in Messages
By default, audio messages are set to be deleted after two minutes of listening to them. After listening, you will see a Keep message under the audio message. If you tap Keep, the message will be saved in the conversation in Messages. You can also have the Messages app keep the audio messages by default. If you want to do this, follow these steps:
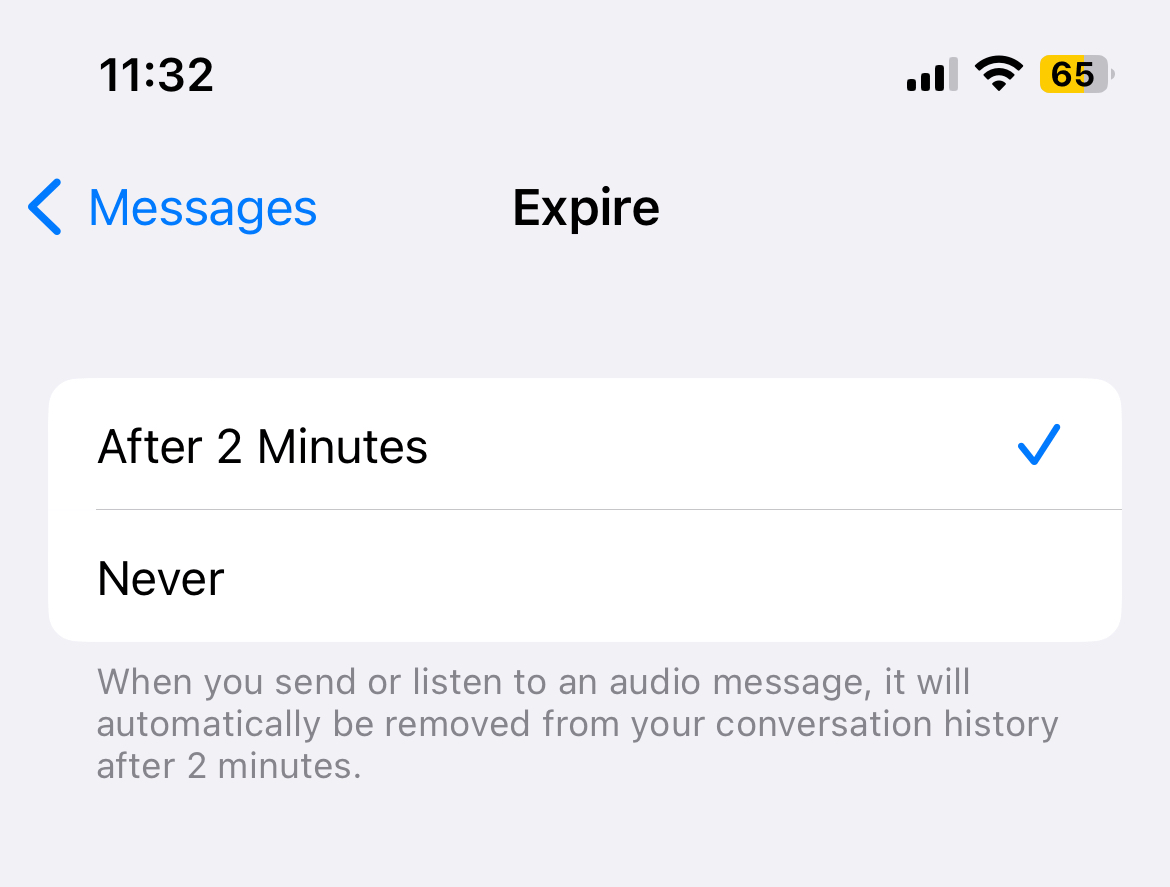
- Go to Settings > Messages, and tap Expire (under the Audio Messages section).
- You will see two options: Never and After 2 Minutes. Select Never. If you select this option, this will ensure that audio messages will never be deleted. You will always be able to access your audio messages from the Messages app.
How to copy an audio message and paste it in the Files app
You can also save your audio messages someplace else on your iPhone or iPad. For example, you can save them to the Files app or iCloud Drive.
- Open the Messages app.
- Tap and hold the audio message until the Options menu appears.
- Select Copy.
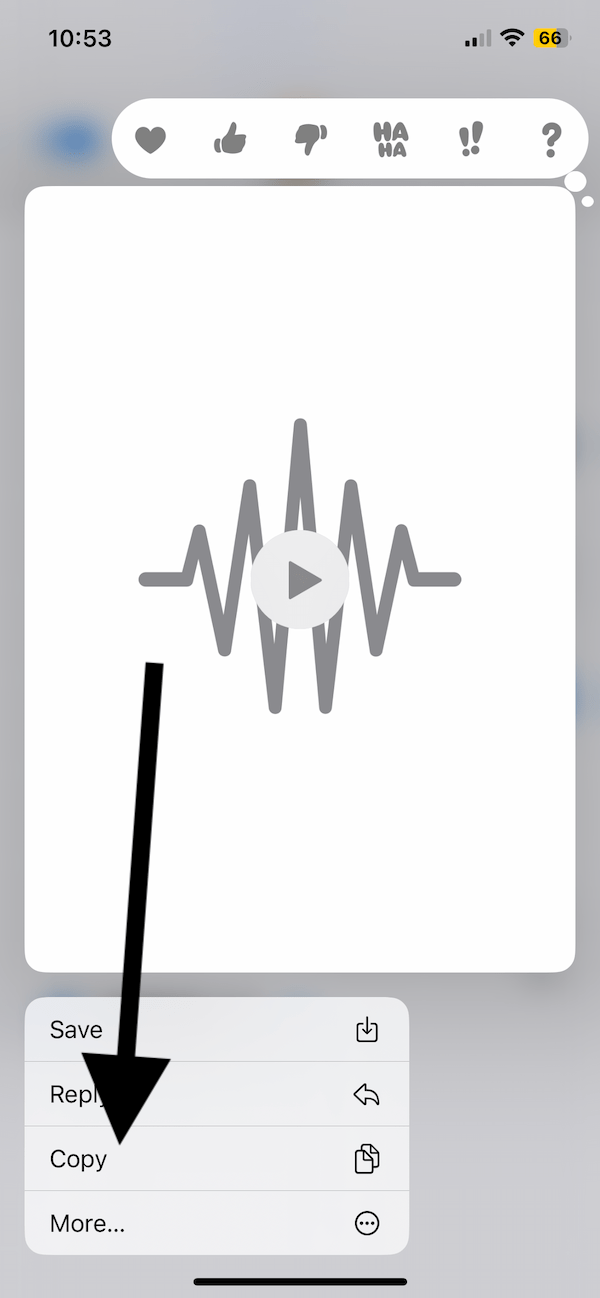
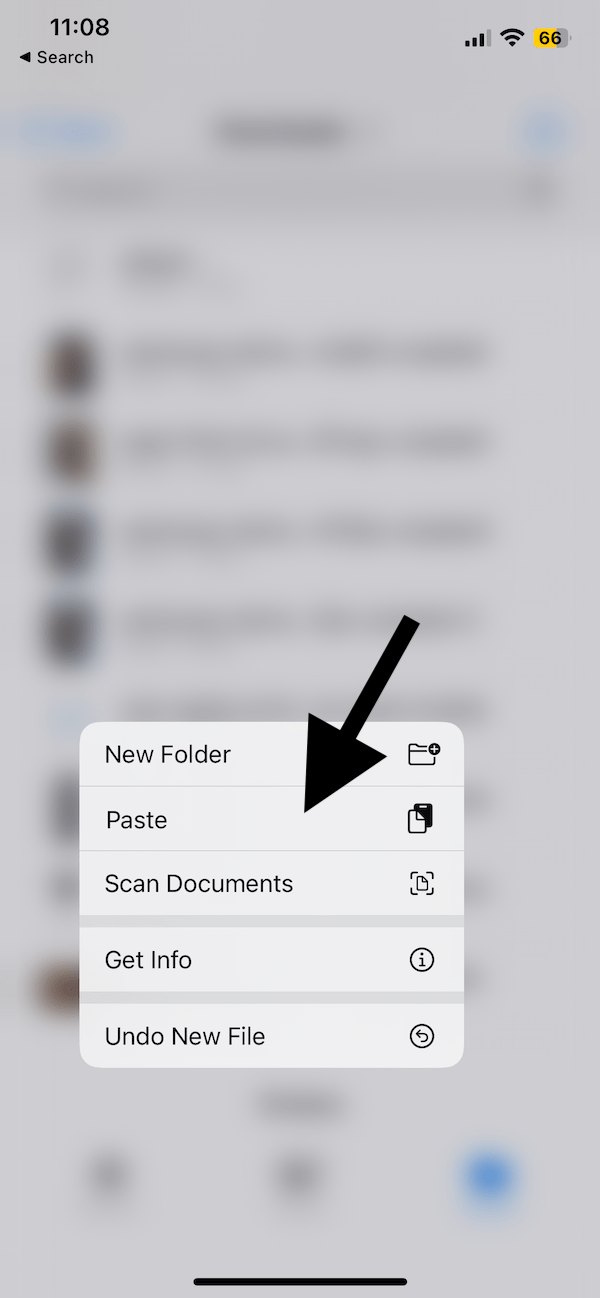
- Open the Files app and select a folder to paste this into, like On My iPhone, iCloud Drive or Downloads. You can also create a new folder if you want. Then scroll down and find an empty space, then tap and hold and select Paste. And the audio message will be pasted there in the selected folder.
Related articles


