How to Use iPhone Camera Modes when Taking Photos
If you’re like many people, you use your iPhone camera often – but you haven’t explored all of the various modes and effects available. The different iPhone camera modes and lighting effects can help you take excellent photos. In this article, we will go over the basic modes and lighting effects; We won’t cover all the detailed options you can find in the Camera app – and video modes will be covered in a separate article, but this article should get you set up with the basic tools you need to take some amazing pictures with your iPhone.
iPhone Camera Modes
Photo
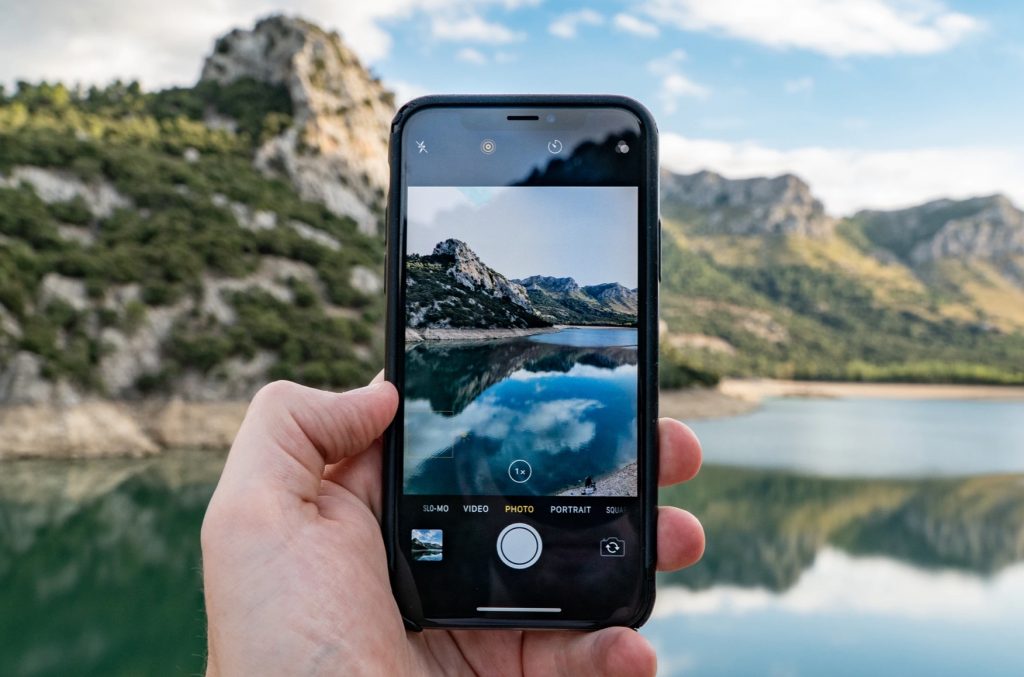
When you just want to take a simple photo, you can use Photo mode. Photo mode is the standard mode – the one that is automatically enabled when you open your camera app. With Photo mode, you can take both still photos and Live Photos. From Photo mode, you can also record a video using QuickTake.
Still Photos
To take a still photo, you can simply tap the shutter button  .
.
Live Photos
Live Photos is turned on by default. You will know it’s on when you see the Live Photos button  in the top-right corner of your Camera screen. Just tap the shutter button to take a Live Photo.
To turn off Live Photos, see How to Turn off Live Photos on iPhone and iPad.
QuickTake
If you have an iPhone XS/XR or later, you can use QuickTake to record a video from Photo mode – without having to switch to Video mode. To do this, just press and hold the shutter button for as long as you wish to keep recording. Releasing the shutter button ends the recording. If you have an older iPhone, pressing and holding the shutter button will take a quick burst of photos.
If you are running iOS 14 or later, you can also use the volume buttons on the side of your iPhone to record a video – just press and hold one of the volume buttons to record, then release to stop recording. This is especially convenient when you are recording with your iPhone in a landscape orientation (on its side, not upright). Note, if you have enabled “Use Volume Up for Burst,” then you can just use the Volume Down button for QuickTake.
Square
This does exactly what you would think – it limits your photo to a square shape. This is good for sharing in various social media apps.
- From Photo mode, tap on the arrow at the top-center of the screen.
- Below the view window, you should see a circle with 4:3. Tap on it.

- Tap on Square.
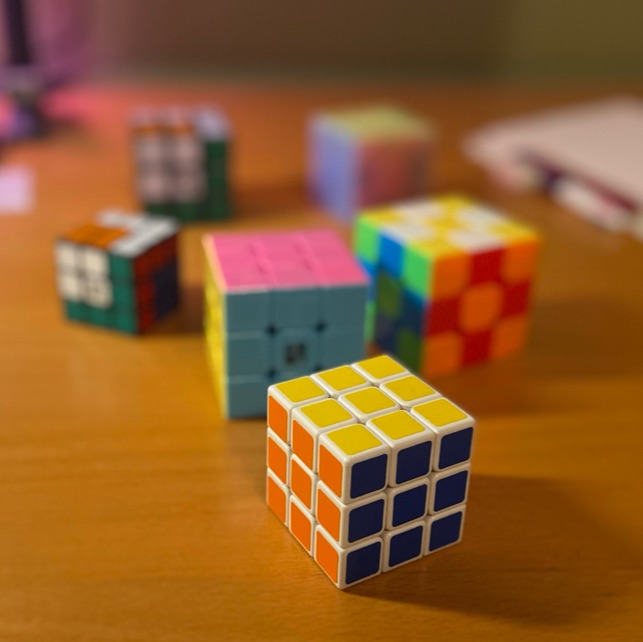
Portrait
When you use Portrait mode, the person, or subject, in the photo stays in focus while the background becomes blurred. Portrait mode is available on iPhone 7 Plus and later iPhones. For iPhone X and later, iPad Pro 11-inch, and 12.9 inch 3rd gen. and later you can also use Portrait mode with the front facing (selfie) camera.
To use this mode, swipe to change from Photo to Portrait mode in Camera, then follow any onscreen instructions about distance. The little box that usually, by default, says “Natural Light” should turn yellow, then tap the shutter button to take the picture.
Lighting Effects
This is an easy way to change the look of your photo. Lighting effects are available on iPhone 8 Plus and later iPhones. These effects can either be used while taking the photo, or added after you take the photo.
To use while you take the photo:
- You should see a little light cube image:
- In landscape orientation – inside the view window and to the left of the word “Portrait”
- In the upright orientation – Near the bottom of the viewing screen, right above where you see “Portrait”
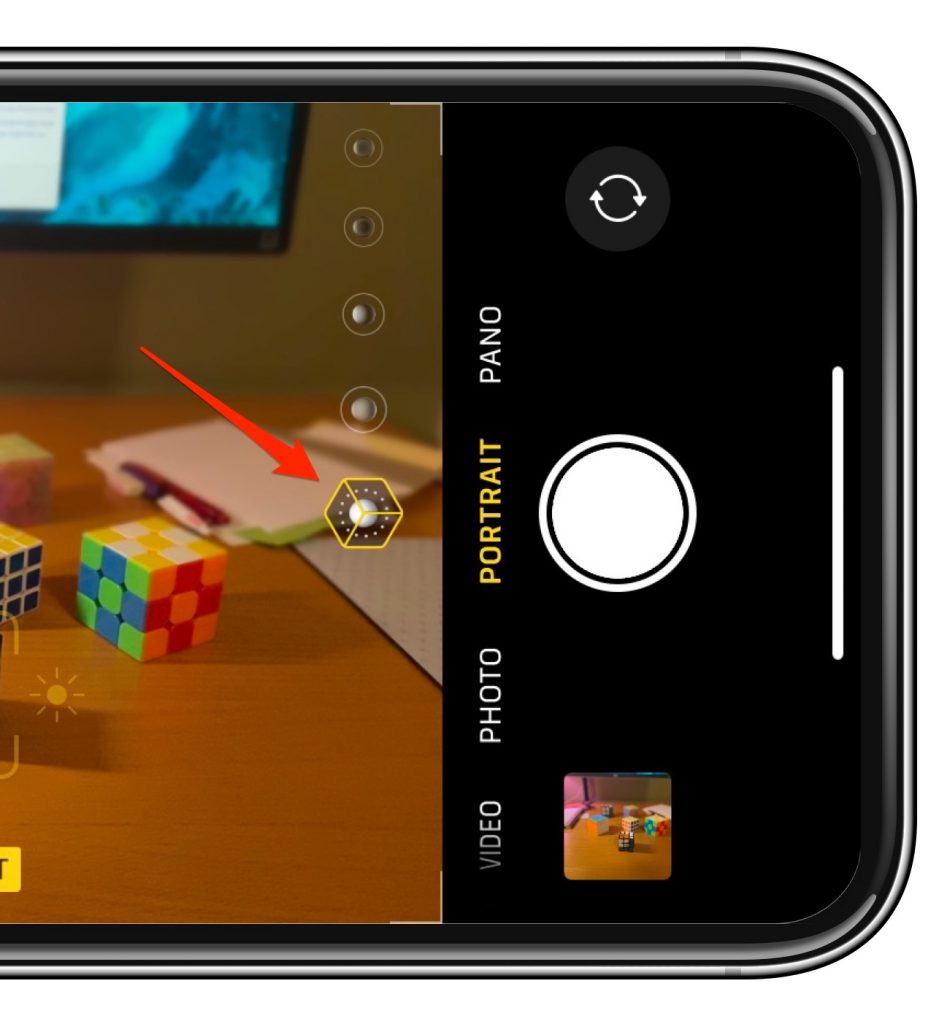
- Touch the screen on or near the light cube and swipe up and down (or left and right) to scroll through the lighting effects options.
To add after you take the photo:
- In the Camera app, open a photo you recently took by tapping on a photo image in the lower-left corner of the screen.
- If necessary, scroll through the photos near the bottom of the screen to find the one you wish to use. Then tap on Edit.
- Find the Light Cube image under the photo. Tap, then scroll left and right to move through the effects. Choose from:
- Studio Light
- Contour Light
- Stage Light
- Stage Light Mono
- With some models, you may also choose High-Key Light Mono.
Pano
Pano is how you take a panorama shot. To use Pano, swipe from right to left to change from Photo to Pano. Tap on the shutter button, then slowly move your iPhone in the direction of the arrow.
- Use the guide bar in the middle of your view to help you keep your iPhone aimed correctly; Keep the arrow on the bar, and watch for “slow down” messages.
- If you want to move from right-to-left, tap on the arrow to change its direction.
- Either continue moving your iPhone until the full panorama image is captured, or tap the stop button (in the shutter button’s spot).
Related Articles