How to Manage & Limit Cellular Data Usage On Your iPhone (iOS 9)
This article explains how to keep your cellular data usage in check on your device. This is important because you may not have an unlimited data plan for your iPhone as majority carriers do not offer unlimited data plans. Wireless carriers may charge overage fees when you exceed your data limit. And this fees can get expensive. For instance, according to a recent survey, more than 20% of Verizon customers stated that they paid an data overage charge in the past six months. 4G/LTE connections let users use a lot of bandwidth. Thankfully, iOS 9 lets you easily set cellular data limits. These iOS 9 settings will help you use as much data as you want to.
With proper configurations, you can control your data usage. So you can avoid paying overage fees.
Here is how to limit your cellular data use
1-iOS 9 has a built in data monitor feature. Go to Settings > General > Usage > Cellular Usage. You can see how much data you have used since the last time this statistics were reset (Cellular Data Usage section). What you can do is to tap Reset Statistics (scroll to the bottom) monthly, so you can see how much data you are using monthly. When you reset, you will see 0 byte under the Cellular Data Usage section. This will help you track your usage.

Some of your apps may use up a lot of your data. It is known that some social media apps use lots of data. This is where you can also control what apps have access to cellular data. This will let you see which of your apps are using up the most data. You can disable / enable your apps from using cellular data, if you want to. If you disallow any of your apps, this means that this particular app will connect to the Internet only when your phone is connected to a Wi-Fi network.
One exception is that you need to go to Settings > Cellular > System Services turn off cellular data for Exchange ActiveSync accounts.
2-If you are still going over, you may try the followings:
Automatic Downloads
- If you turn on Automatic Downloads, new content items (e.g. apps) that you buy will be automatically synced to all of your devices. You may turn Automatic Downloads off over your mobile network. To do this, tap Settings > iTunes & App Store and turn off the “Use Cellular Data” option.

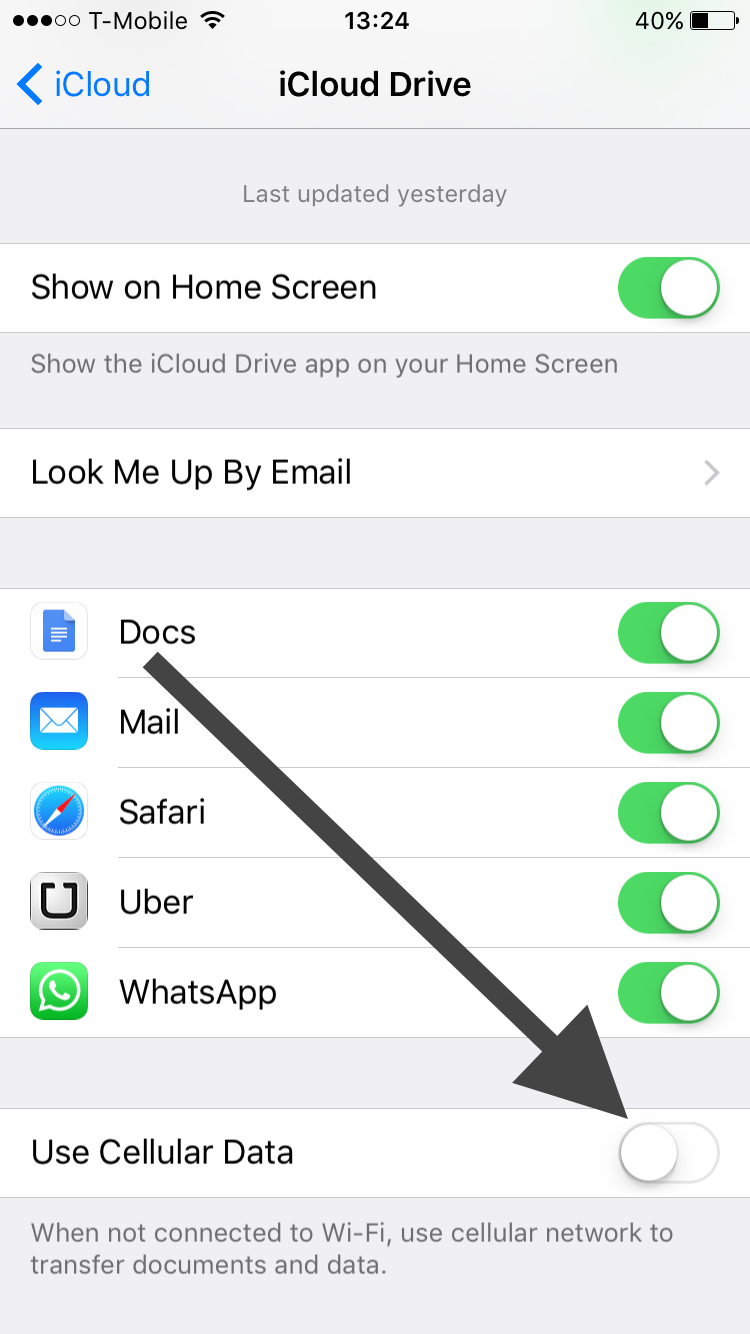
iCloud Drive.
- With iCloud, you can access all of your documents from all of your devices, like iPhone, iPad and Mac. You may prevent iCloud Drive from using cellular data. Simply go to Settings > iCloud > iCloud Drive and turn off “Use Cellular Data”
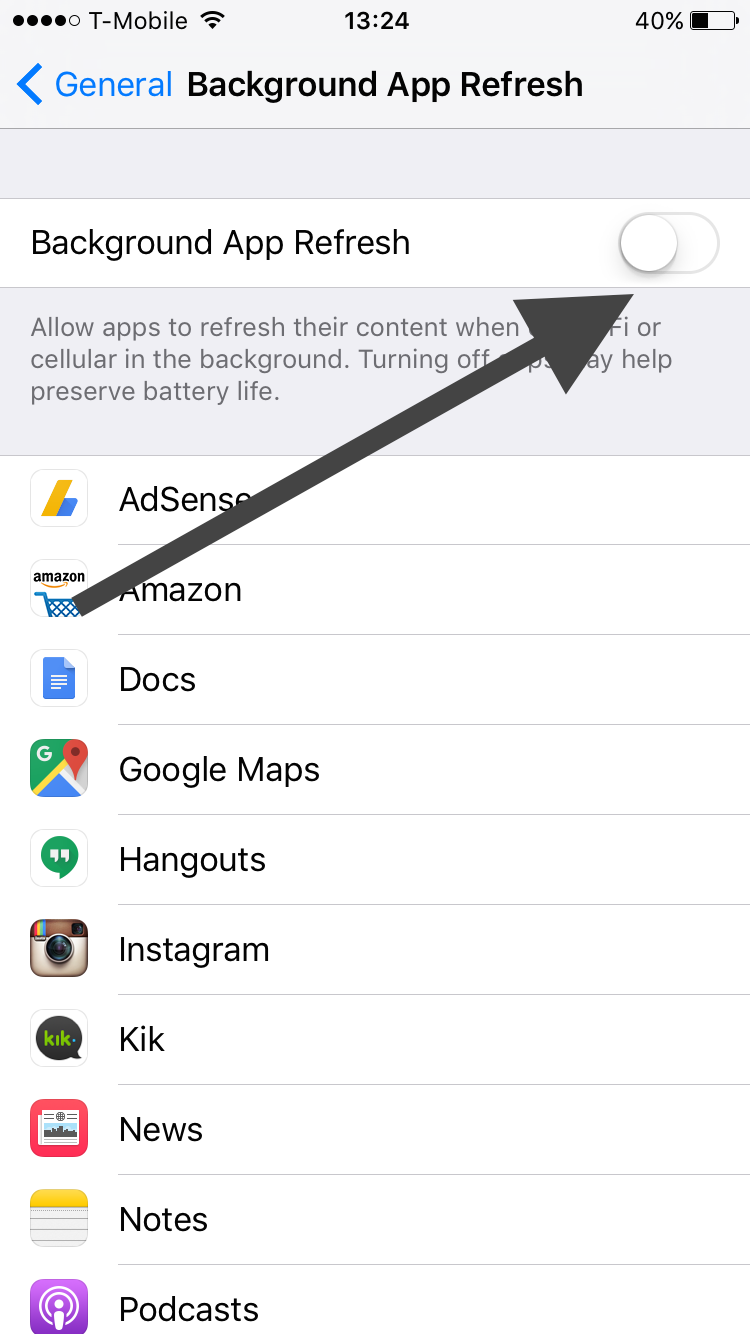
Background App Fresh.
- With Background App Refresh, closed apps can check for new fresh content by running in the background. This feature may use your cellular data, so you may want to turn off by going to Settings > General > Background App Refresh.
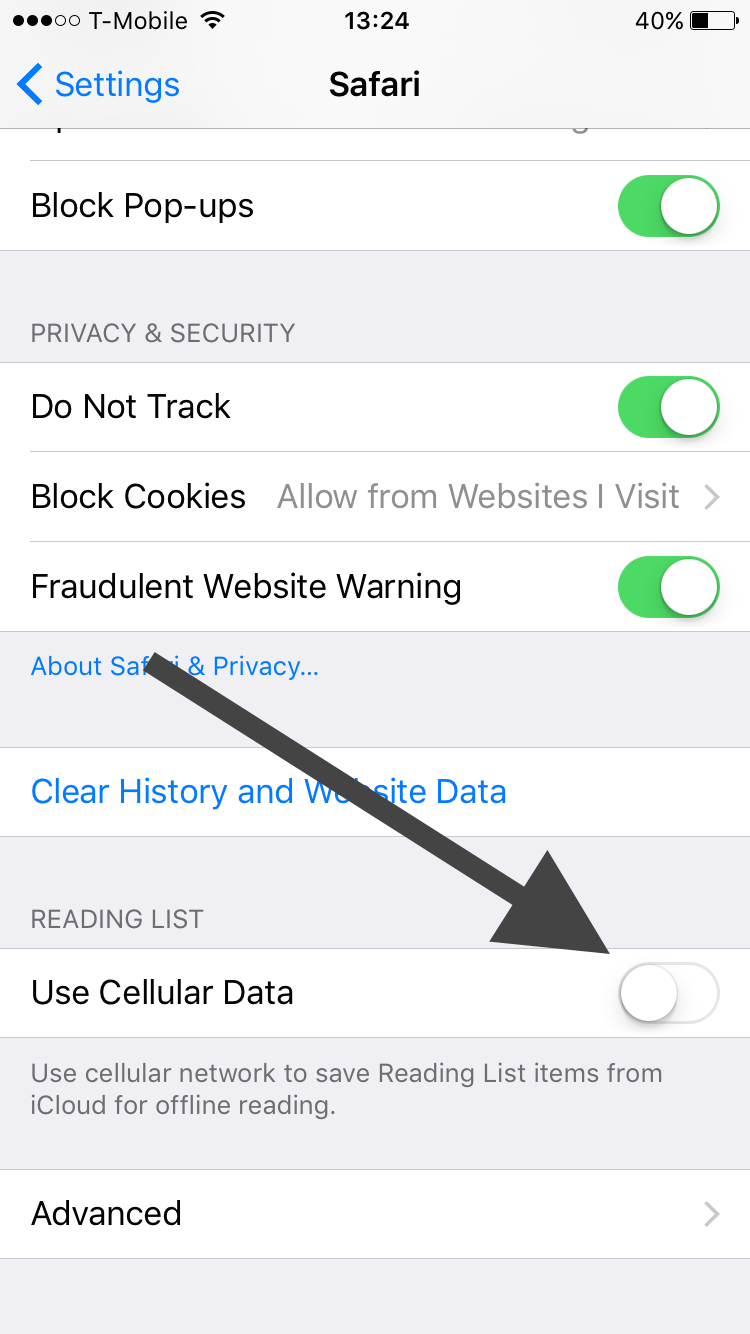
Safari.
- With Safari Reading List, you can save a web page that you can read it later, even if you are offline. Reading List may use cellular data to . Tap Settings > Safari and turn off “Use Cellular Data” (reading rist section).
iBooks.
- If you are using iBooks, you may disallow iBooks to access cellular network. Go to Settings > iBooks and disable Cellular Data.

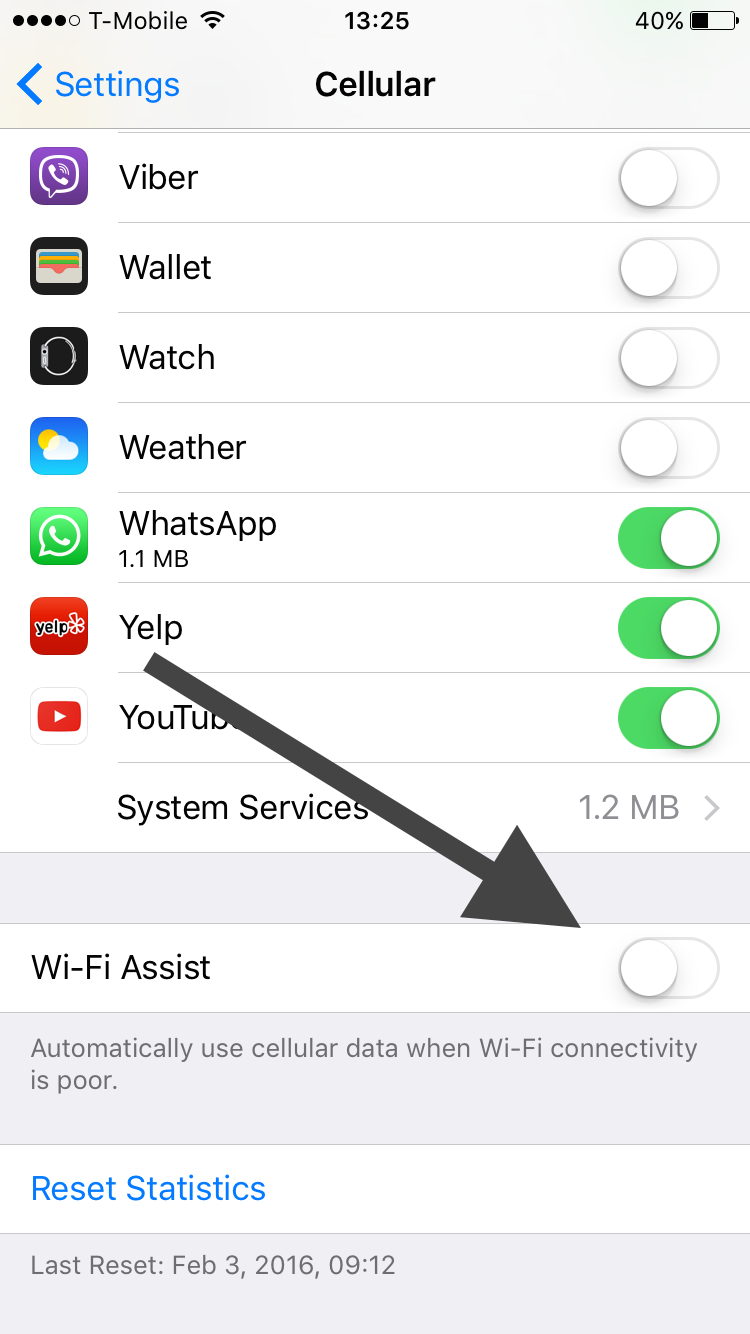
Wi-Fi Assist.
- Wi-Fi Assist switches to cellular when Wi-Fi connection is poor. This ensures that you always have the best Internet connection. This feature is enabled by default. You may want to turn off by going to Settings > Cellular and scroll to the bottom and disable Wi-Fi Assist.
Data Roaming.
- Data Roaming lets you access the Internet using a cellular data network when you are outside of your carrier’s network coverage. You may want to turn this off by going to Settings > Cellular.

Apple Music.
- Go to Settings > Music and turn off “Use Cellular Data”
Related: iOS 9: Contact Search Not Working?
I have problem with the app store its “blNk ” WHY ?! Fix it please