How to Use a Second External Monitor with an M1 or M2 MacBook
The latest MacBook Air and MacBook Pro have come with the M2 chip. Many Mac enthusiasts have already figured out that the M1 MacBooks are limited to just one external monitor. Now, I realize not everyone needs two or more external monitors, but enough do that I found it hard to believe Apple released the M2 MacBooks with the same restriction. But they did.
There are, however, workarounds to the problem. In this article, we will outline the steps to get more than one external monitor working with your MacBook.
The equipment and software you need
If you want to use two (or three, etc.) external monitors with your MacBook Pro or MacBook Air with the M1 and M2 chips, you have the option to use one of your built-in ports for one of your monitors. But if you want more than one external monitor, you will need to buy a hub.
The problem is, you can’t just buy any hub. Most will not work. There are several different manufacturers who say their product will work with the M1 or M2 Macs. In this article, we will describe the product we used to get a 2022 M2 MacBook Air to work with two external displays. You are, of course, free to try something else, but we at least know that the one we chose works.
The docking station: Kensington SD4780P
We purchased the Kensington SD4780P USB-C & USB 3.0 Dual 4K Docking Station. With it, you can use two external monitors at up to 4K resolution at 60Hz. Kensington also offers other docking stations that should work for this purpose, including the SD4750P Dual Display and the SD4900P Triple Display. Other manufacturers include Plugable, who offers a 4K @ 60Hz Dual Monitor UD-6950H, and a triple monitor 4K @60Hz 100W charging station UD-ULTC4K among other options.
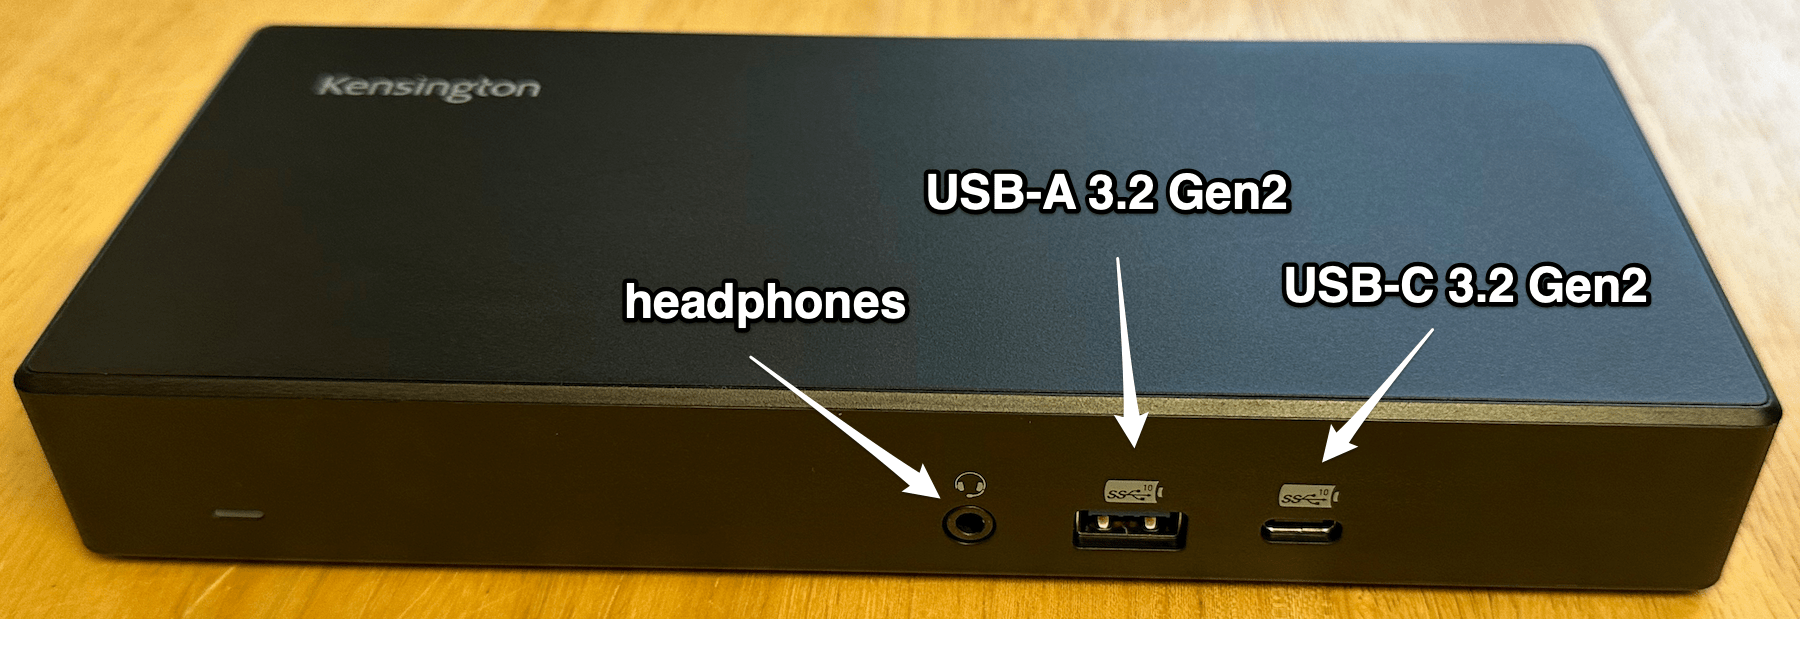
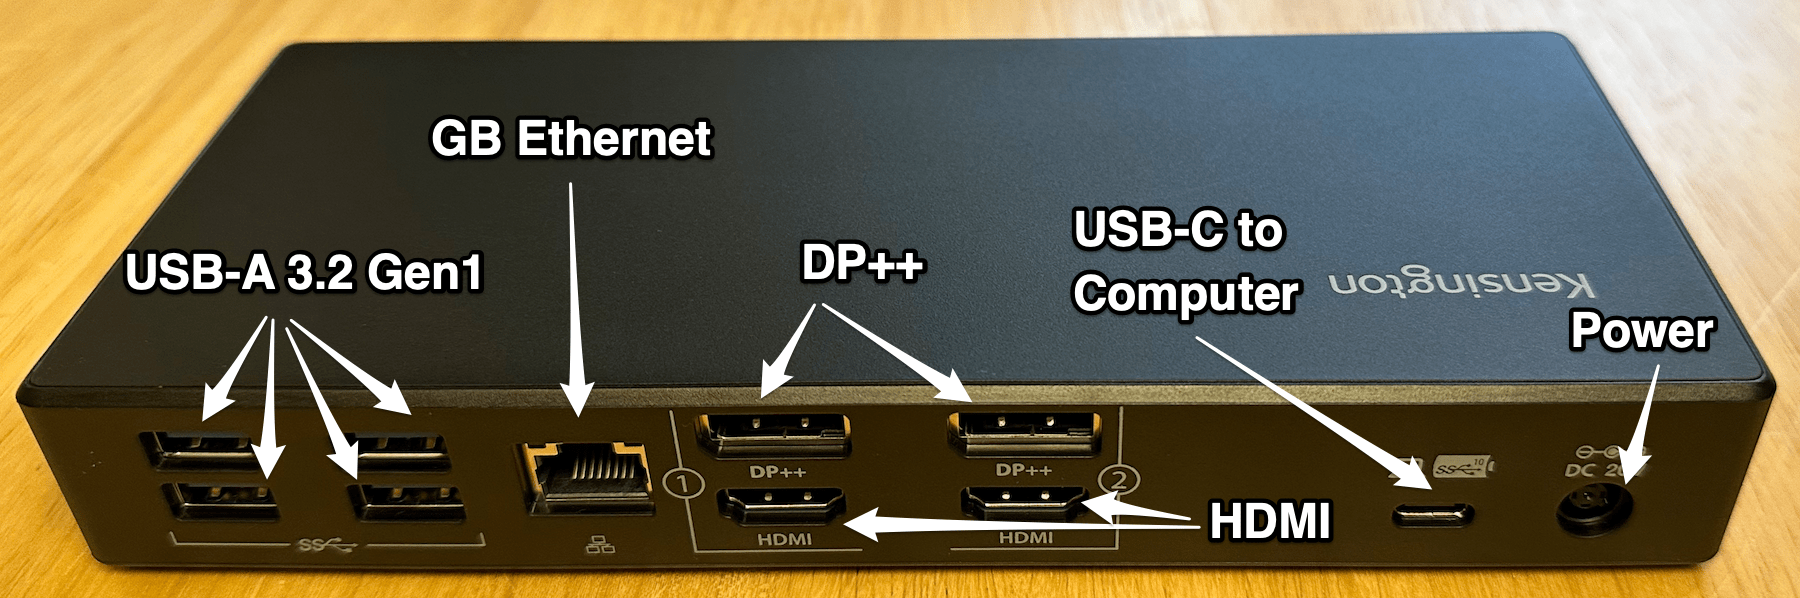
The SD4780P has:
- 4 USB-A 3.2 gen 1 ports
- 2 USB 3.2 gen 2 fast charging ports (1 USB-A and 1 USB-C port)
- A GB ethernet port
- 3.5 mm headphone/microphone jack
- 2 HDMI 2.0 and 2 DisplayPort++ 1.2 ports
- 100W power delivery for charging
- A USB-C cable for connecting to your Mac and a power cable.
DisplayLink software
You will need to download software called DisplayLink. That is what allows your Mac to work with more than one external monitor.
How to set up your hub and monitors
Connect the equipment
- Connect the hub’s power supply and turn it on.
- Connect your Mac using the provided USB-C cable.
- Connect your monitors to the hub using the HDMI or DP++ ports.
Get the DisplayLink software
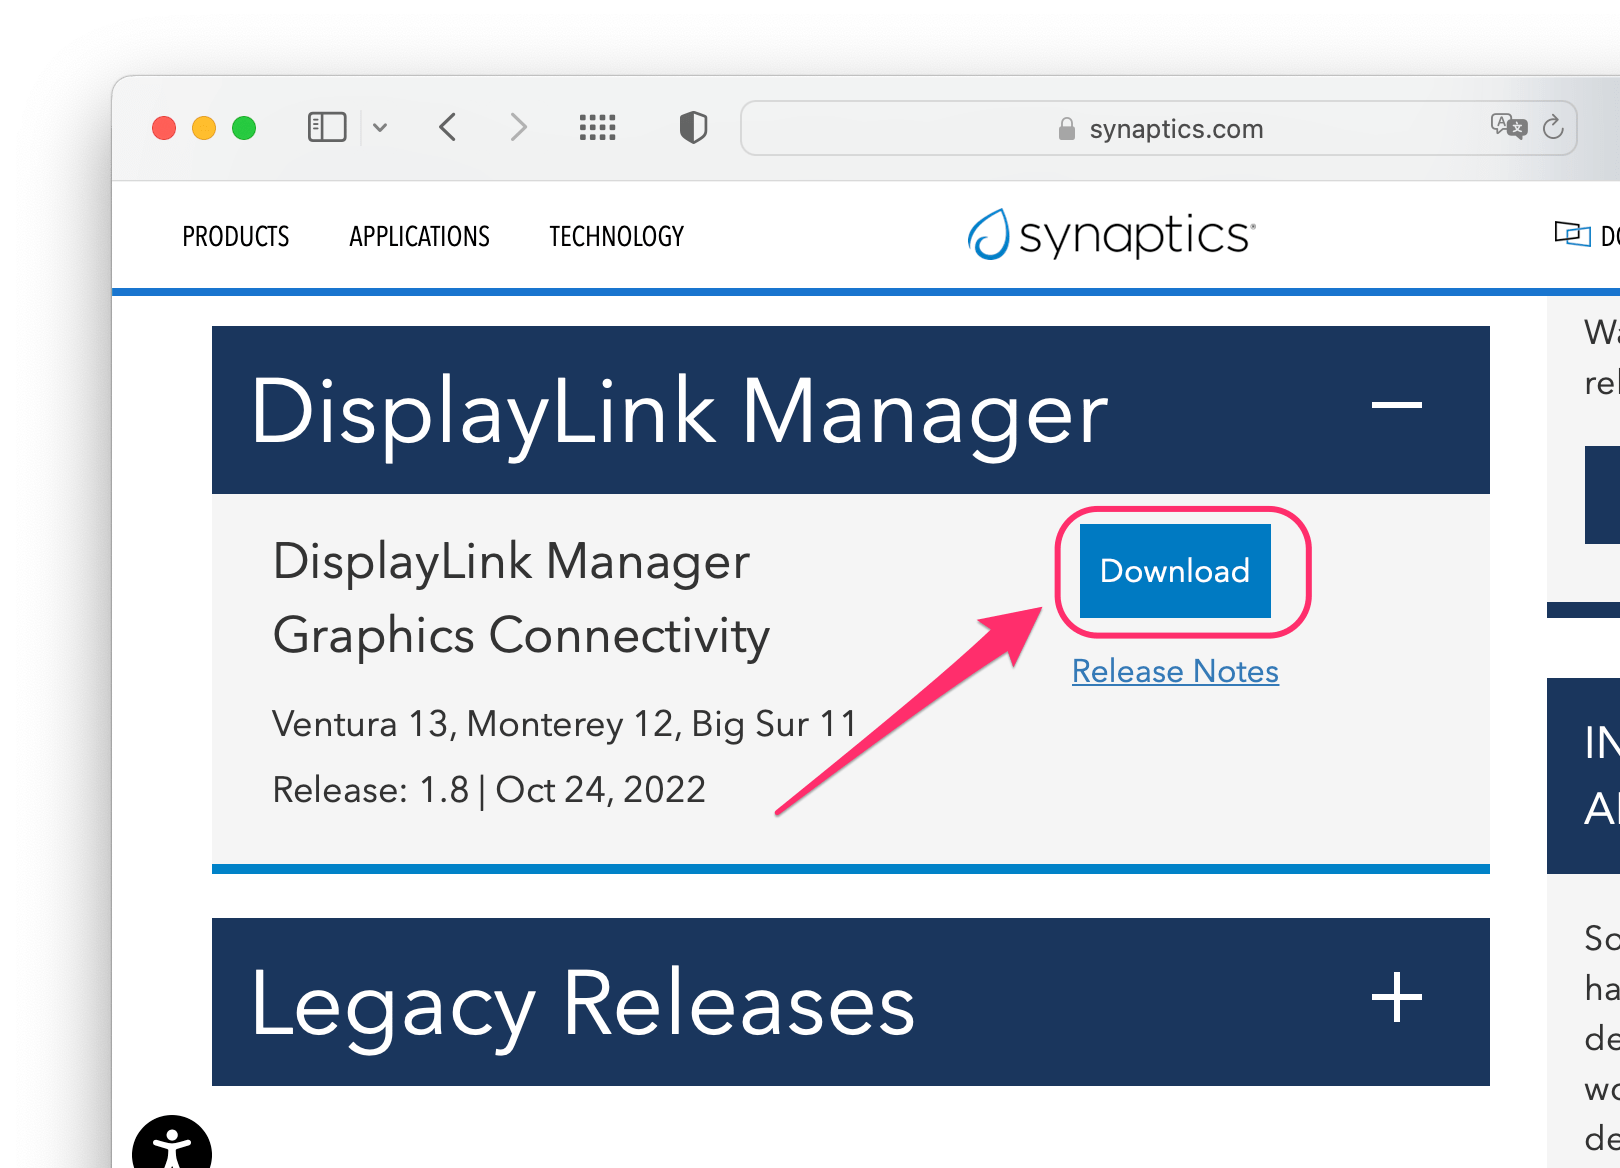
Go to www.displaylink.com/downloads and download the DisplayLink driver for Mac (DisplayLink is owned by Synaptics):
- Select macOS.
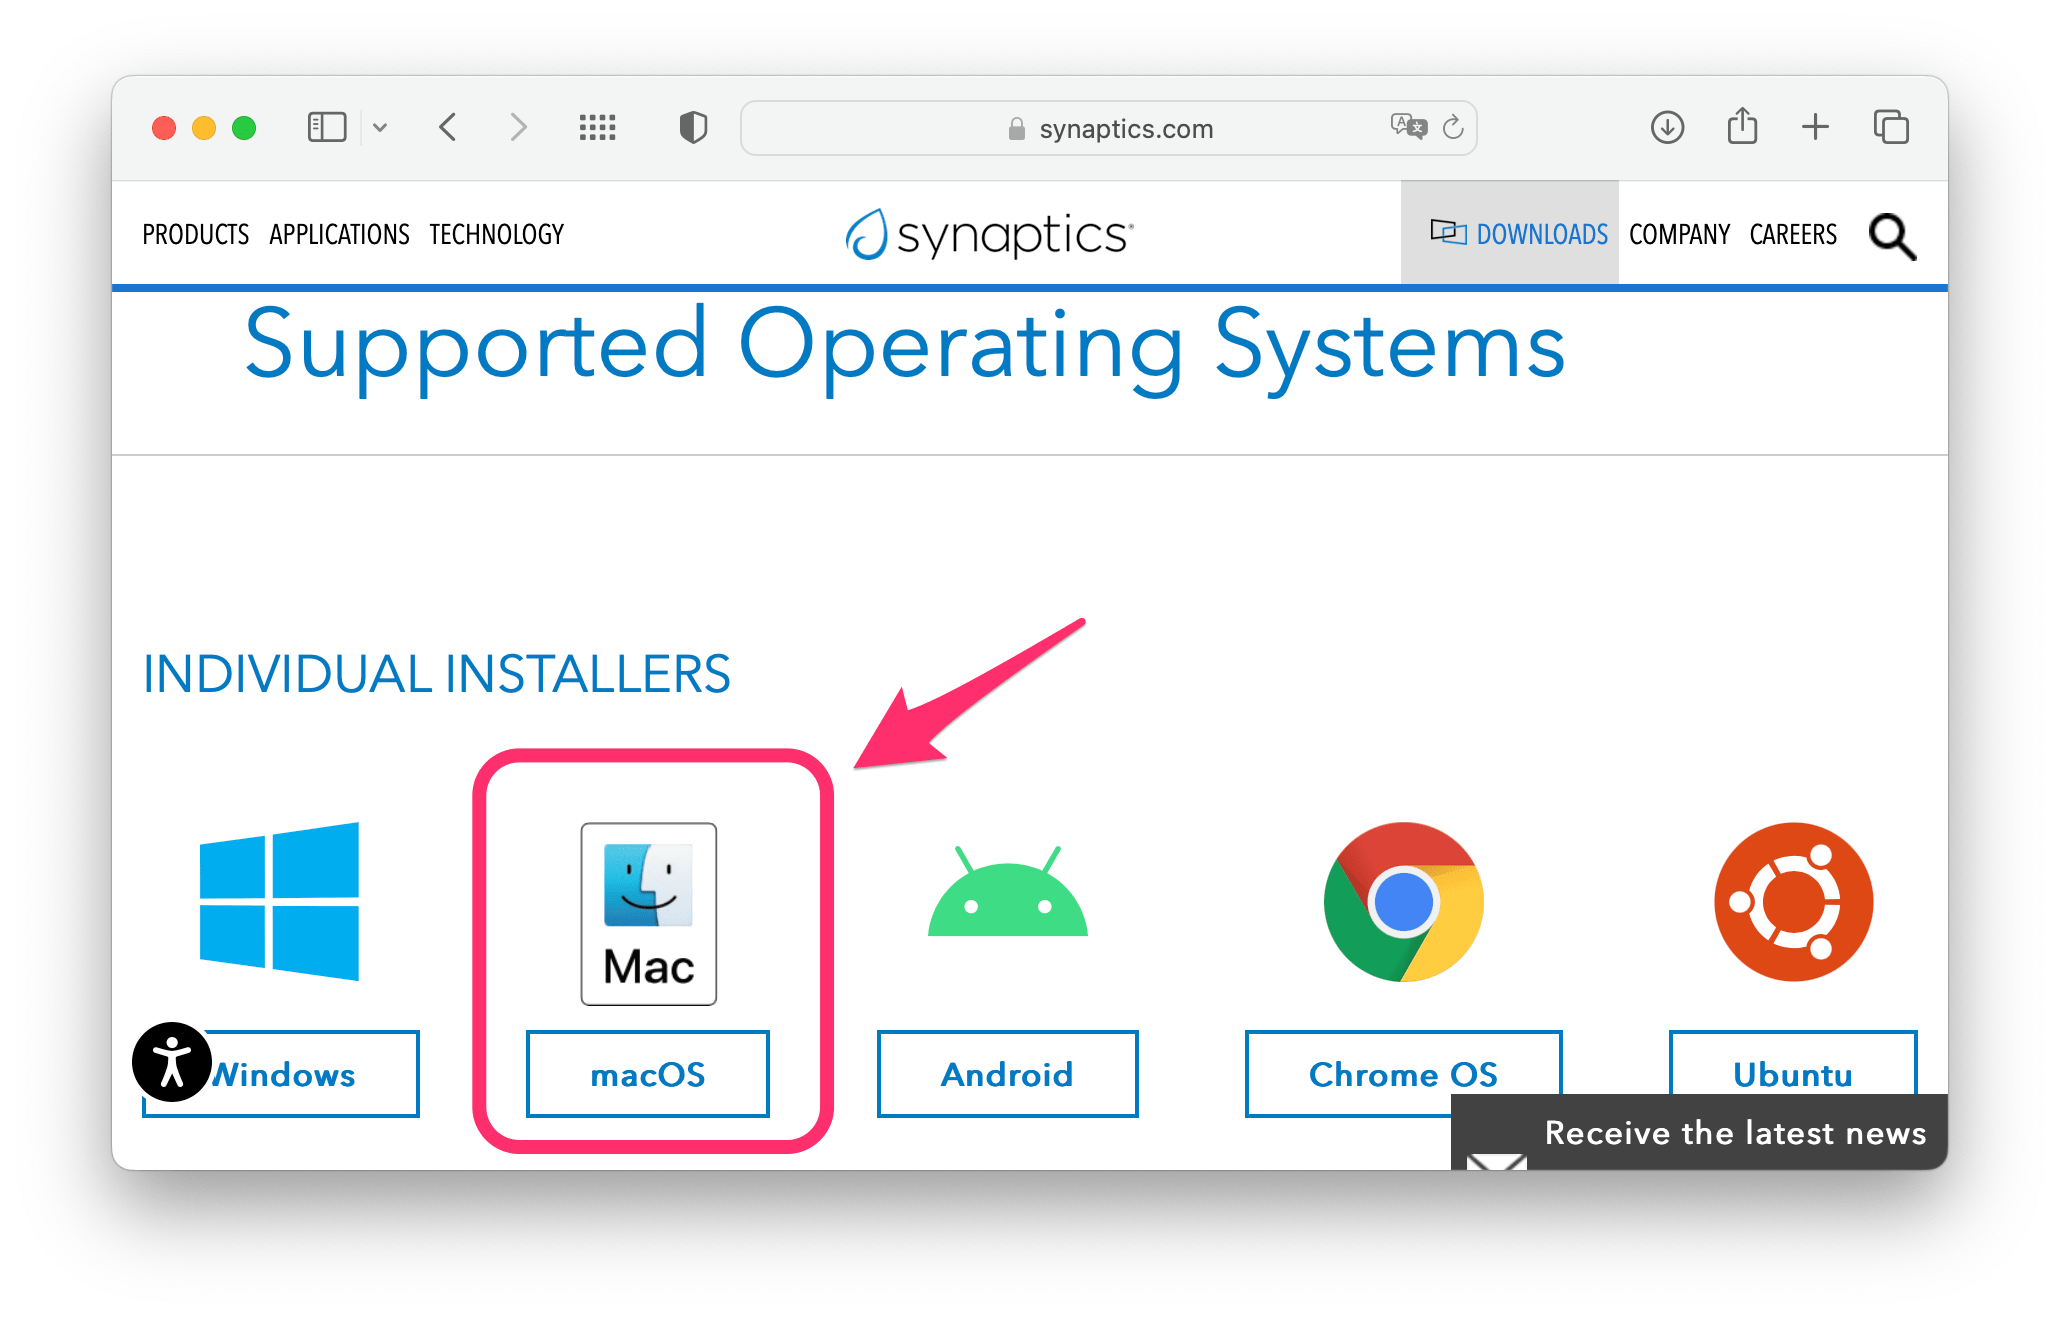
- Click on Download.
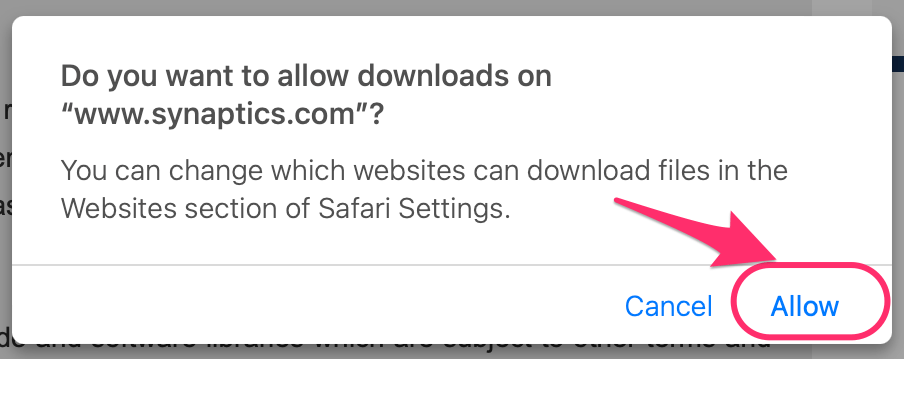
- Accept the license agreement and if prompted, click Allow to allow downloads from Synaptics.
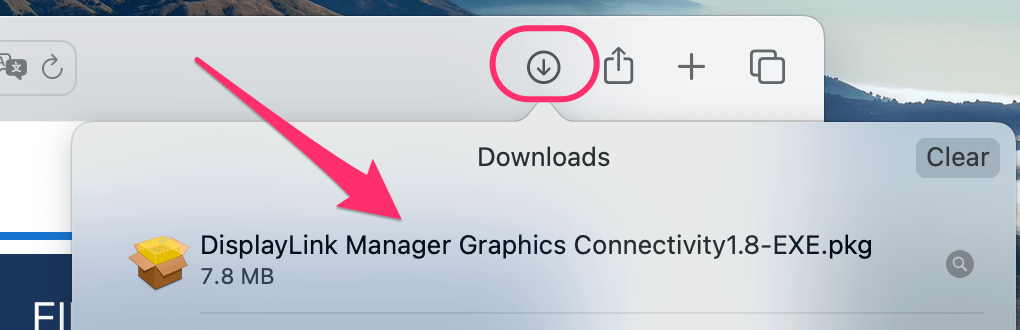
- Find the PKG file in Downloads and double-click to open it. You can find it by clicking the Safari Downloads button or by opening a Finder window and selecting Downloads.
- Follow the onscreen instructions, giving permissions when necessary.
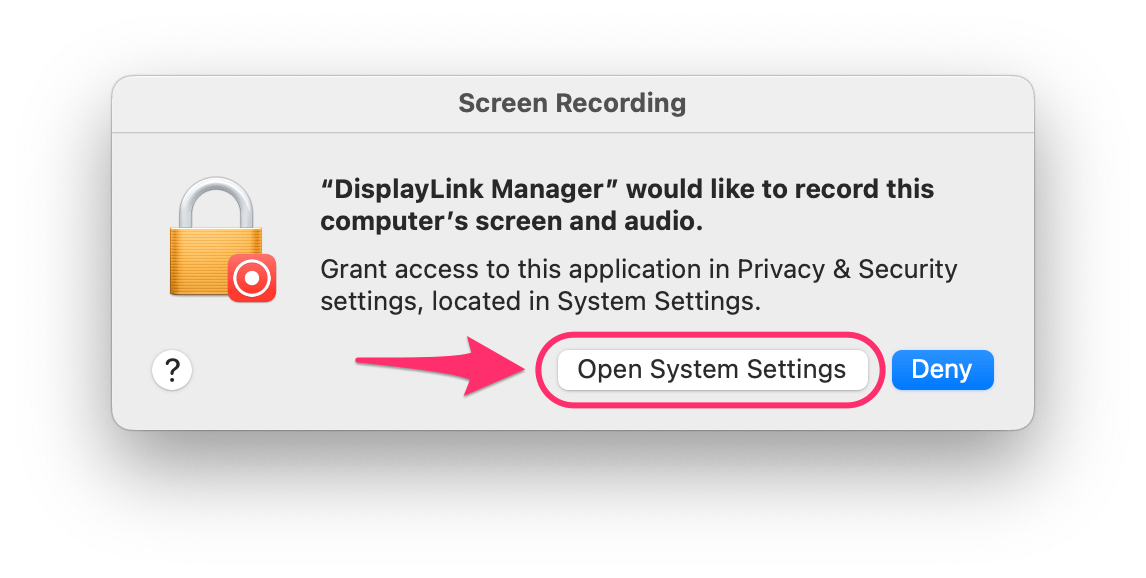
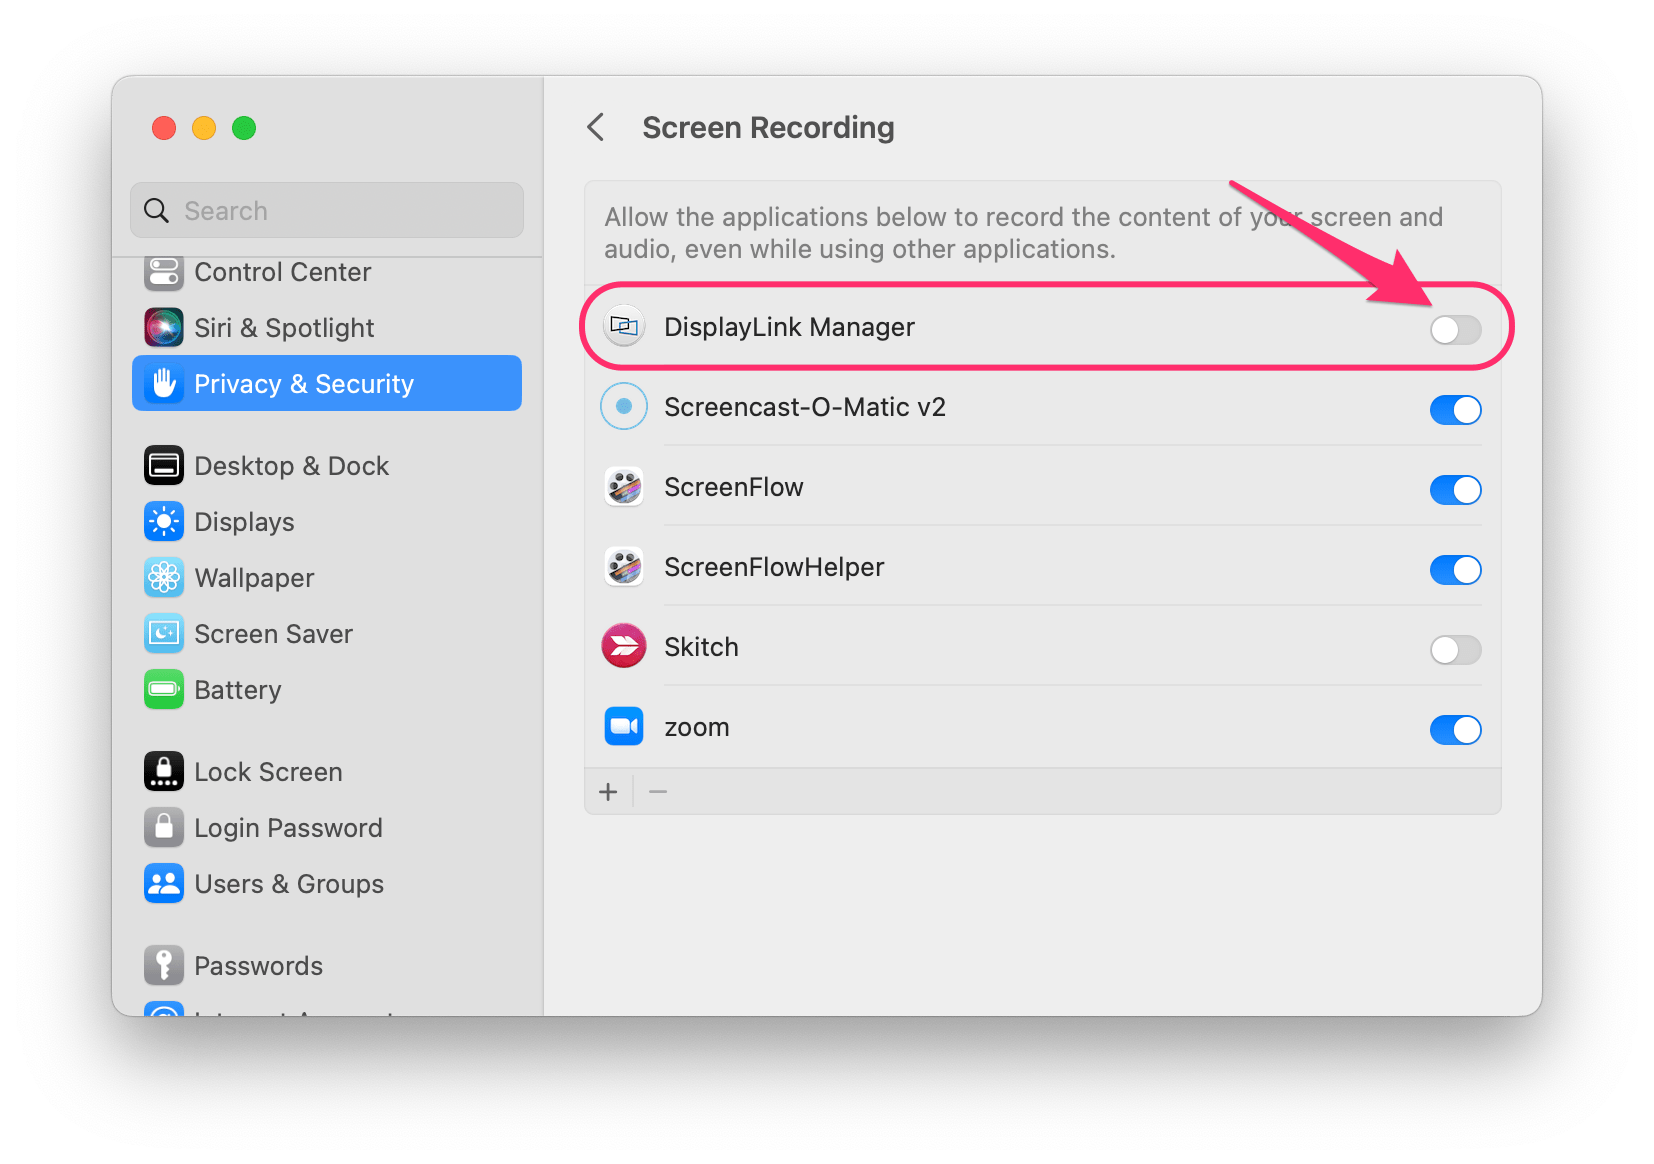
- You must give access to DisplayLink Manager to record your screen. Toggle the switch to turn on DisplayLink Manager screen recording permission in System Settings (or System Preferences).
That should do it. For us, as soon as we finished the DisplayLink installation, we had two working external monitors.
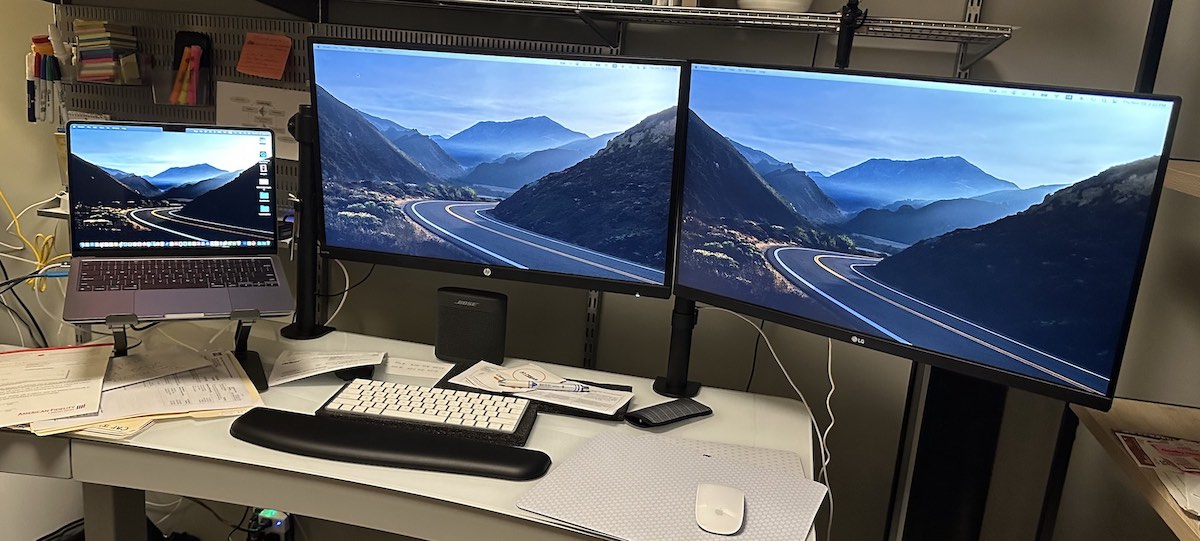
You may need to rearrange your displays (in macOS) to reflect your (real world) setup. Go to System Settings (System Preferences) > Displays. Click on Arrange, then drag the displays to the correct position.
Affiliate link disclosure:
This article contains affiliate links. If you choose to purchase after clicking a link, we may receive a commission at no extra cost to you.
Related articles