How To Zip and Unzip Files In macOS
This article explains how you can zip and unzip files and folders on your Mac. macOS includes a built-in compression system, called Archive Utility, that you can use to do this.
Zip files are also called compressed. These files take up less storage space. A zip file is also easy to send or receive over the Internet. For example, you may send a lot of documents in a zip file via email, instead of attaching each file individually. You can easily create zip files and you can also easily open zip files on your Mac.
How to zip (compress)
Follow the steps below:
- Select file(s) and /or folder(s). You can command-click (press and hold the Command key and then select files or folders) to select multiple files or folders.
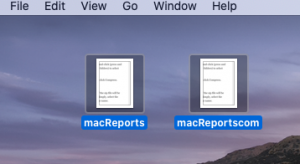
- Now control-click or right-click.
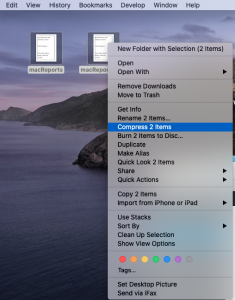
- A shortcut menu will appear. From the menu, click Compress.
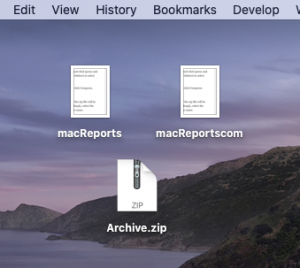
Notes:
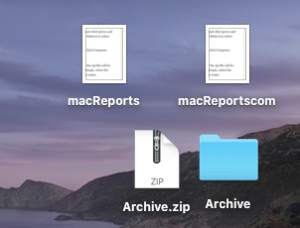
- If you zip multiple files or folders, the name of the zip file will be Archive.zip. You can change this if you want. Simply, select the Archive.zip file, and hit Return and enter a new name.
- If you zip just one file or folder, the name will be its name with .zip extension such as macreports.zip.
Use Terminal
The Terminal app on your Mac also lets you create zip files. Here is how:
- Open Terminal (Applications > Utilities).
- You can enter a command like the one below:
zip archive.zip file.txt
You can also type zip and then drag and drop the files you want to compress into the Terminal window.
How to unzip (uncompress)
- Find the zip file.
- Double-click it. Or you can right-click it, then select Open With > Archive Utility.
Notes:
- Your unzip file will be in the same folder/location that zip file stored in. For instance, if you’re extracting an archive named “macreports.zip” on your desktop, the extracted folder, named macreports, will be created on the desktop.
Use Terminal
You can also use Terminal to unzip your files. Here is how:
- Open Terminal.
- And enter a command like the one below:
unzip archive.zip


