How to Add and Remove Apps from Mac Finder Toolbar
You can customize your Finder toolbar by adding or removing apps. Every Mac user has certain apps they use more often than others. For example, if you are using Pages often, you may want to add it to the Finder toolbar. Including more frequently used apps in the Finder toolbar can be a great way to streamline your workflow and access your favorite apps more efficiently. You can further customize the Finder toolbar to remove unused apps or reorganize their order. In this article, I explain how to do this.
For example, I use the Calculator app often. I put it in the toolbar so that I can access it easily with a click.
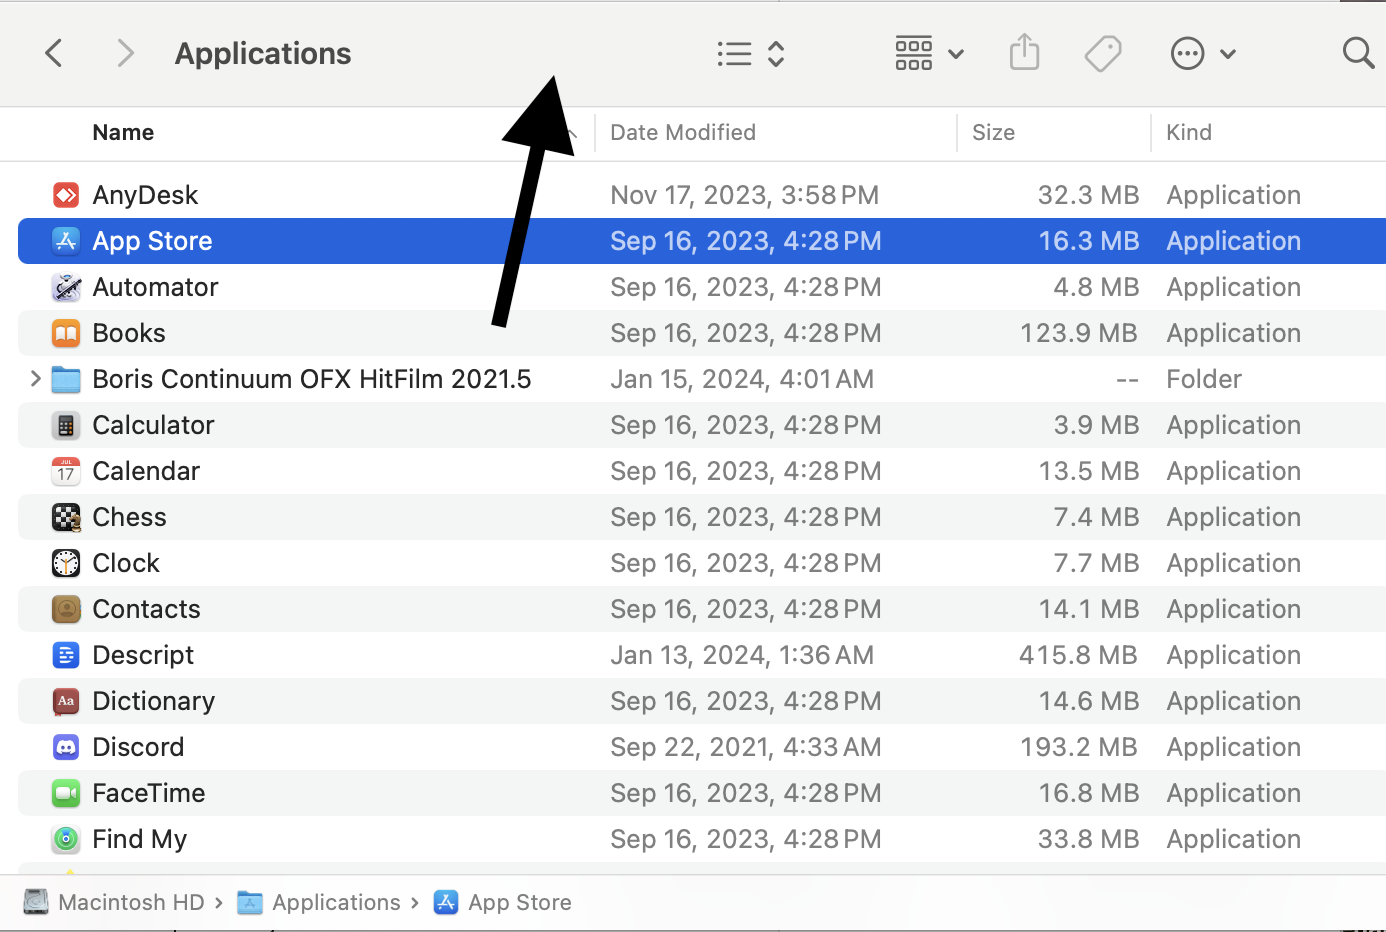
Where is the Finder toolbar?
The Finder toolbar in macOS is located at the top of a Finder window. It runs along the top of the Finder screen, as you can see in the screenshot below. If you do not see this section, you will need to turn it on by going to Finder > View > Show Toolbar.
Add apps to Finder toolbar
When you add an app to the toolbar, this will create a shortcut. The app will still stay in the Applications folder.
- Open Finder and go to the Applications folder.
- Find an app to add to the toolbar and select it. Note that to add more than one app, repeat these steps for each app. For the purpose of the article, I will add the Books app to the toolbar.
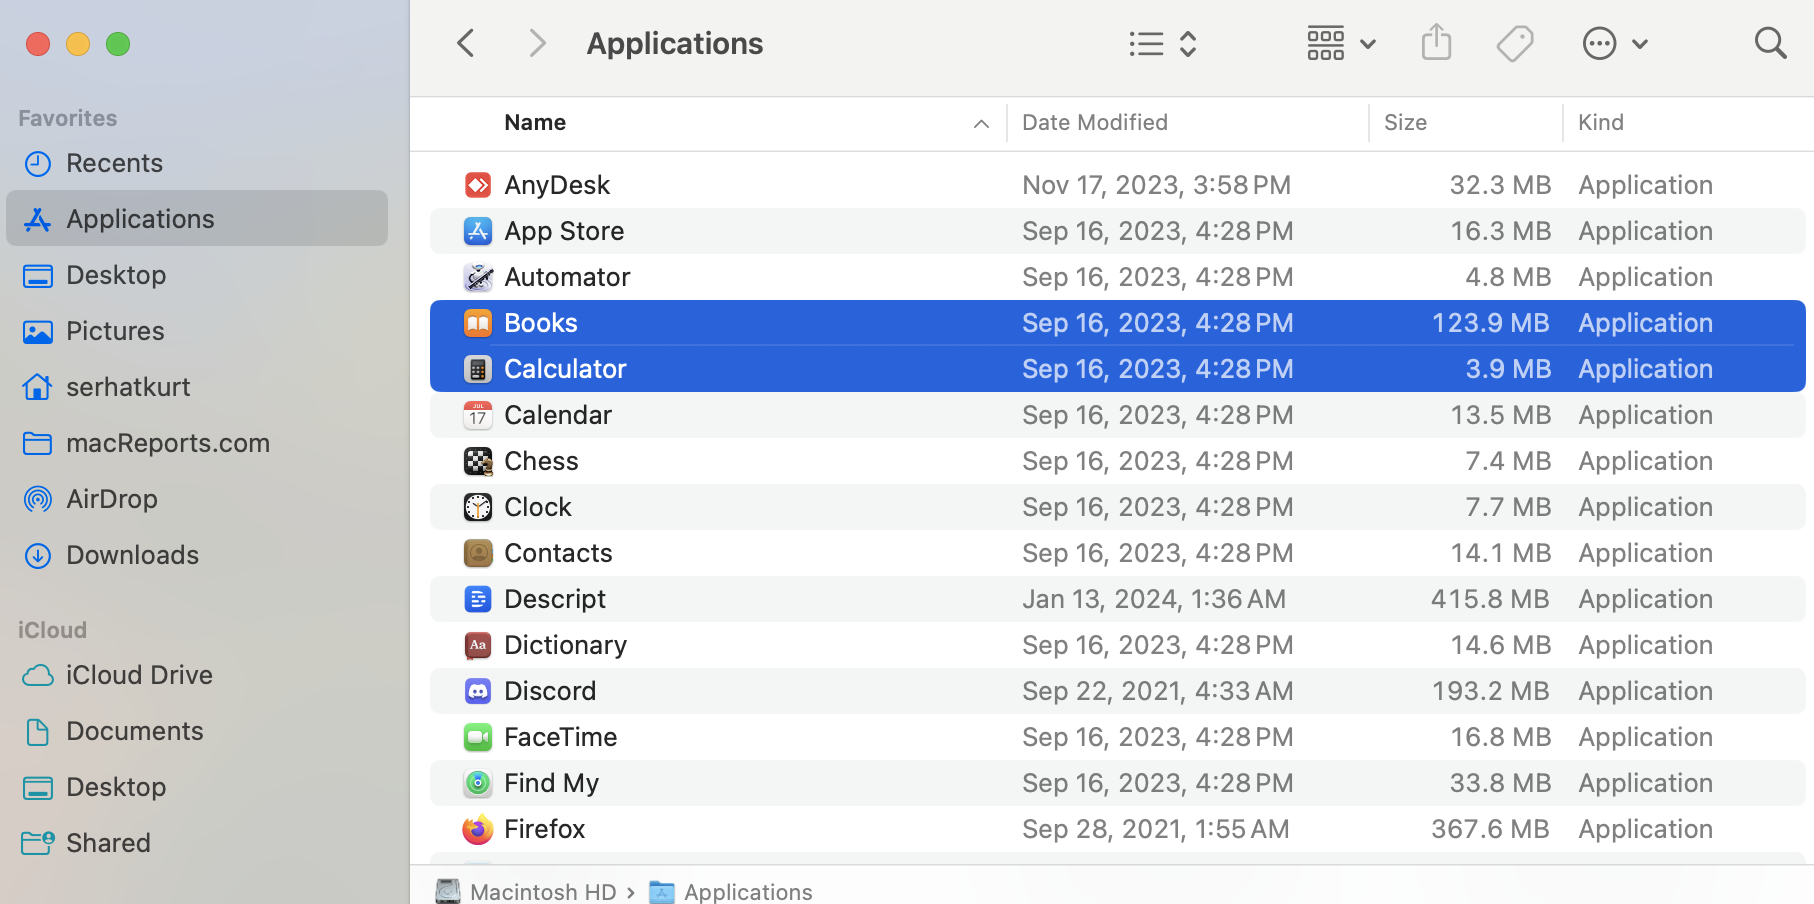
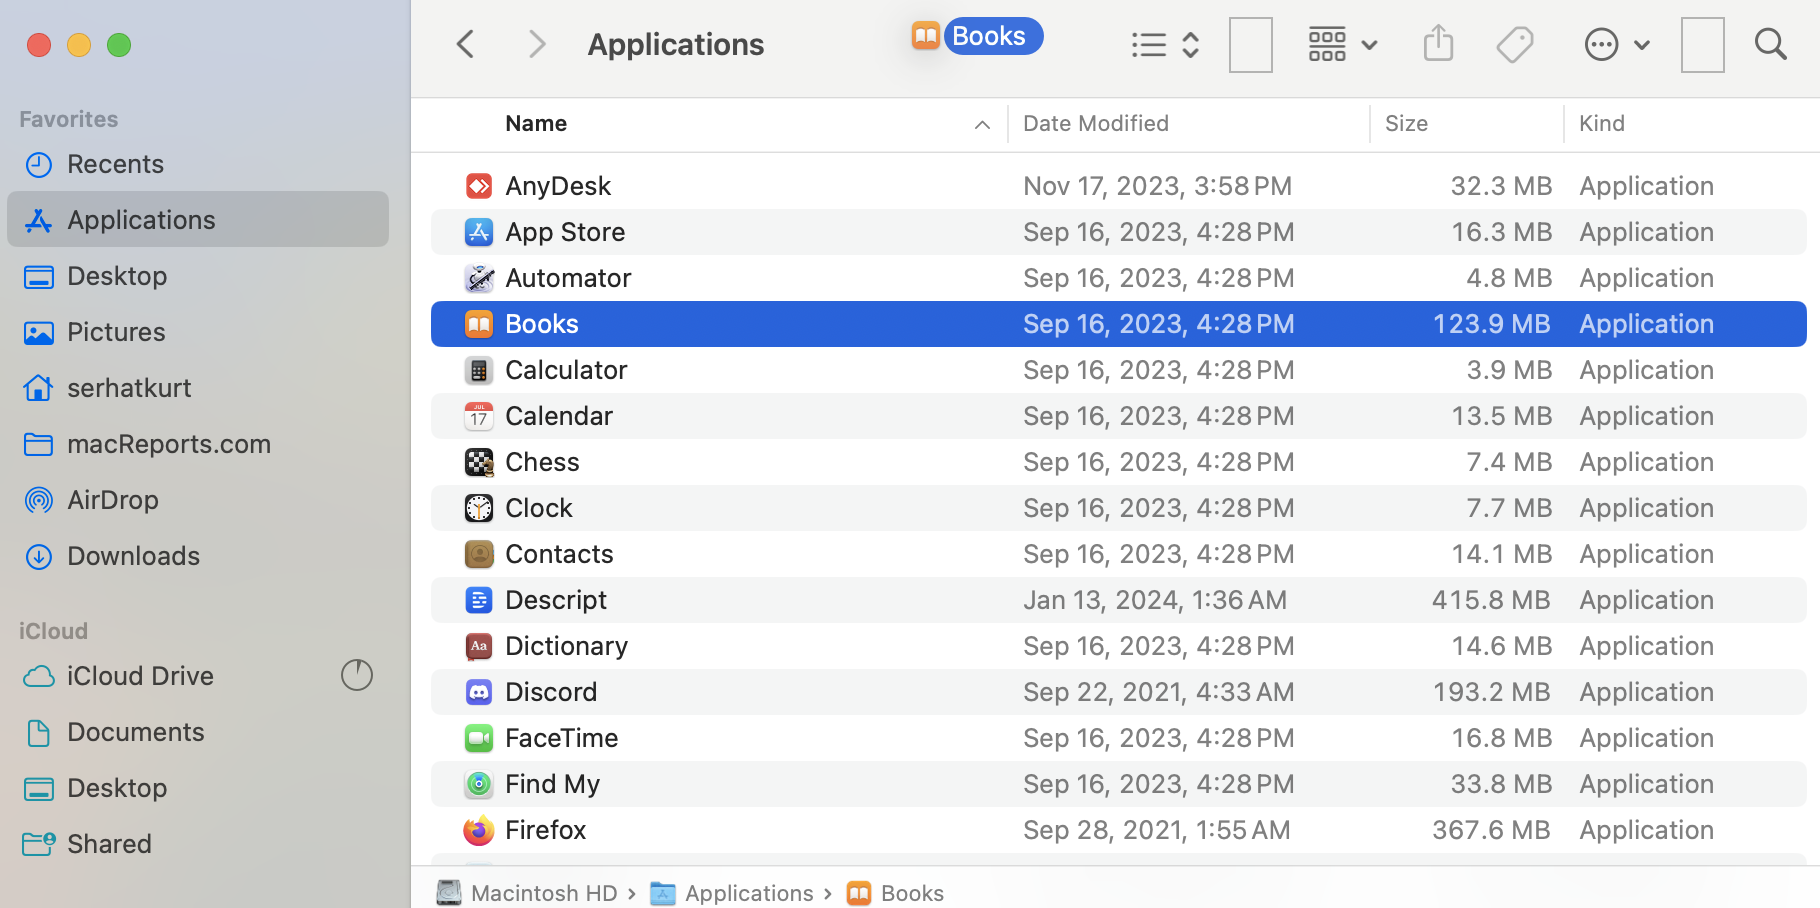
- After highlighting the app, press and hold the Command key and drag the it to the toolbar area. A plus icon will appear when it can be added. Release the app when you see the plus icon.
Now, we have added the app to the toolbar, as you can see below:
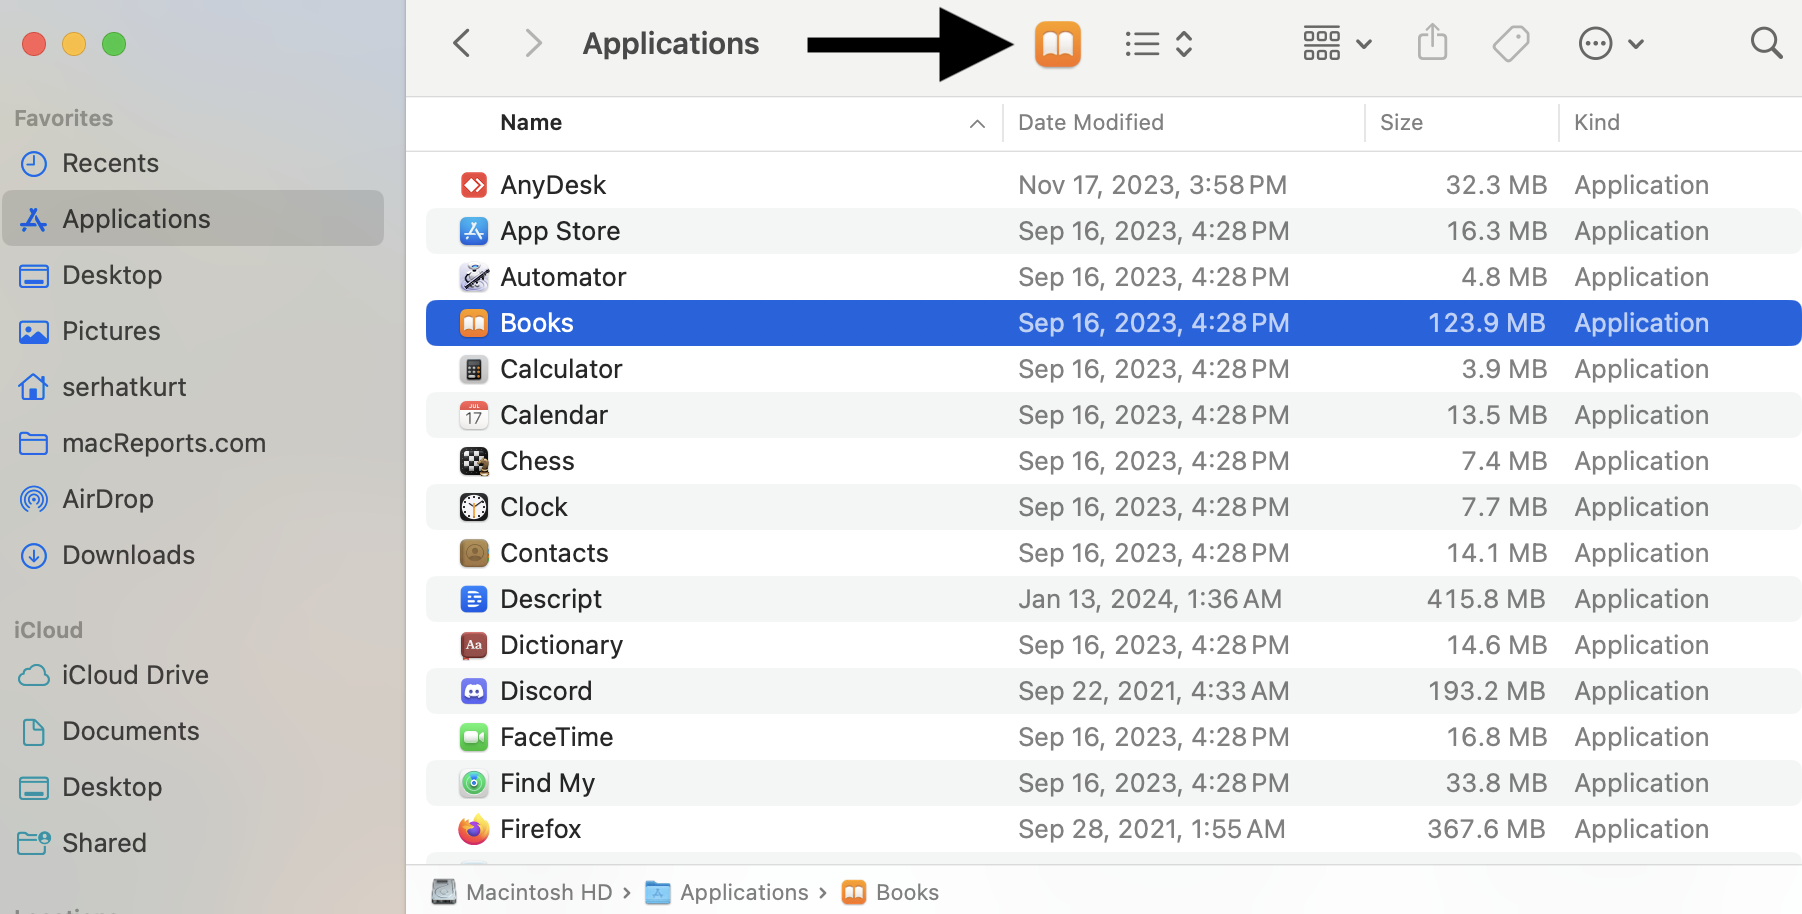
If, in the future, you want to remove the added apps from the toolbar, you can do so. Again, press and hold the Command key while dragging the app out of the toolbar, and it will be removed from the toolbar.
Related articles