How to Crop a Screenshot on your Mac
This article explains how you can crop a screenshot on your Mac. You can easily take screenshots on your Mac. There are a few techniques to capture a different part of your screen, the entire screen, a part of the screen, or a window. By default, the screenshots you take will be saved as image files on your Desktop. You can change where macOS saves the screenshots. The screenshot will be saved as a PNG file, but you can also change the default format.
After taking a screenshot, you may want to crop it. Cropping involves the removal of unwanted parts from your screenshot. There are various reasons why you may want to crop a screenshot, such as:
- To remove an unwanted part.
- To improve framing or composition.
- To create a focus on your desired object in the screenshot.
How to take screenshots
As stated above there are a few techniques to take capture your screen:
- Command-Shift-3: This creates an entire screenshot. This is like using the Print Screen key on a Windows computer.
- Command-Shift-4: You can use this shortcut to capture some of your screens.
- Command-Shift-4-the Space bar: This captures a window or menu.
- Command-Shift-5: This opens the screenshot toolbar that you can use to take screenshots.
How to crop your screenshots
There are a few ways to do this:
1. The screenshot shortcuts
Some of the screenshot shortcuts mentioned above let you crop your screenshot before capturing the screen:
The Command-Shift-4 and Command-Shift-5 shortcuts let you select the area by dragging the crosshair pointer to effectively crop your intended screenshot.
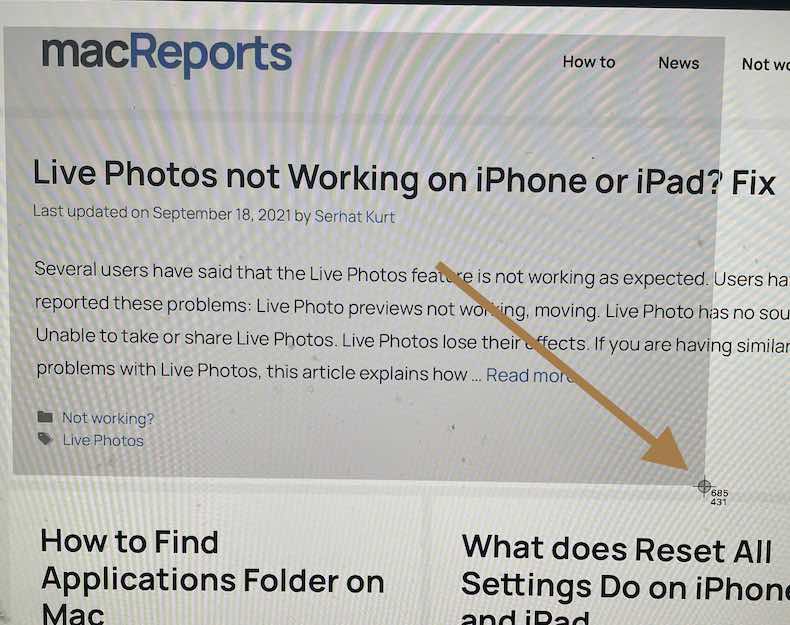
If you want to crop more after taking the screenshot, see the methods below.
1. Screenshot thumbnail
Immediately after taking the screenshot, a thumbnail in the corner of your screen will appear. You can click it to open the screenshot editing tool. This will let you crop your screenshot image. Please note that you can disable this thumbnail.
Follow these steps:
1. Take your screenshot and click the thumbnail that appears in the corner.
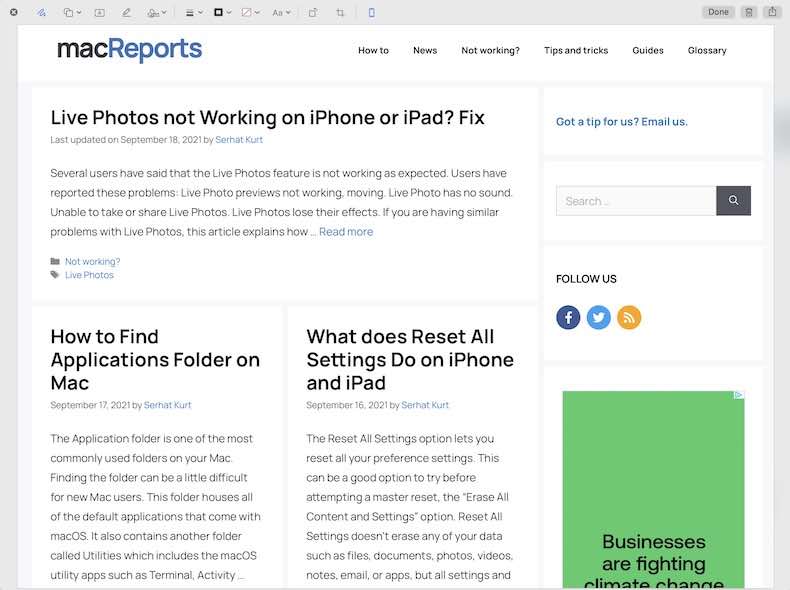
2. Click the Crop button. And the crop borders will display on the edges of the screenshot.

3. Now, you can drag the corner to specify the crop boundaries in your screenshot. The white area will be your image.
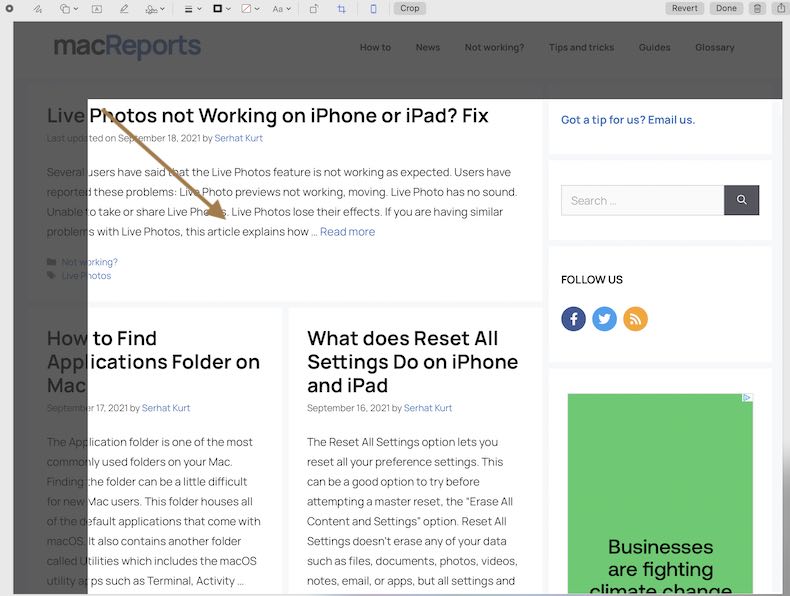
4. Click Down when you are done. And the cropped image will be saved to your desktop.
3. Preview
If you do not click the screenshot thumbnail, it will disappear in a few seconds. You can still crop your screenshot. Here is how:
1. Find your screenshot and open it in Preview.
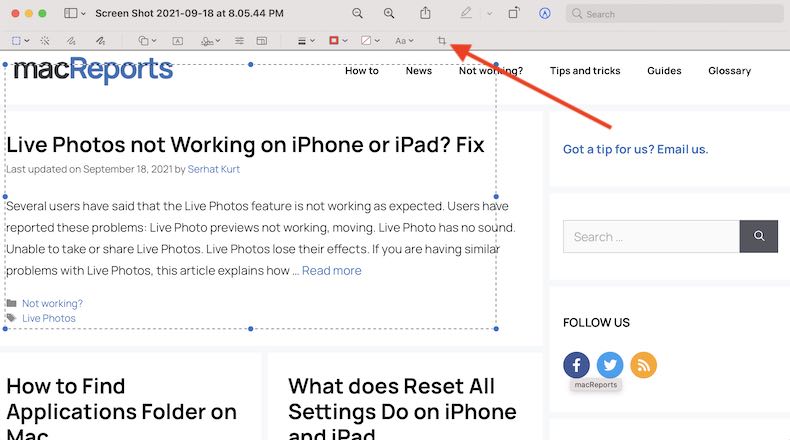
2. Click the “Show Markup Toolbar” button. And ensure that Rectangular Selection is selected.
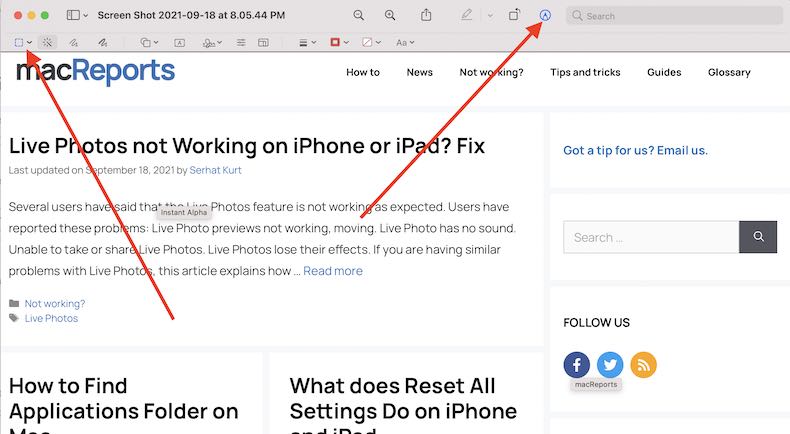
3. Then use your trackpad or mouse to select the area you want to keep and then click the crop button. You can also use the Command-K shortcut. And lastly, you can use the Tools > Crop menu.
