How to Scan Documents to Mac using iPhone

People have many uses for document scanners. They have been around at the office seemingly forever, and most people choose to buy a home printer with a built in scanner. However, some people don’t have a printer/scanner at home, and even if you do, there are many situations where you may want or need to use your iPhone to scan a document: You might be away from home or the office, the document you want to scan may be awkward to put on the scanner, or it might just be more convenient to use your phone.
The ability to scan documents to your Mac using your iPhone has been around since macOS Mohave. It uses one of the Continuity features for Apple products called Continuity Camera. With Continuity Camera you can also take a photo of anything else nearby, not just a document, and it will appear instantly on your Mac.
See also: How to Copy, Paste Between your Apple Devices Using Universal Clipboard
What you Need
In order to make Continuity Camera work, you will need the following:
- A Mac and an iPhone, iPad or iPod touch.
- Your Mac and iOS/iPadOS device must have Bluetooth and Wi-Fi on.
- Your Mac and iOS/iPadOS device must both be signed in to iCloud using the same Apple ID account. The Apple ID account must be set up to use two-factor authentication.
- Your Mac should be running Mohave or later. Your iOS/iPadOS device must be running iOS 12 or later.
See also: Mac Bluetooth Not Working? Fix
The following applications support the Continuity Camera feature on your Mac:
- iWork apps: Keynote, Numbers, Pages
- Finder
- Messages
- Notes
- TextEdit
See also:
- Mail in Big Sur: Fix Missing Trash Folder, Flags and Search Issues
- How To Restore Disappeared Downloads Folder To Dock & Sidebar In Finder
How to Scan a Document
You can insert or import a scanned document from your iPhone (or iPad). To initiate the process and turn on the scanner on your iPhone, the steps differ between Finder and other apps.
Open the Scanner
Open the Scanner from an App (not Finder)
- Open one of the supported applications on your Mac.
- There are two ways to access the menu option which allows you to scan documents with your iPhone:
- Go to the menu bar at the top of your screen. Select File > Insert or Import from iPhone or iPad > Scan Documents.
- Control-click in the document or window where you would like to put your scanned document. Choose Insert or Import from iPhone or iPad > Scan Documents.
Open the Scanner from Finder
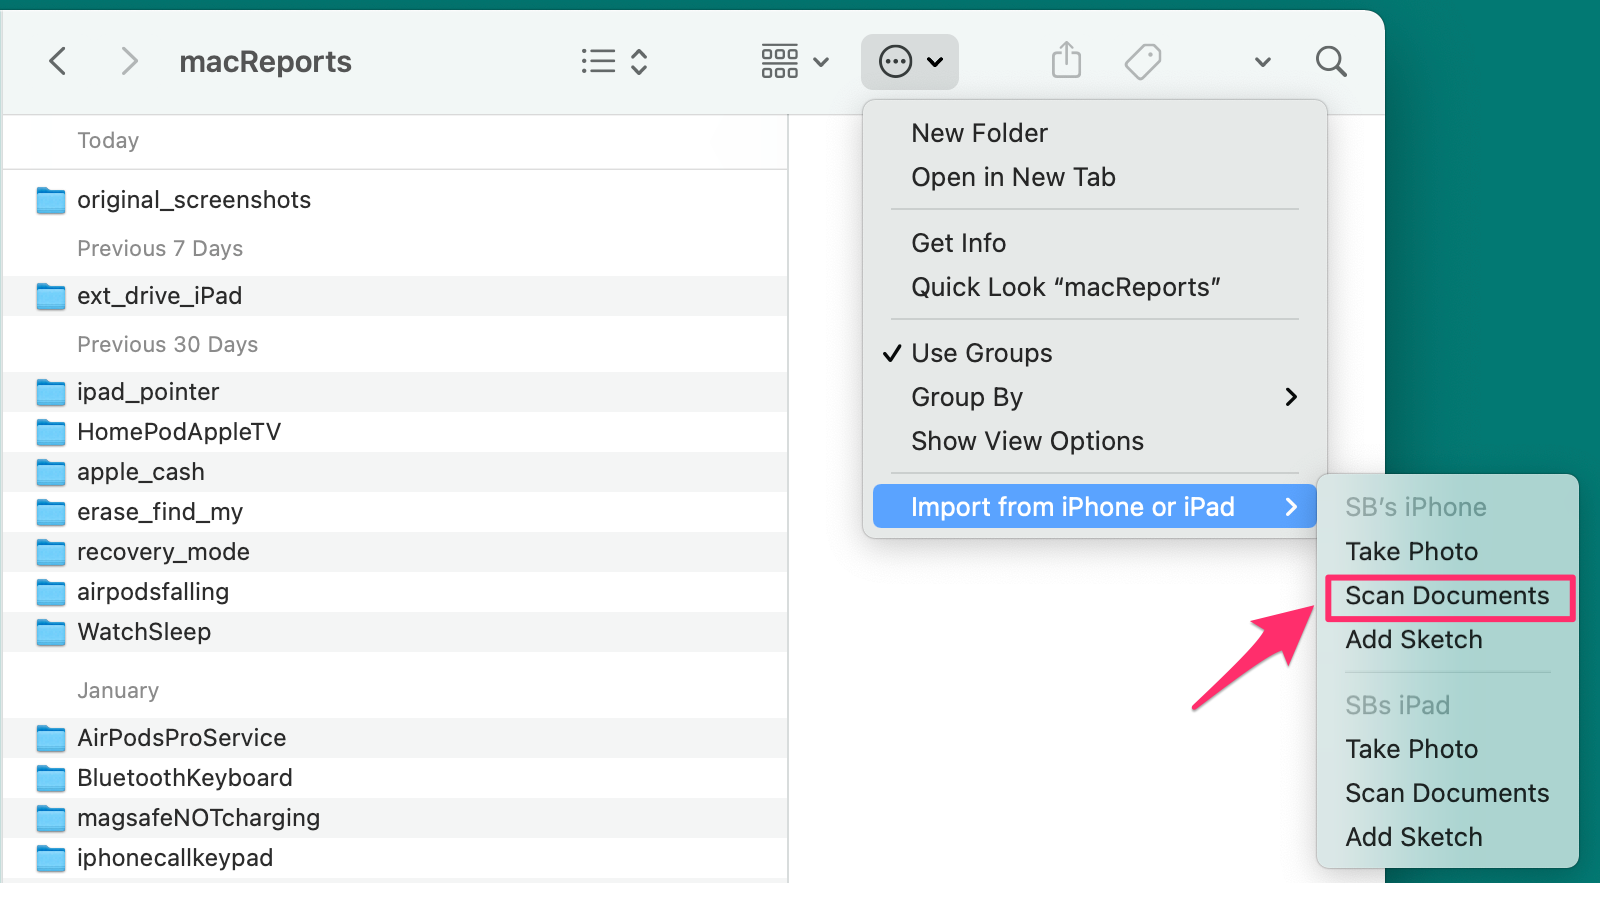
- Open a Finder window. Open the folder where you would like your scanned document to go.
- Click on the
 (circle with 3 dots) in the tool bar. Choose Import from iPhone or iPad > Scan Documents.
Use your iPhone to Scan a Document
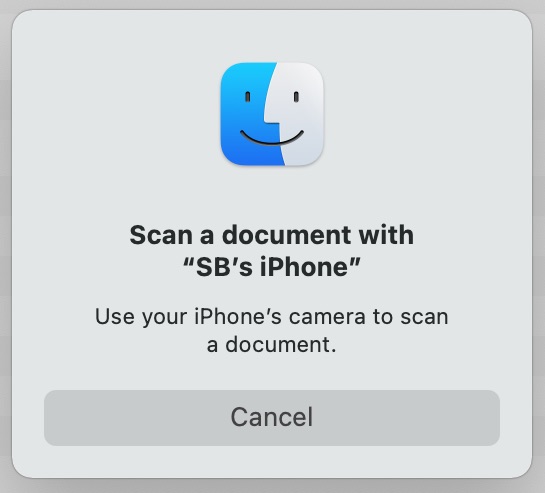
Following the steps above, a pop-up window should have appeared on your Mac telling you to use your iPhone to scan a document. On your iPhone, the scanner (camera) app should have opened.
- Adjust your iPhone distance and position so that your document is within the view on your iPhone screen.
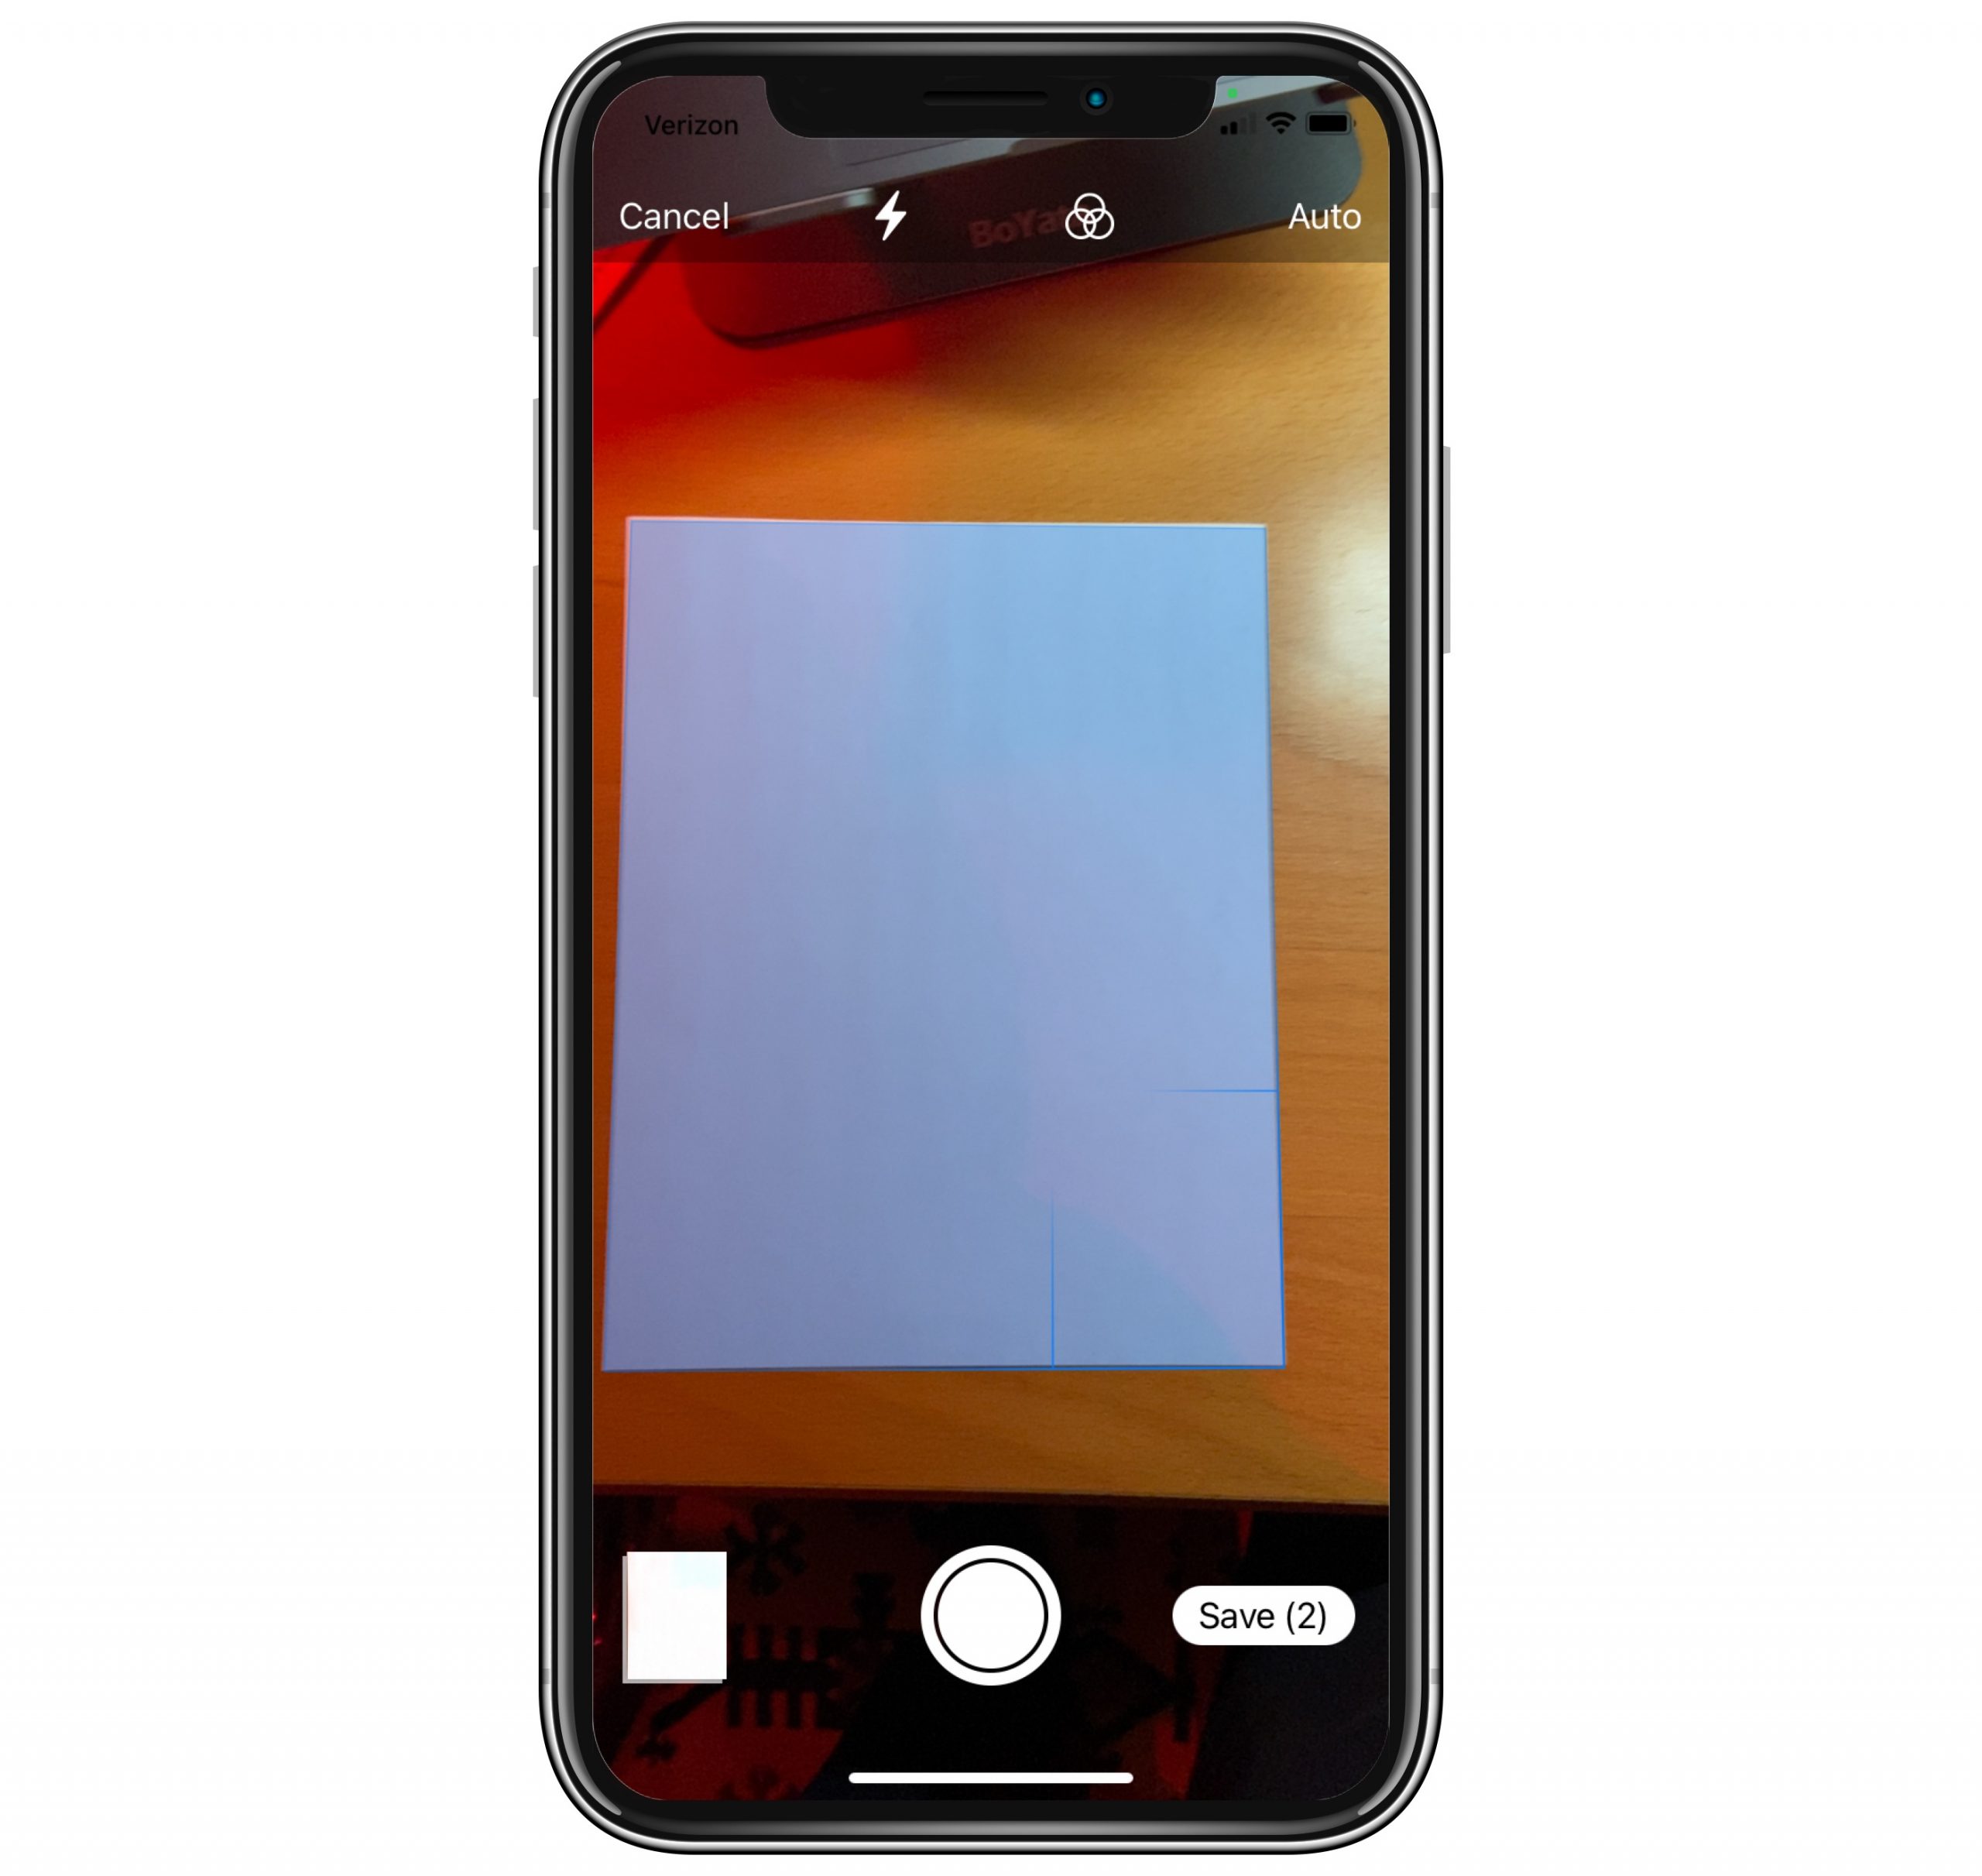
- If you keep the setting on Auto, the scan will happen automatically. After one document is scanned, you may place another in view and it will automatically be scanned as well. What you will see on screen is:
- The document will have a blue shading.
- There will be an animation to indicate the picture (scan) has been completed, and then you will see a small image of your scanned document move to the lower-left part of your screen.
- You will see a message appear briefly saying “ready for next scan.”
- When you are done scanning your documents, you may edit them tapping on the image of the scanned document in the lower-left part of the screen. When you are done editing, tap Done in the upper-left corner of the screen.
- Tap Save in the lower-right part of your iPhone screen. The document will be saved (imported or inserted) to your Mac. If you are using Finder, your document will be saved as Scanned Document.pdf.
Using Manual (instead of Auto)
If you need more control over the scanning process, tap Auto at the top of your iPhone screen to change to Manual.
- Position your document, then tap the grey disk to capture the image.
- A window will appear with a preview of your document. You may drag the corners to reposition the scan to fit your document.
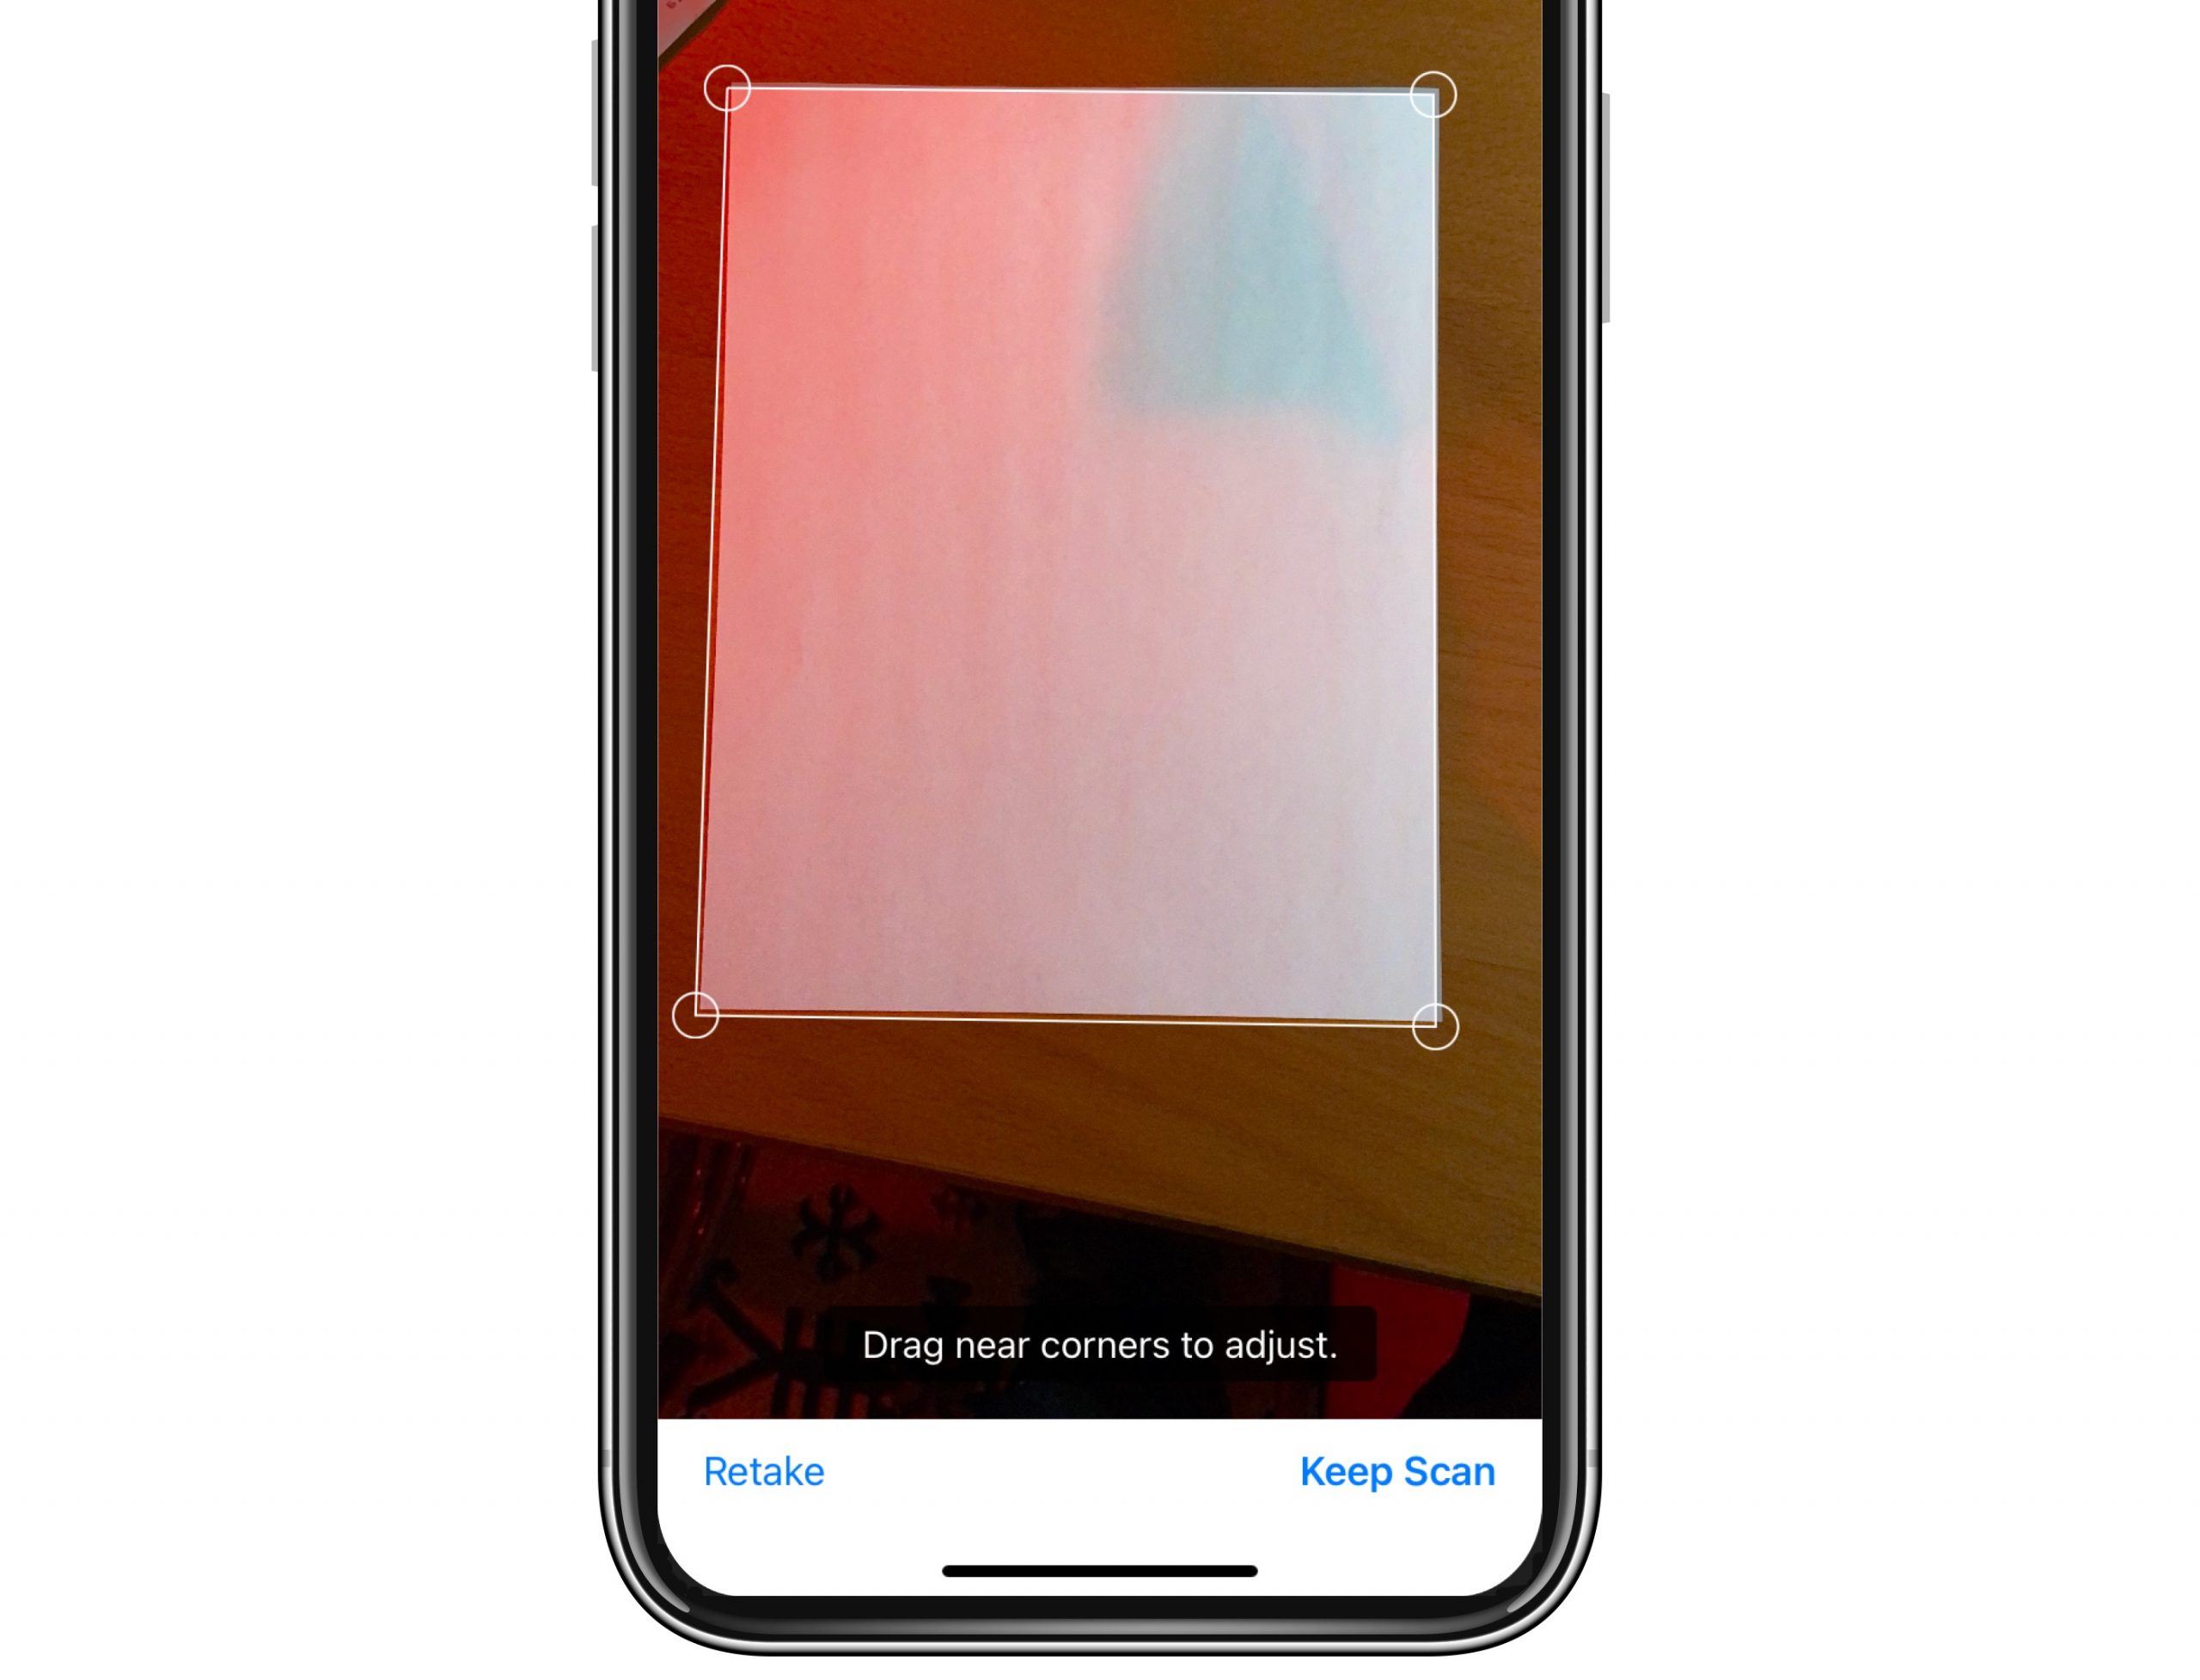
- When you are done, tap Keep Scan. You will be brought back to the main scan screen and can then scan more documents, or save.
Troubleshooting
If you are having trouble getting the menu option to appear, or the option to scan with your iPhone seems to be greyed-out, try again (either by going to the top menu bar or by Control-clicking inside the document or window.) If you are using Finder, make sure that:
- You have opened the Folder where you want to add the document, but no folders or files are highlighted (including the one you want.) If necessary, click the back arrow to return to the previous folder, then click the forward arrow.
- If your desired folder is highlighted, you may also Control-click on the folder to bring up the menu options where you can choose Import from iPhone or iPad.
See also: Sidecar Not Working? How To Troubleshoot
Related Articles: