How to Reduce the Size of a JPEG on your Mac
In this article, we will explain how you can reduce the file size of a JPEG picture on your Mac. We will use the built-in Preview app. You do not need to install or download a third-party image editing app, like Photoshop. We will not use an online service.
You can easily change the size of an image by changing its dimensions (width and height) and resolution. However, if you do these, your image will be smaller or a lot less clear. Your image will lose its quality. Our purpose is to resize an image without losing quality and changing its dimensions. What we want is to resize images without stretching or distorting them. Of course, after following the steps below, you can reduce the size even further by scaling or changing the width and height.
Follow the steps blew if you want this also:
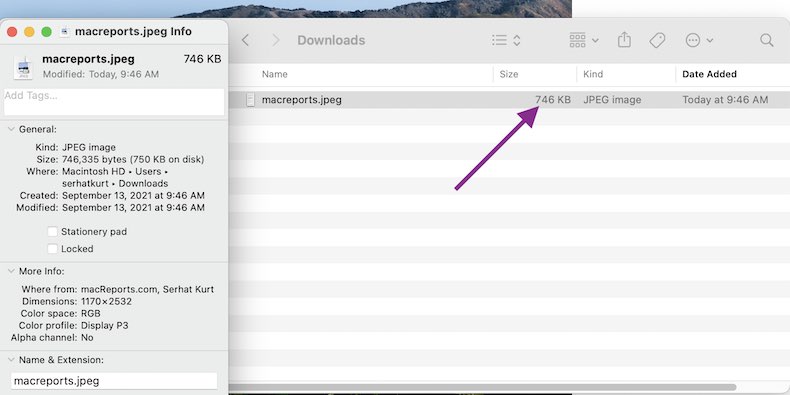
1. Locate the JPEG image that you want to change its size. In this article, we will use an image whose current size is 746 KB.
2. Double-click to open in Preview.
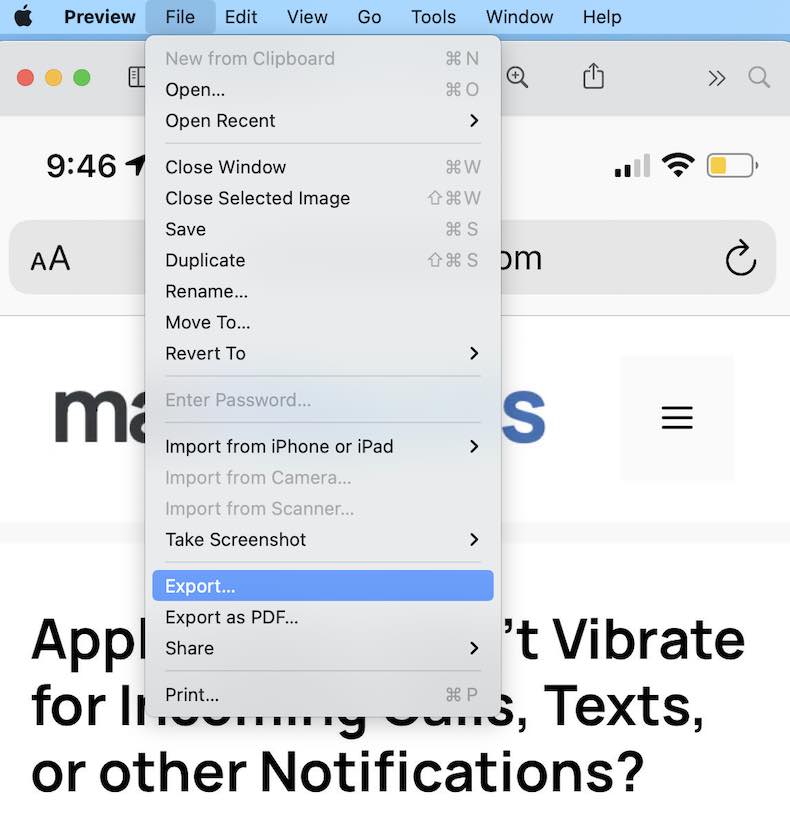
3. In Preview, click File and Export.
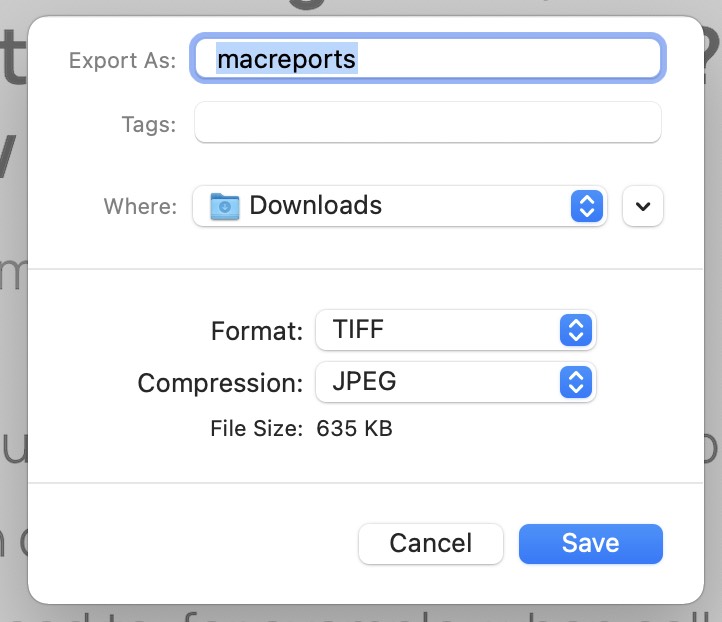
4. We will export this as a TIFF file. Open the Format drop-down menu and select TIFF. Then open the Compression menu and select JPEG. When you are done, click Save. You can rename it if you want.
5. A new TIFF image will be created. As you can see the new TIFF’s size is 672 KB.
6. Now open this TIFF file in Preview by double-clicking it. And now go to File > Export.
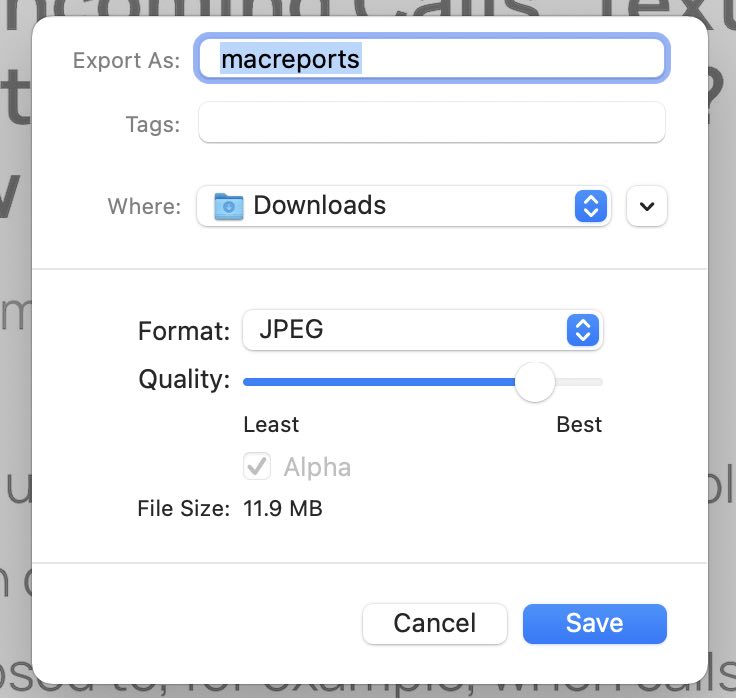
7. Now we will export this as a JPEG file. We won’t play with the Quality option unless you want to decrease the quality. We will rename this as macreports-2 so that we can compare the size with the original.
8. The new JPEG file will be creased. As you can size we were able to decrease the size greatly without losing quality. The new file is 379 KB, the original was 746 KB.
9. Then, if you want, you can further reduce the size. Go to Tools > Adjust Size. Change the dimensions and click OK.
See also:

