File Can’t Be Found Error in macOS Ventura
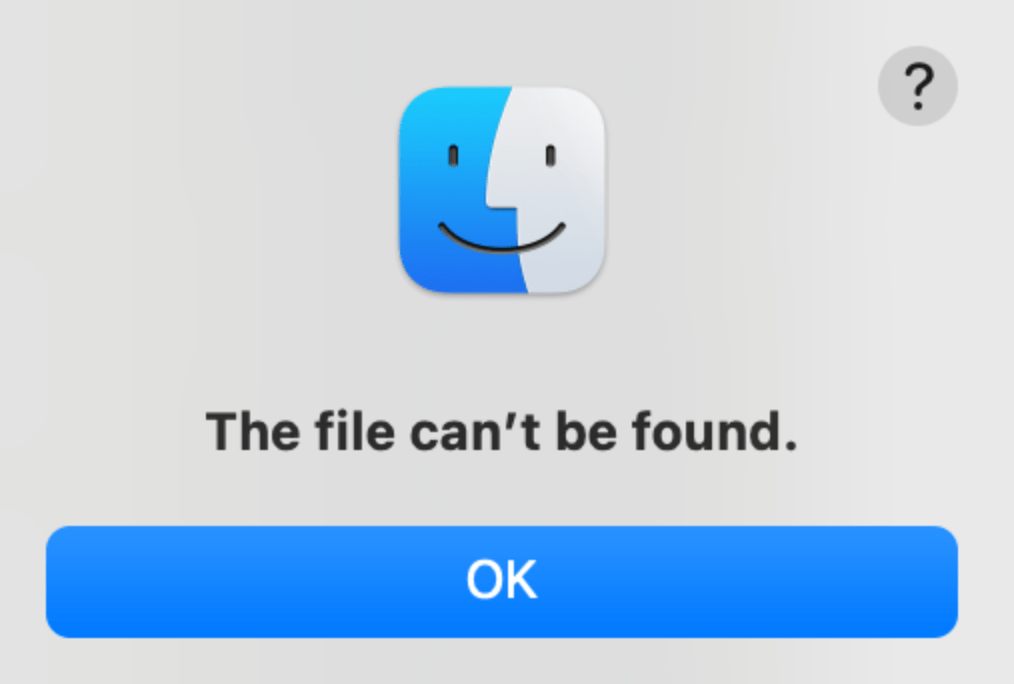
Some users have said that they see The “file name” can’t be found error messages when they want to open files after updating to macOS Ventura. You can see the error screenshot below. It seems that various file types are affected by this problem, including PDF, DOC, JPG, PNG and more. However, not all of your files may be affected. It may seem like some of your files are randomly affected. When a file is double-clicked to open, users see this notification instead of the file. Some said that when they double-clicked again, they could then open the file. If you are having this problem, you may not be able to view and edit your files until you fix the problem. In this article, I explain what you can do to address the issue.
What to do if you see the “File can’t be found” error message
First of all, this problem is not specific to Ventura, and we have written about this problem before. The previous versions of macOS software may also suffer from this problem. You may want to read that article, too, as it may have other tips that this article does not have. Here is the link:
Try the following:
- Restart your Mac. Simply turn off your Mac (Apple menu > Shut Down) and then press the Power button to turn it back on.
- Check if there is an updated version of Ventura by going to System Settings > General > Software Update.
- If you are having this issue with Finder, restart Finder. Here is how:
- Press and hold the Option key.
- Right-click (two-finger if you use a trackpad) the Finder icon in the Dock.
- Select Relaunch.
- Alternatively, you can use the killall Finder command in Terminal.
- Restart your Mac in Safe Mode. Try to open files in Safe Mode. And then exit Safe Mode. Safe Mode is a special state of macOS. It is a great way to troubleshoot issues like this. Restarting in Safe Mode is easy; you will just need to follow a few simple steps. The following steps will put your Mac into Safe Mode. To exit Safe Mode, simply restart your Mac.
- Apple silicon Mac: Turn off your Mac. Ensure that your Mac is completely off. Then press and hold the Power button until the startup options appear. Select your startup disk (e.g., Macintosh HD)and press and hold the Shift key and click Continue in Safe Mode.
- Intel Mac: Turn off your Mac and wait for your Mac to turn off fully. Turn on your Mac and immediately press and hold the Shift key until you see the login window, and then log in.
- There may be other workarounds you may try if you want:
- Try to rename the file you can’t open and try again.
- Move the file to another location and try again. For example, if the file is in the Download folder, move to the Desktop and then try to open it.
- After getting the error message, click OK to exit and try to open the same file again by clicking it again.
LaunchAgents and LaunchDaemons
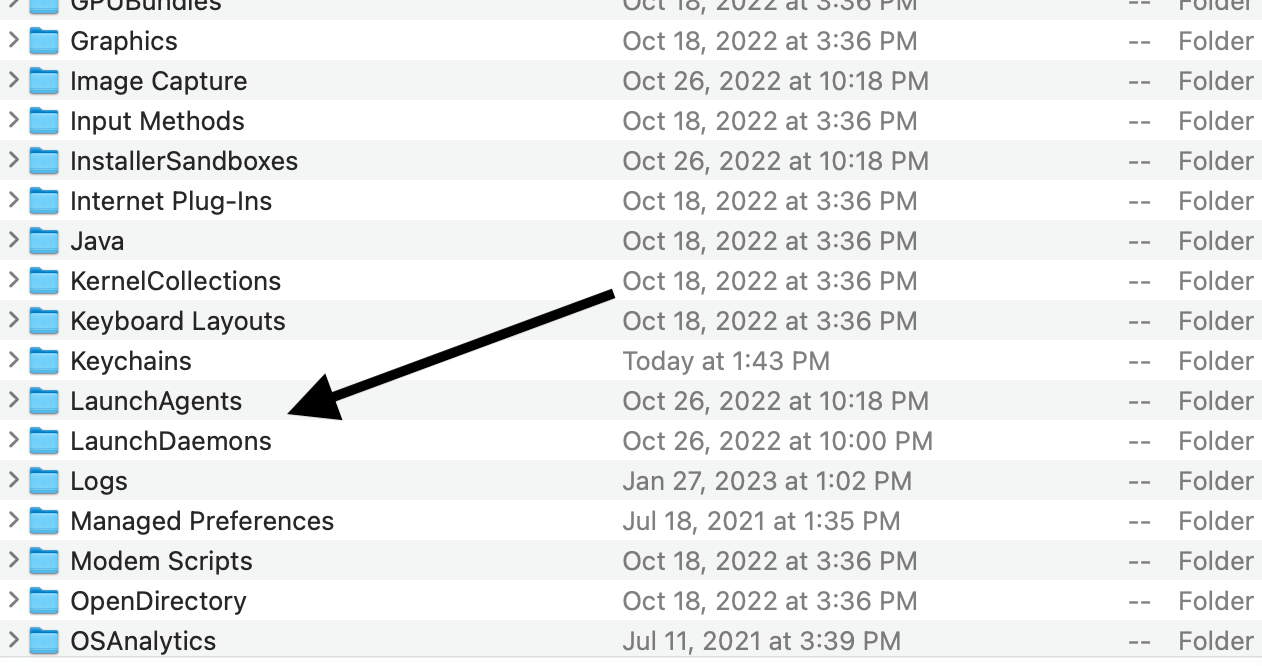
If you are still having this issue, there may be issues with your LaunchAgents and LaunchDaemons. Your previously deleted apps may have leftovers there, causing issues. They are located in the Library folder. There are two Library folders; you should do these for both of them. Here is what you can do:
- Open Finder.
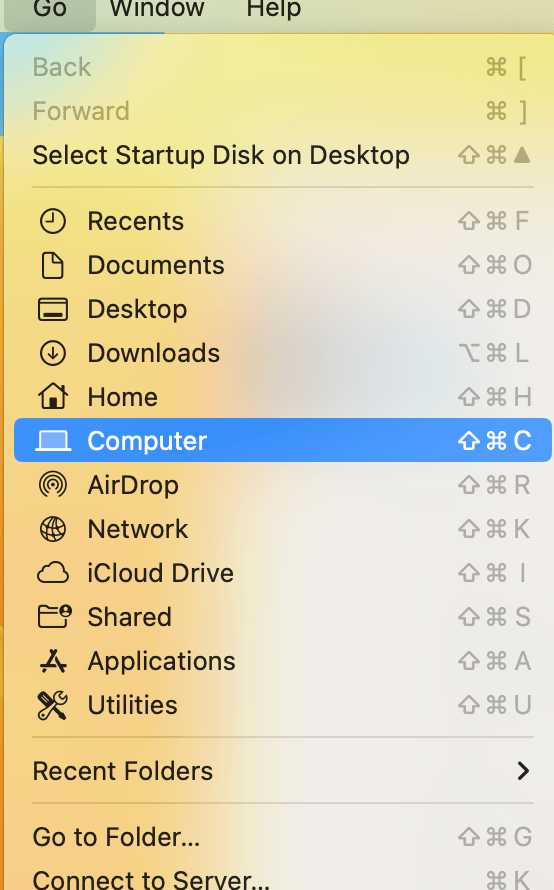
- Click Go from the top menu bar.
- Then go to Computer > Macintosh HD > Library. Find the LaunchAgents and LaunchDemons folders. Open them to see if they have remnants of uninstalled apps. If so, delete them. Do NOT delete anything that belongs to currently installed apps.
Now, we will open the other Library folder and delete the remnants of deleted apps. Here is how:
- Go to Finder.
- Click Go.
- Now press and hold the Option key, and the Library option will appear.
- Click Library.
- Open the LaunchAgents and LaunchDaemons folders and do the same thing as above.
Related articles

Relaunching Finder worked for me.