How to Add a New Language to Mac’s Spell Check
Did you know that you can add new spell check languages to your Mac? The spelling check in macOS provides spell check for 24 languages. They are English, Irish, Arabic, Spanish, Punjabi, French, German, Czech, Danish, Italian, Hungarian, Dutch, Norwegian, Polish, Portuguese, Romanian, Finnish, Swedish, Vietnamese, Turkish, Greek, Russian, Hindi, Telugu, and Korean. Some languages, like English, have multiple variations, such as Canadian, British and U.S. English.
Of course, there are more languages in the world than these 24. What if you want the ability to spell check for a new language that isn’t included by default? You can do it easily, and in this article, I explain how.
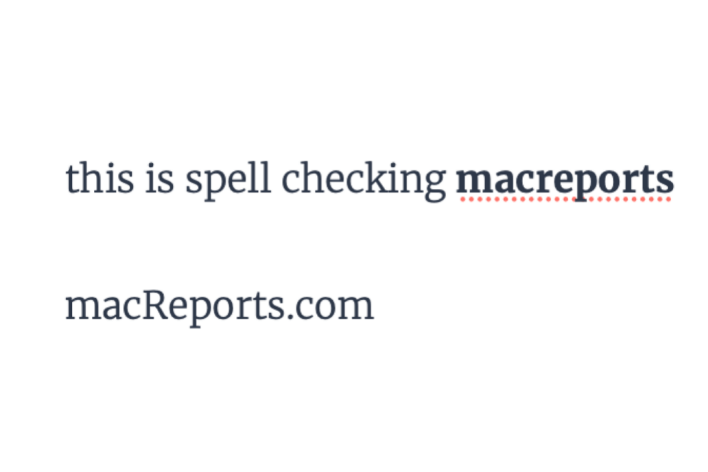
Spell check is a very useful tool that I use often. It is part of the macOS operating system. It works in many apps such as Mail, Messages or Safari. As I type along, I make mistakes often. Spellcheck allows me to fix the mistakes. It automatically checks spelling and grammar to help you correct typos and misspellings. The way it works is that it highlights mistakes and, optionally, autocorrects them if you would like. As you can see below, the word macreports is highlighted:
Steps to add a new language dictionary to macOS
- The first step is to find the new language dictionary files to be installed. The extensions for spell-checking language files are .dic and .aff. You can easily find these files online. For example, you can find them on GitHub. Here are a few links you can use:
- titoBouzout on Github.
- wooorm on Github.
- Thai Dictionary on Github (In this article, I will use this to show you how you can add this to your Mac)
- There are many more. You can do a search on GitHub or Google to locate more.
- As I said above, I will add a Thai dictionary for spell check. I will download the .dic and .aff files onto my Mac.

- Now, I will need to move these downloaded dictionary files to the Spelling folder in my Library folder. There are a few ways to open the Library and then the Spelling folder. Here are two of them. You can use one:
- In Finder, click Go and then Go to Folder from the top menu bar. Enter ~/Library/Spelling and hit Enter to open it (see the screenshot below).
- Alternatively, you can press and hold the Option key and click Go and Library in Finder. This will open the Library folder and then find and open the Spelling folder inside it.
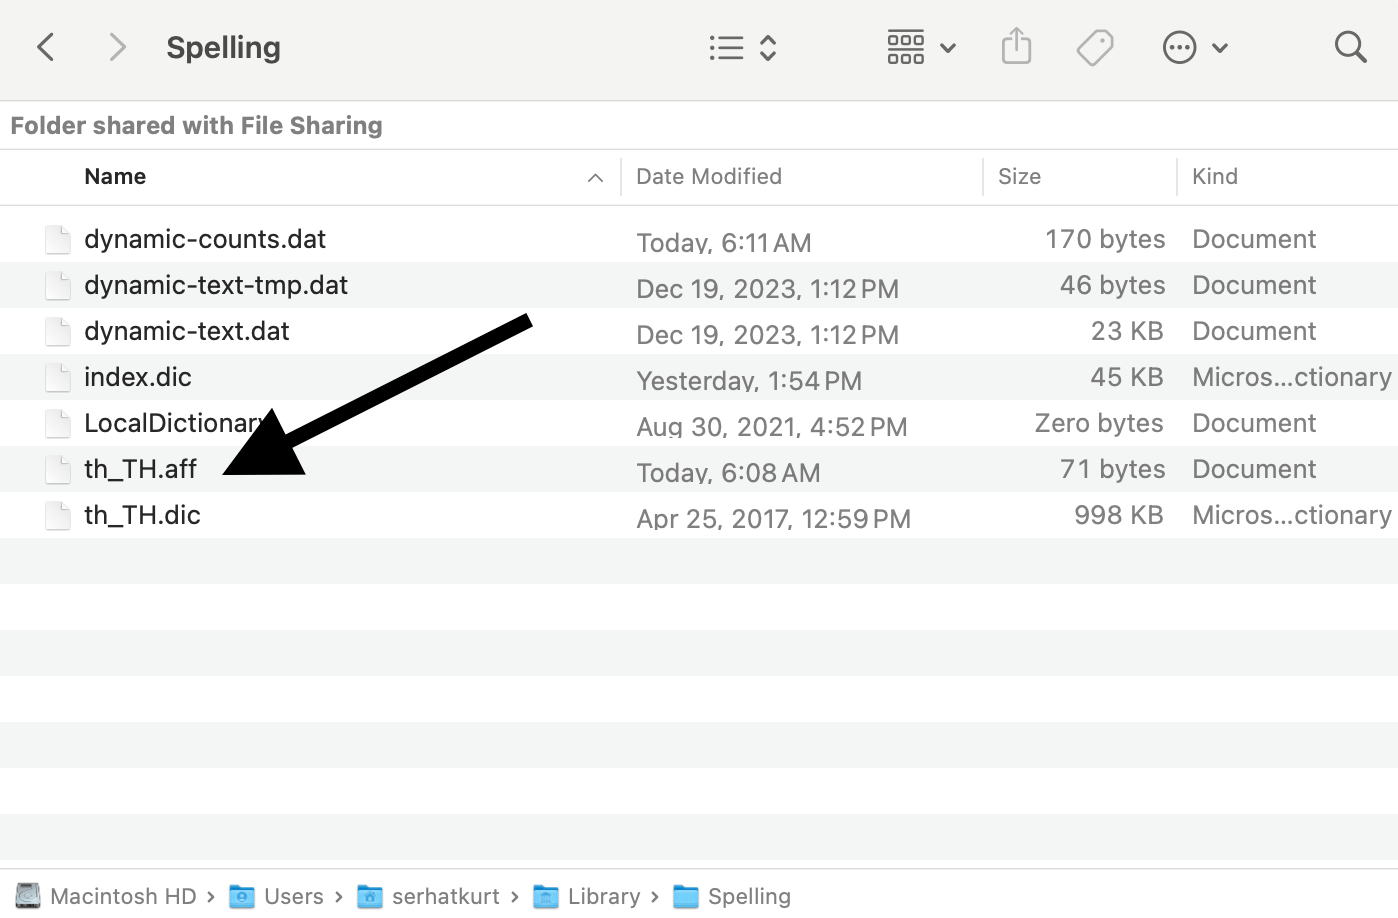
- Now, move the .dic and .aff files to this folder, as you can see below. You will need to move both of these files. Copying just one of them will not work:
- I will restart my Mac so that macOS can start seeing these files. You can do so by going to the Apple menu and Restart.
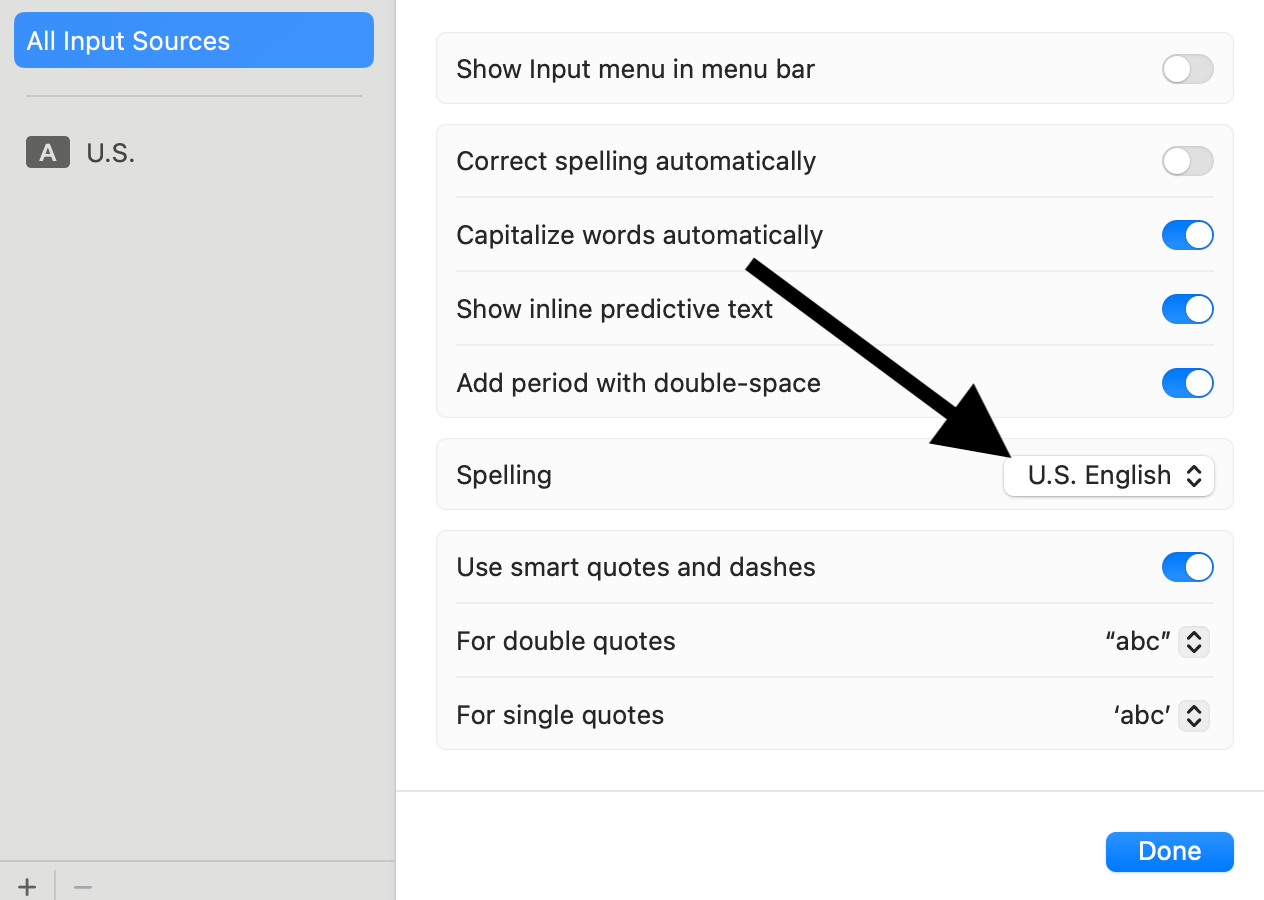
- After the restart, I will activate this new language in my Mac’s settings. First, open System Settings (Apple menu > System Settings). From the left sidebar, click Keyboard and then click Edit next to Input Sources.
- Click the arrows icon next to the Spelling option.
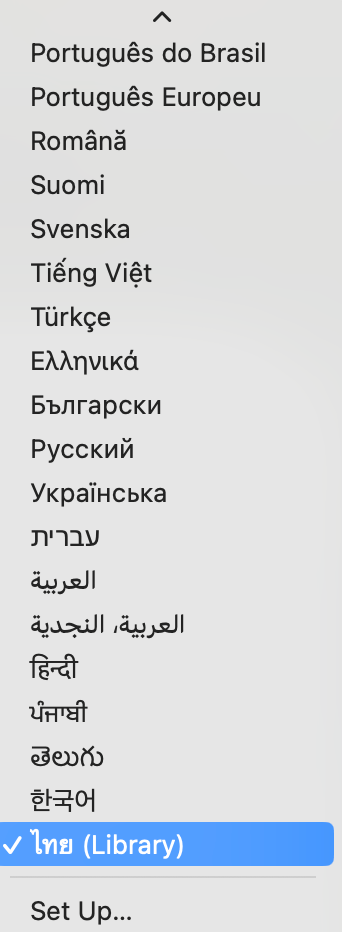
- Scroll all the way down and find the new language you just downloaded. Select it. Then, click Set Up and ensure that this language is already selected.
Now, you are done. Your Mac will spell check this new language. You should know that if you set the Automatic option, this new language may not work with the Automatic option.
Related articles

