How to Create a Guest User on Mac
If you ever let anyone else use your Mac — whether it is your spouse, friend, grandchild or anyone else, you need to have a guest user account set up. Without a guest account, another person could cause all kinds of trouble for you in so many different ways. There are certainly ways that someone could intentionally mess with your stuff:
- Deleting files.
- Looking at private files.
- Using your social media and communication apps to impersonate you and send messages (to friends, family, bosses).
But there are plenty of ways someone could unintentionally cause trouble, too, including:
- Accidentally deleting or altering files.
- Accidentally using your email address instead of their own.
Setting up a guest user account is one way to protect your data, privacy and reputation. In this article, we will tell you how you can do this. After you have a guest user on your Mac, you can let anyone who borrows your Mac log in with the guest account.
Create a guest user on Mac
Having a guest user on your Mac is a convenient way to let others use your computer. Guest users won’t have access to your private files, only the Public and Desktop folders. Any files the Guest User creates are temporary and will be deleted when they log out. The Guest User login also doesn’t require a password.
- Open System Settings (or Preferences for macOS Monterey or earlier). Press Command-Space Bar, then type system settings.
- Click on Users & Groups.

- In the list of users, you should see Guest User. Click on the info (i) button.
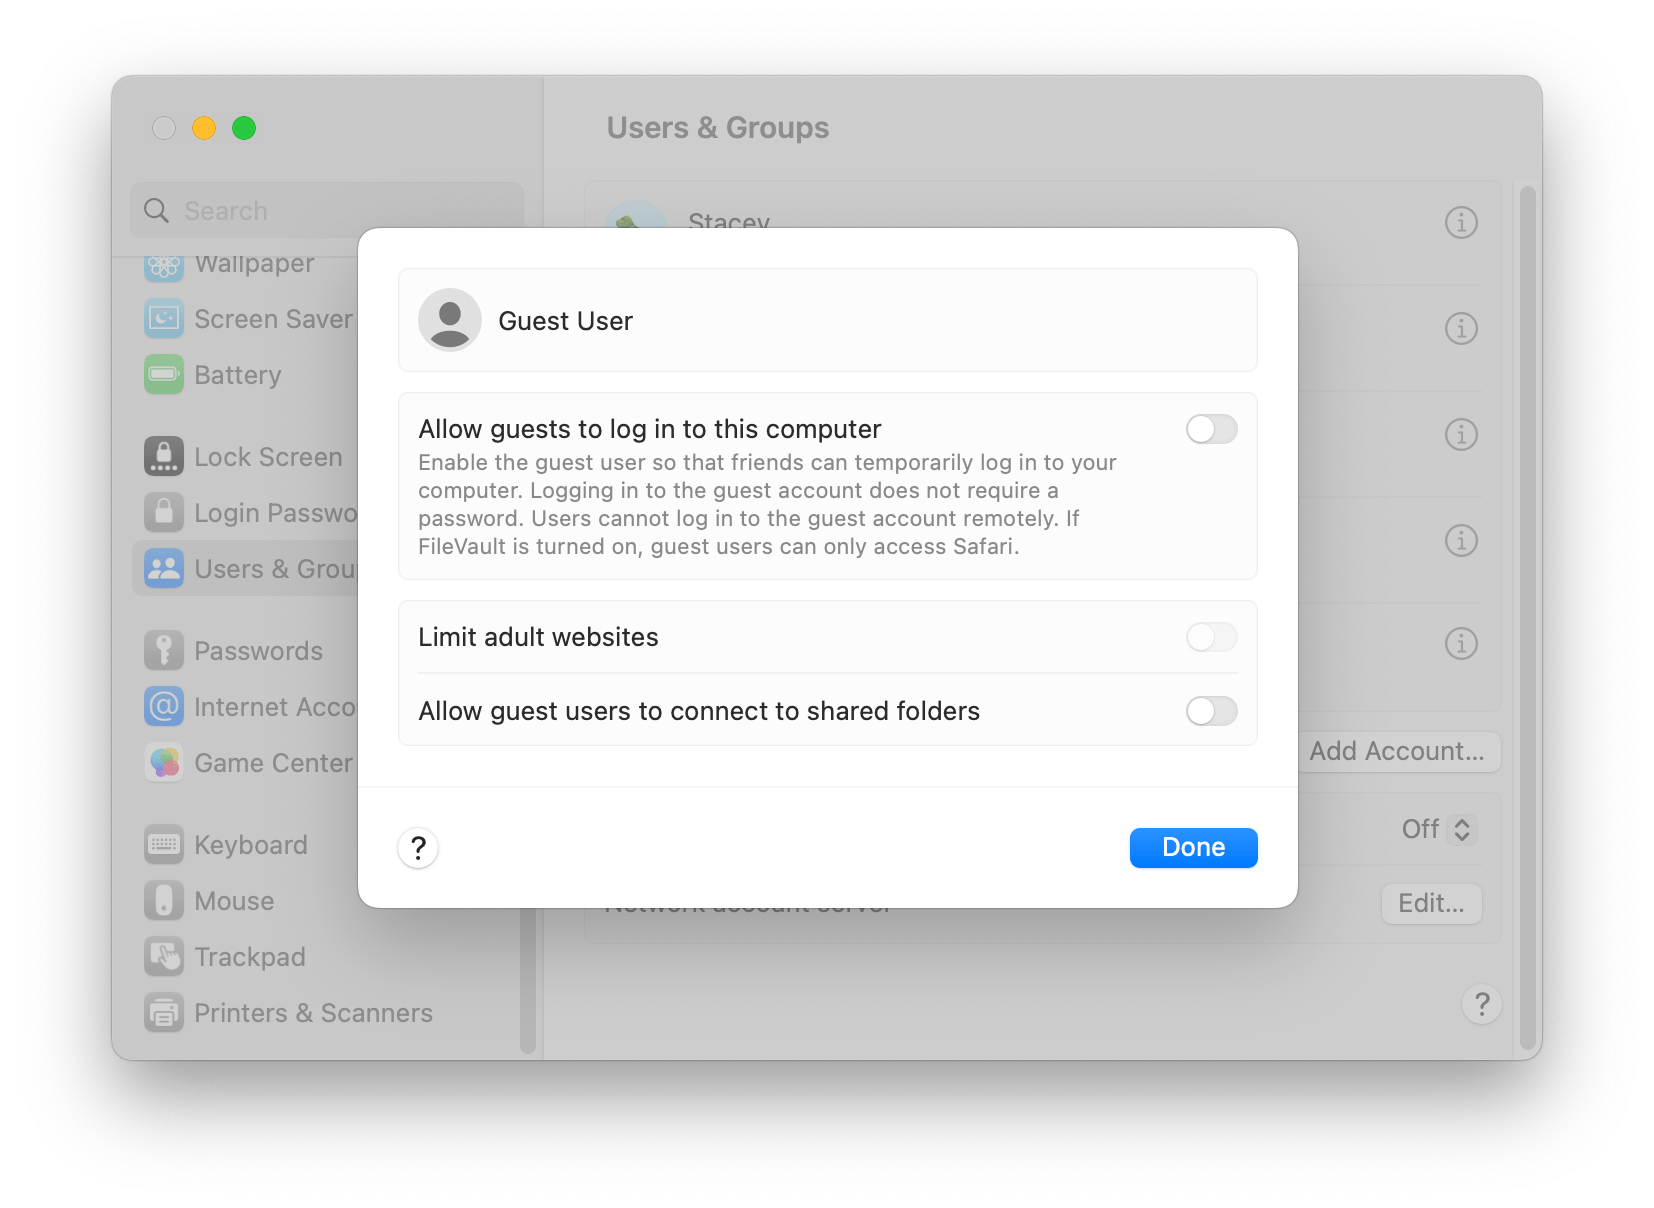
- Toggle the switch next to “Allow guests to log in to this computer.”
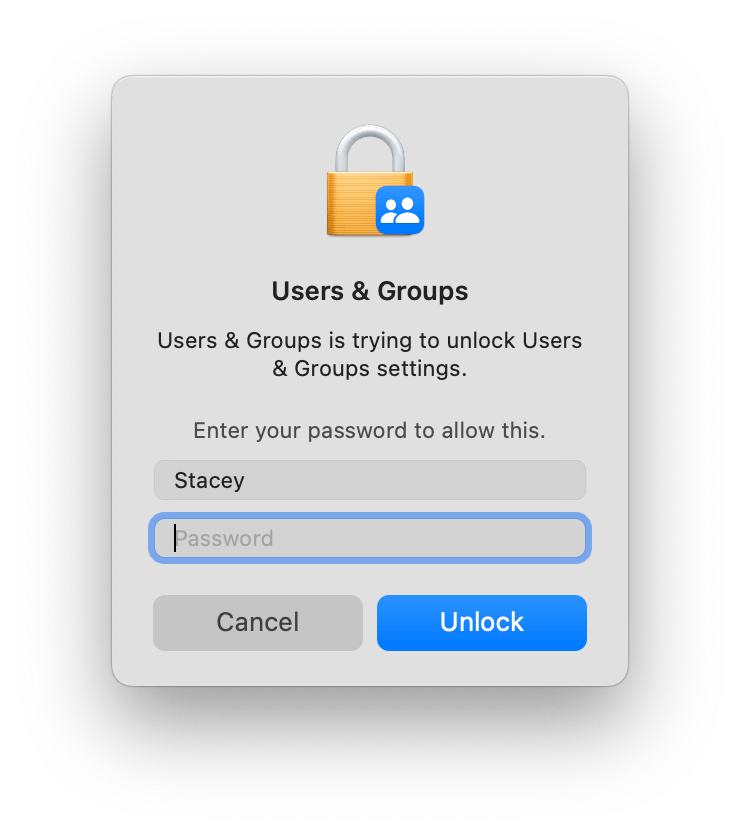
- Enter your (admin) user password to continue.
- You can choose to “Limit adult websites” or “Allow guest user to connect to shared folder.”
- Click on Done.
Related articles