How to Scan Documents on iPhone
This tip is arguably the easiest and fastest way to scan a document using the native Notes app on your iPhone. You can use this tip to quickly scan receipts, papers, letters, invoices and more to turn them into searchable PDF documents. You can also scan images, photos and texts if you like. Scanned items can then be shared with others, such as via emails, messages or AirDrop. You should note that you can also scan documents from your iPhone or iPad to your Mac using the Continuity camera.
Scanning used to be more difficult, requiring additional hardware along with your computer. Many people owned scanners that looked like printers just to scan their papers. Many printers also have scanning functions. Now, all you need is your iPhone.
How to start scanning documents with iPhone
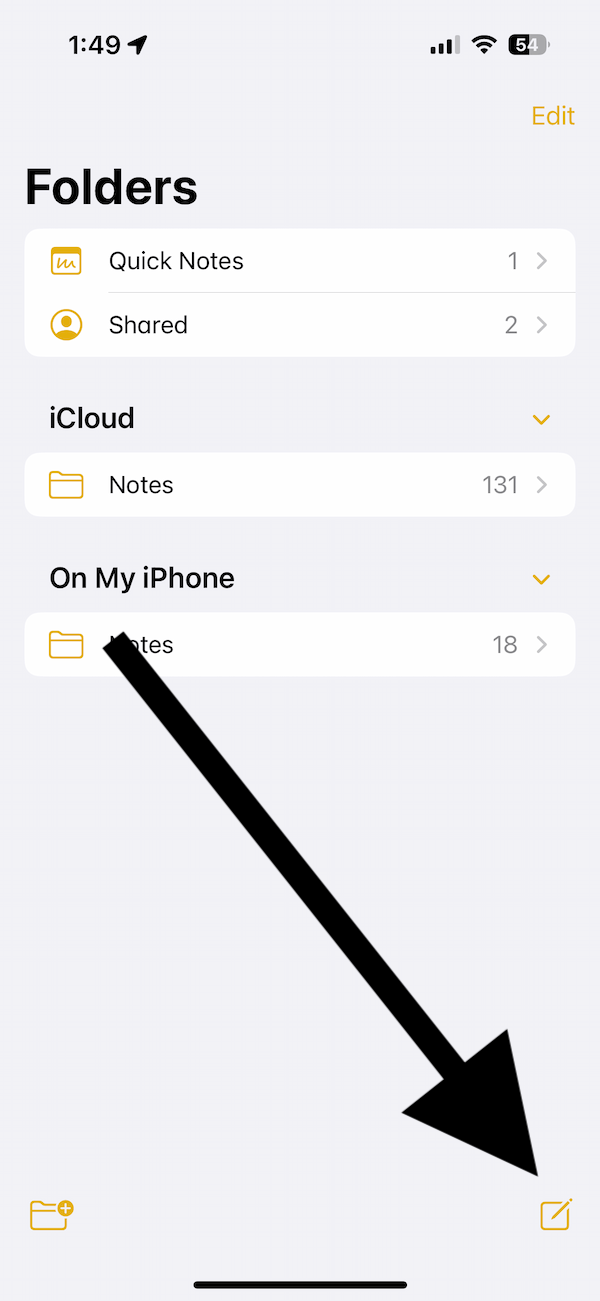
Your iPhone’s Notes app has the capabilities to be an effective PDF scanner. Open the Notes app on your iPhone, then open an existing note or tap the Compose button to create a new note.
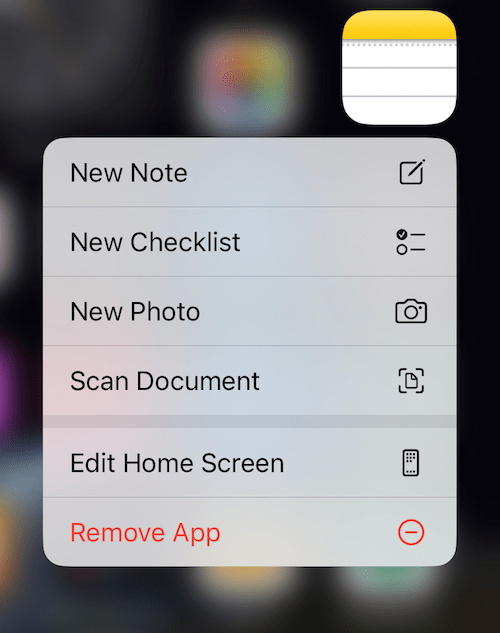
Bonus tip: If you want to scan an item quickly, you can use the app’s shortcut menu. This will let you scan something without opening the Notes app first. Tap and hold the Notes app icon and then select Scan Document, as you can see in the screenshot below.
In Notes, when you are ready, you will notice the Camera button at the bottom menu bar or at the top of the virtual Keyboard. Tap the Camera button, then select Scan Documents. If you do not see the Camera icon, tap the add (+) button to make it appear.

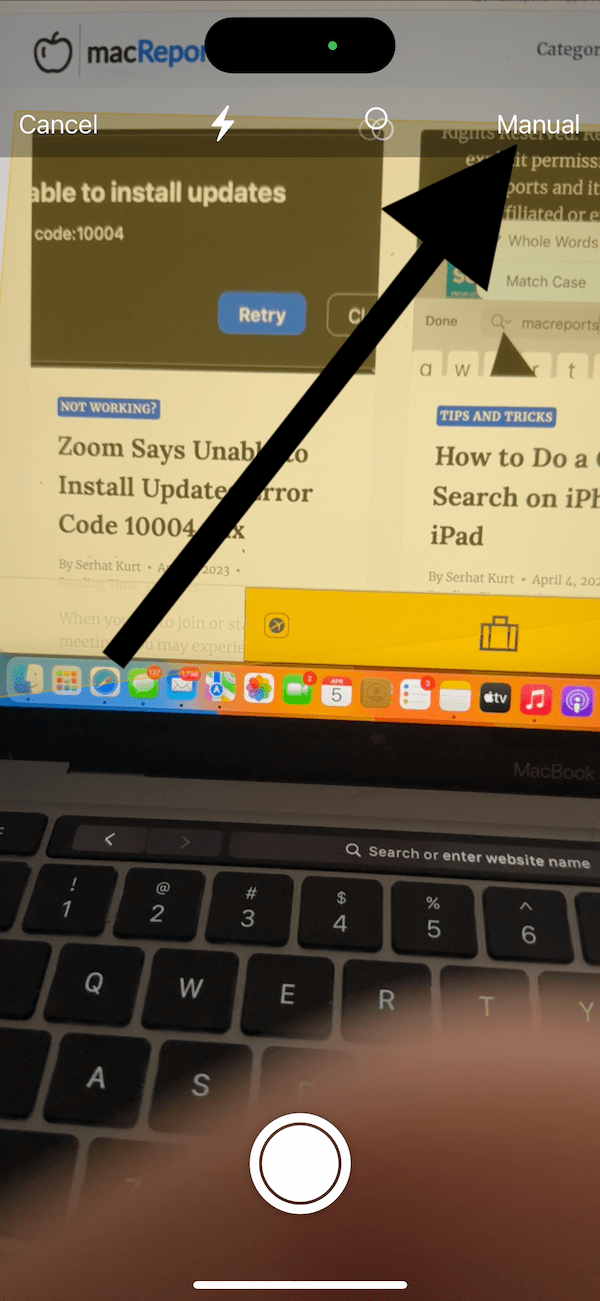
The Camera view will open. There are two modes for Scanning documents: Auto and Manual. You can switch between them by tapping Auto or Manual in the top-right corner of the screen. There are some differences between the two modes:
- Auto scanning mode: This is the default mode. If you are in Auto mode, the phone will automatically scan documents as soon as the iPhone determines that conditions (scan edges, light, etc.) for the scan are met. You do not need to tap the Shutter button.
- Manual scanning mode: You will arrange the proper conditions for the scan. Then you will need to tap the Shutter button.
Scan with Auto mode
In Auto mode, you do not need to press the Shutter button. The iPhone will automatically start the scan as soon as you position the object in view. When the document is scanned, you will hear a camera shutter sound. You can tap the Save button to save the document. If you do not tap the Save button, your iPhone will automatically keep scanning so that you can add multiple pages to your PDF document. Tap Cancel if you want to abort the scanning. When you are done, tap Save.
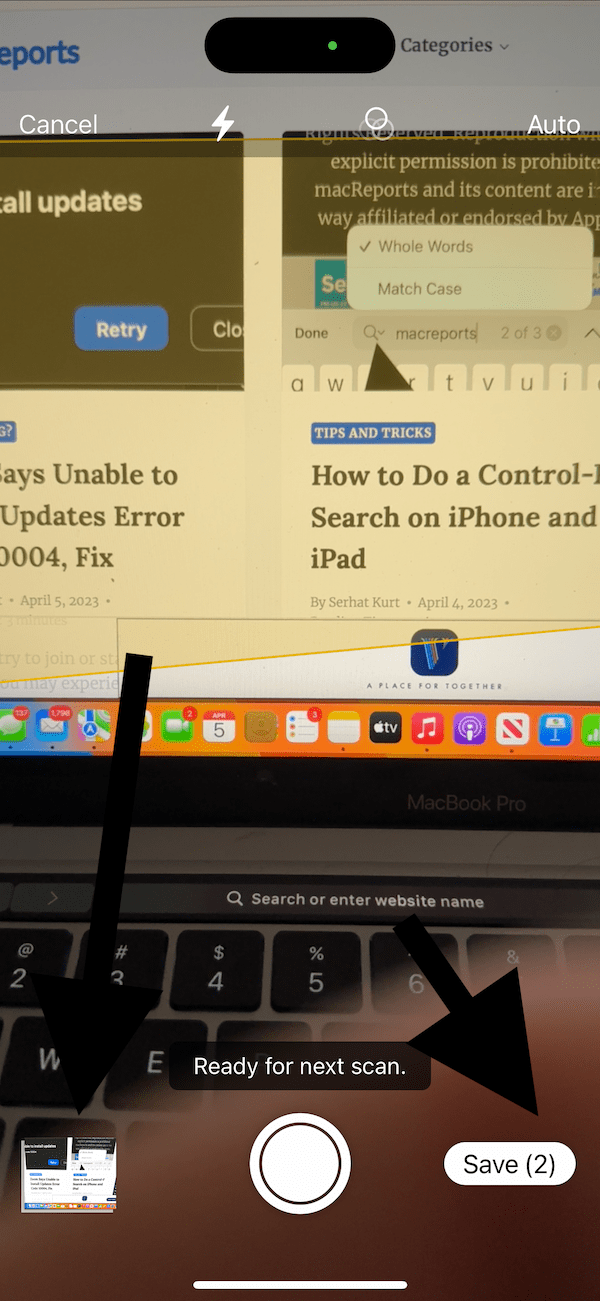
You can adjust the edges, too, if needed. Tap the little scanned item thumbnail that appears after a scan is done. Then you can adjust the corners.
Scan with Manual mode
In Manual mode, there is a little bit more work, but that brings you more control. When you position the document in the camera view, tap the big Shutter button. The scan will not start unless you tap the Shutter button.
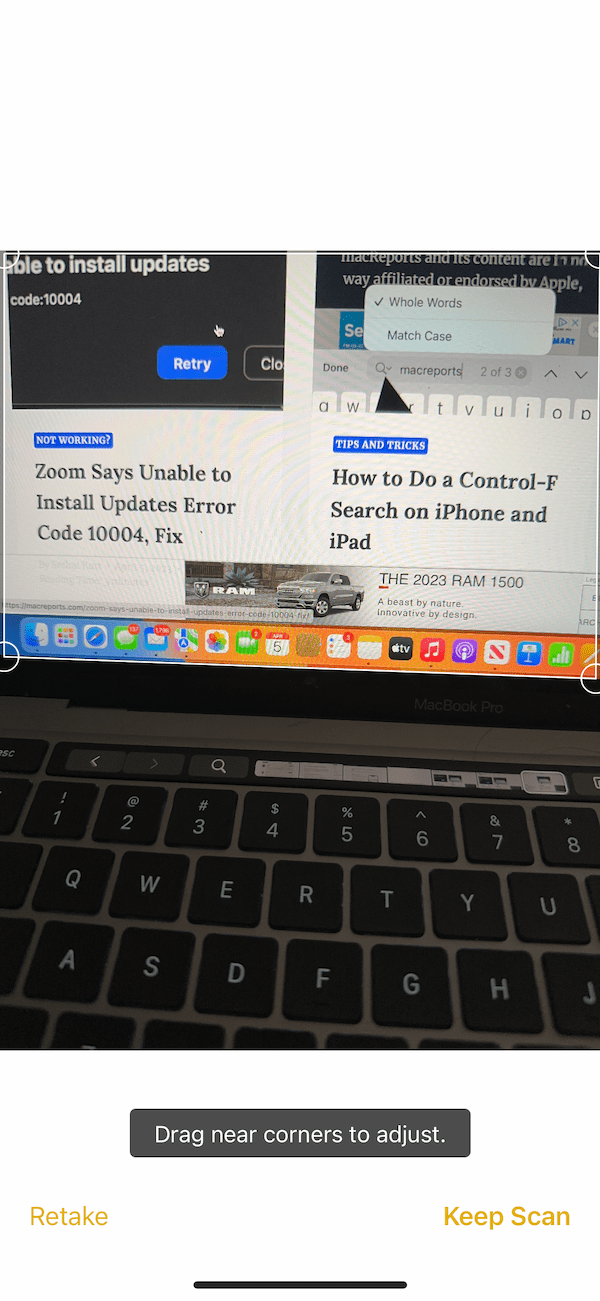
After tapping the Shutter button, you will be asked to adjust the edges, and then you can either retake it or keep it. If you tap Retake, you will be taken to the Scan view again to retake the scan. If you tap Keep Scan, then you will be taken to the camera view, where you can take additional scans or save them.
After the Scan
After you scan your document, the scanned document will be embedded in your note. If you want to export the PDF file, tap and hold the scanned objects in the note, and then tap Share. Alternatively, tap the scanned file once and then tap Share. This way, you will be able to export only the PDF file instead of the note. You can also share the note with the scanned document inside.
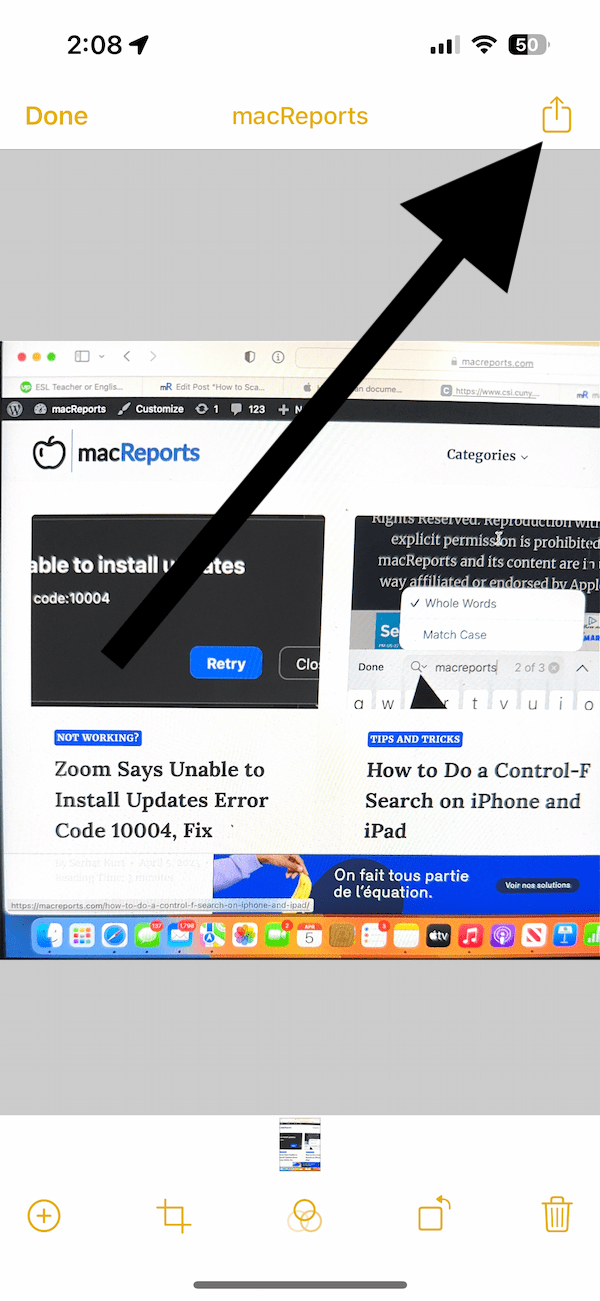
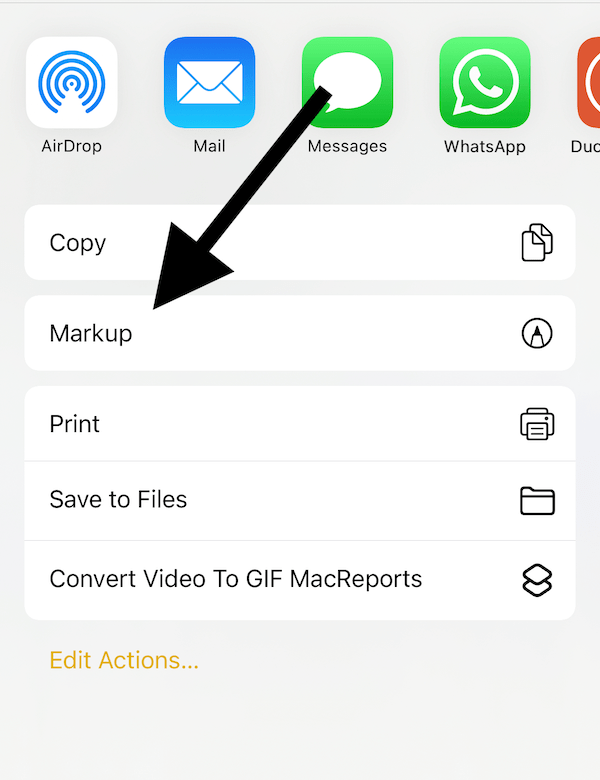
You can also annotate or add your signature to the scanned document. Simply tap the scanned file in your notes, tap the Share button and then tap Markup.
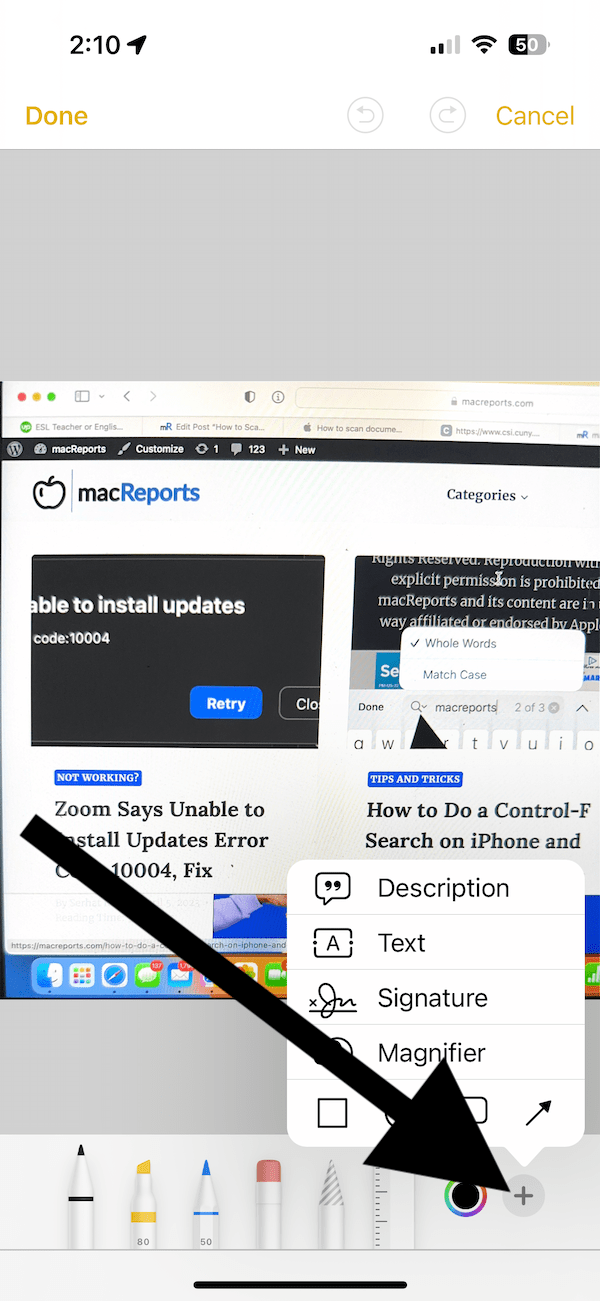
Tap the add (+) button to add a signature or add other markup items such as texts, notes, etc.
Related Scanning and Notes articles

