How to Set Up the iRobot Roomba j7+
Robot vacuums are popular for a reason. Many people are busy, and most don’t want to vacuum as often as they would need to to keep their home as clean as they would like it to be. This is especially true for those with pets that leave hair and dirt on the floor and for those with small children that crawl around on the floor.
A robot vacuum is one of the automations we can get today. Vacuums like the Roomba j7+ from iRobot offer the highest level of automation with its self-emptying base. This means you should only have to tend to the Roomba every month or two to change the bag that is housed in the base.
In this article, we’ll outline the steps to help get you started with your new iRobot Roomba j7+.
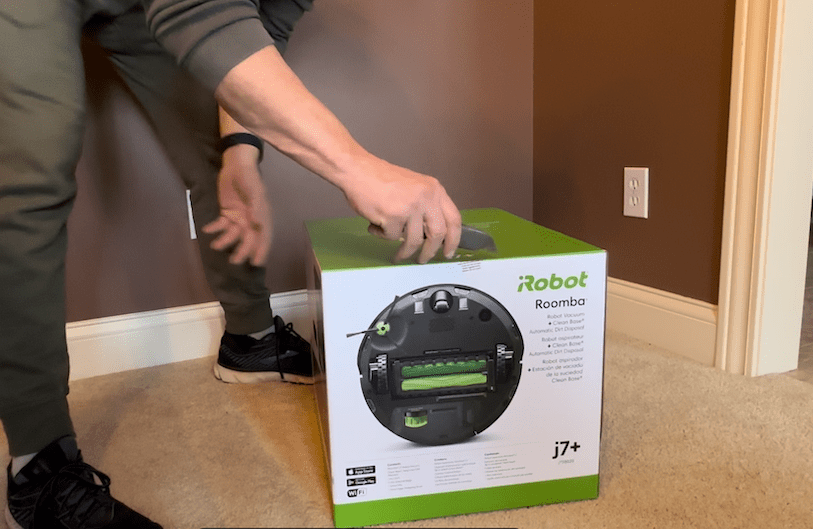
Unboxing
Make sure and put the extra accessories and the manual in a safe place for later use.
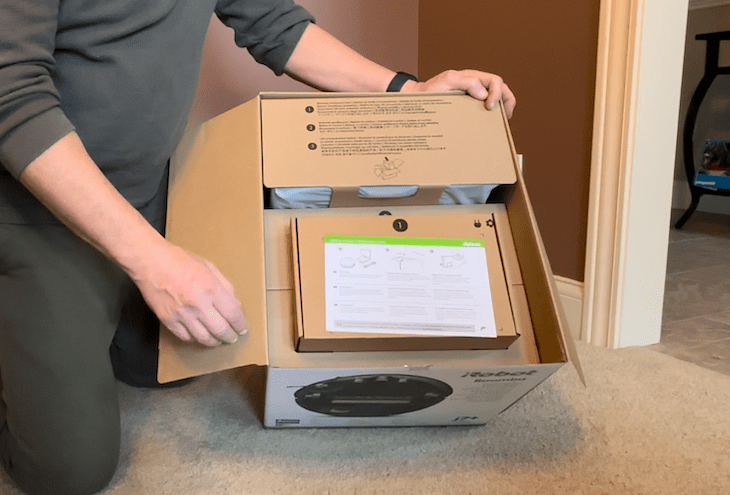
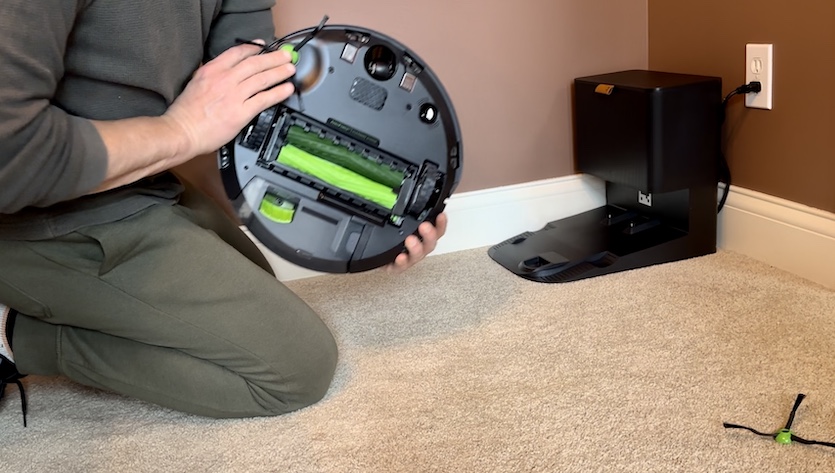
- Pull out boxes 1,2 and then 3. Set aside the accessories and manual. You will only need the power cord, Roomba and base for now.
- Gently lift the vacuum unit by the base.
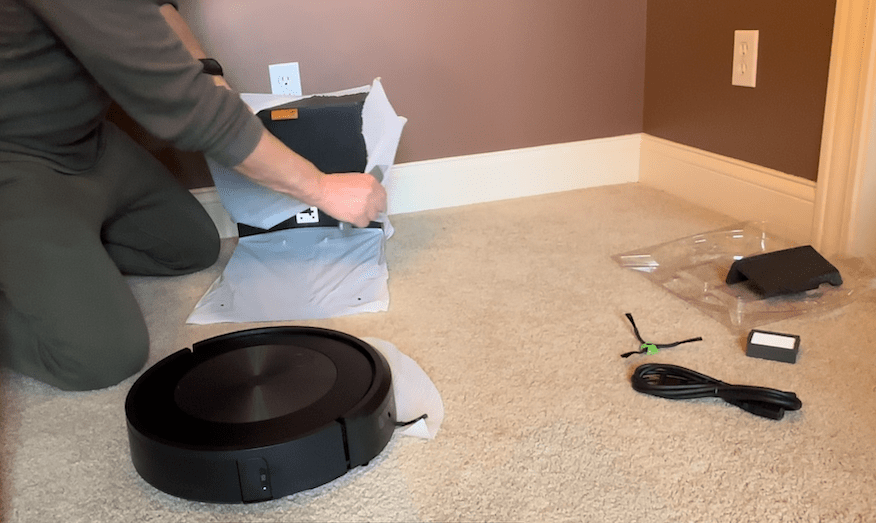
- Remove the protective wrap from the base. You may need scissors or a knife.
Place the Roomba base
Find a nice spot for your new vacuum out of the way of foot traffic, with plenty of room for your Roomba to enter and exit the base station.
- Find a spot in your house with good Wi-Fi.
- Plug the power cable into the base.
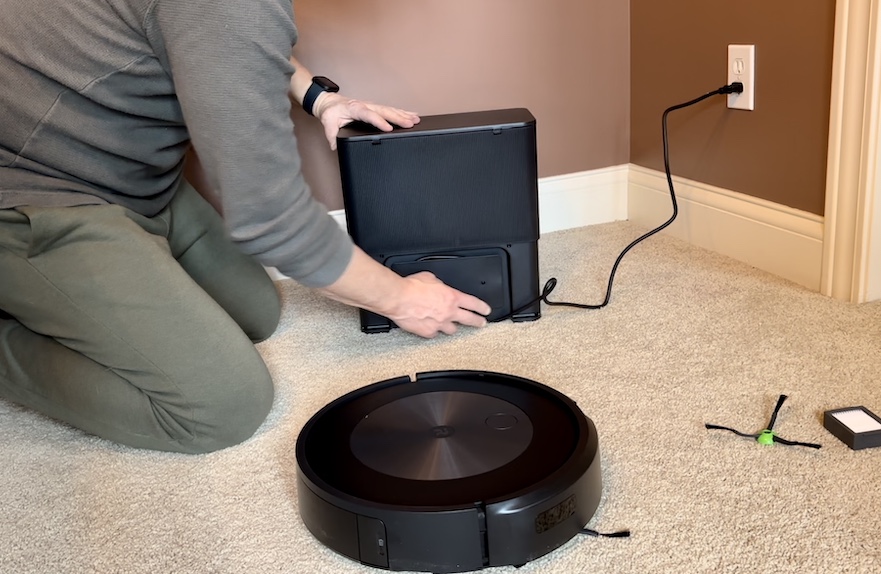
- Wrap the excess cord around the cord keeper.
- Plug the base into the wall outlet.
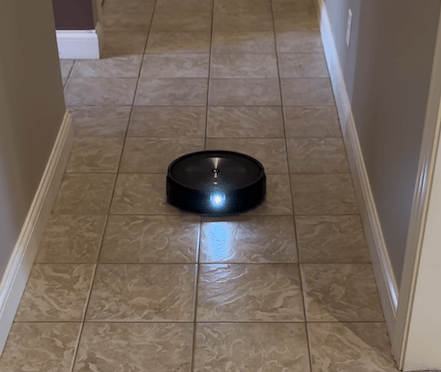
- Place the Roomba on its base. Make sure the metal contacts on the bottom of the vacuum line up with the contact points on the base and the wheels settle into place.
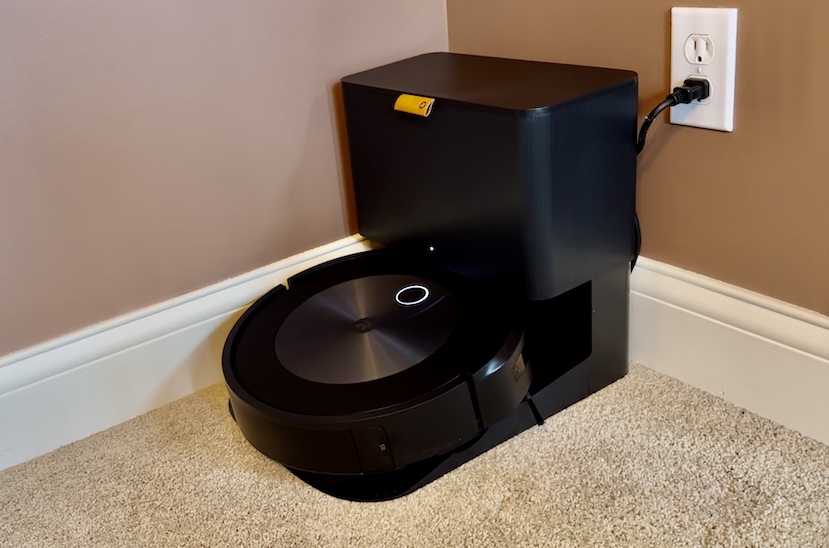
- Your Roomba should light up.
- When it wakes up, it will make a sound.
Download the Roomba app
When you are setting up your Roomba, you will need your Wi-Fi password so your Roomba can connect.
- Open the App Store on your iPhone (Play Store for Android) and download the iRobot Home app.
- Open the iRobot app and give it the necessary permissions, accept the license agreements, etc.
- Follow the onscreen instructions.
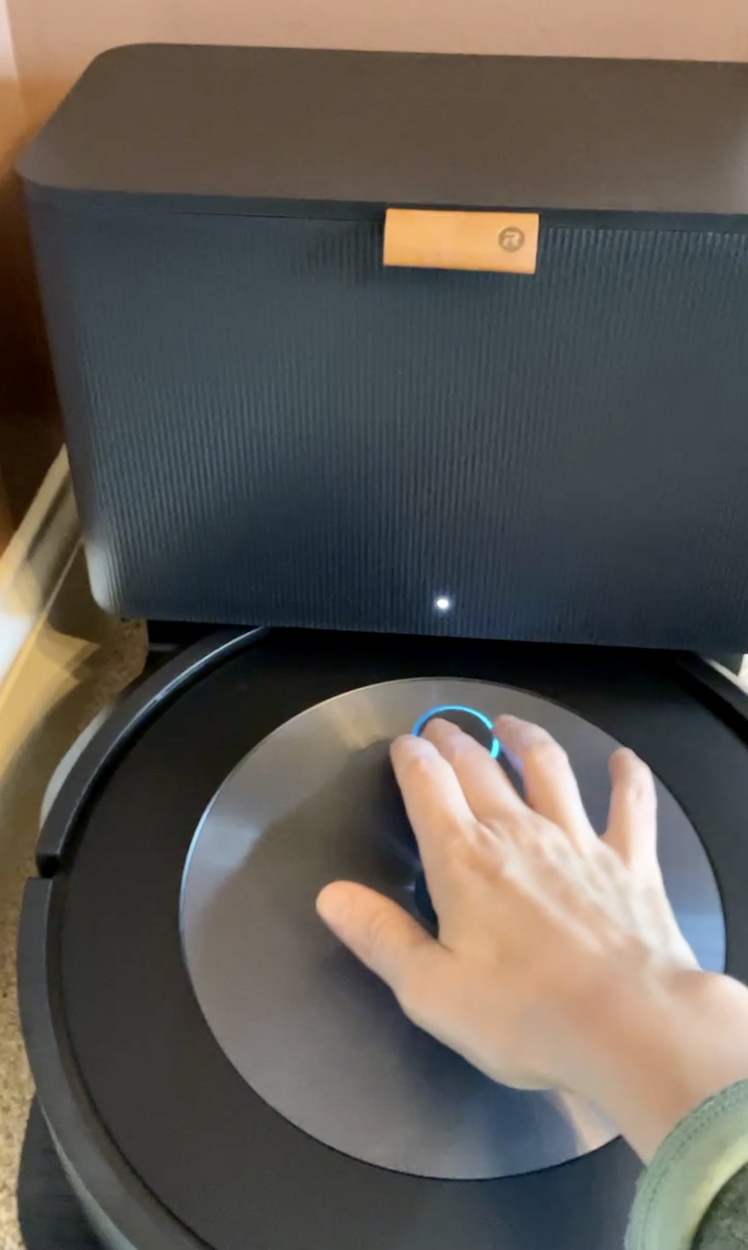
- Press the Roomba button when instructed.
The mapping run
The first thing you will do after putting your Roomba on its base and setting up the app is send your Roomba on a mapping mission.
- You will be prompted to send your Roomba on a mapping run.
- Let your Roomba run freely.
- Try to remove temporary obstacles like dog toys, humans and pets so it can make an accurate map.
- Open doors and turn lights on.
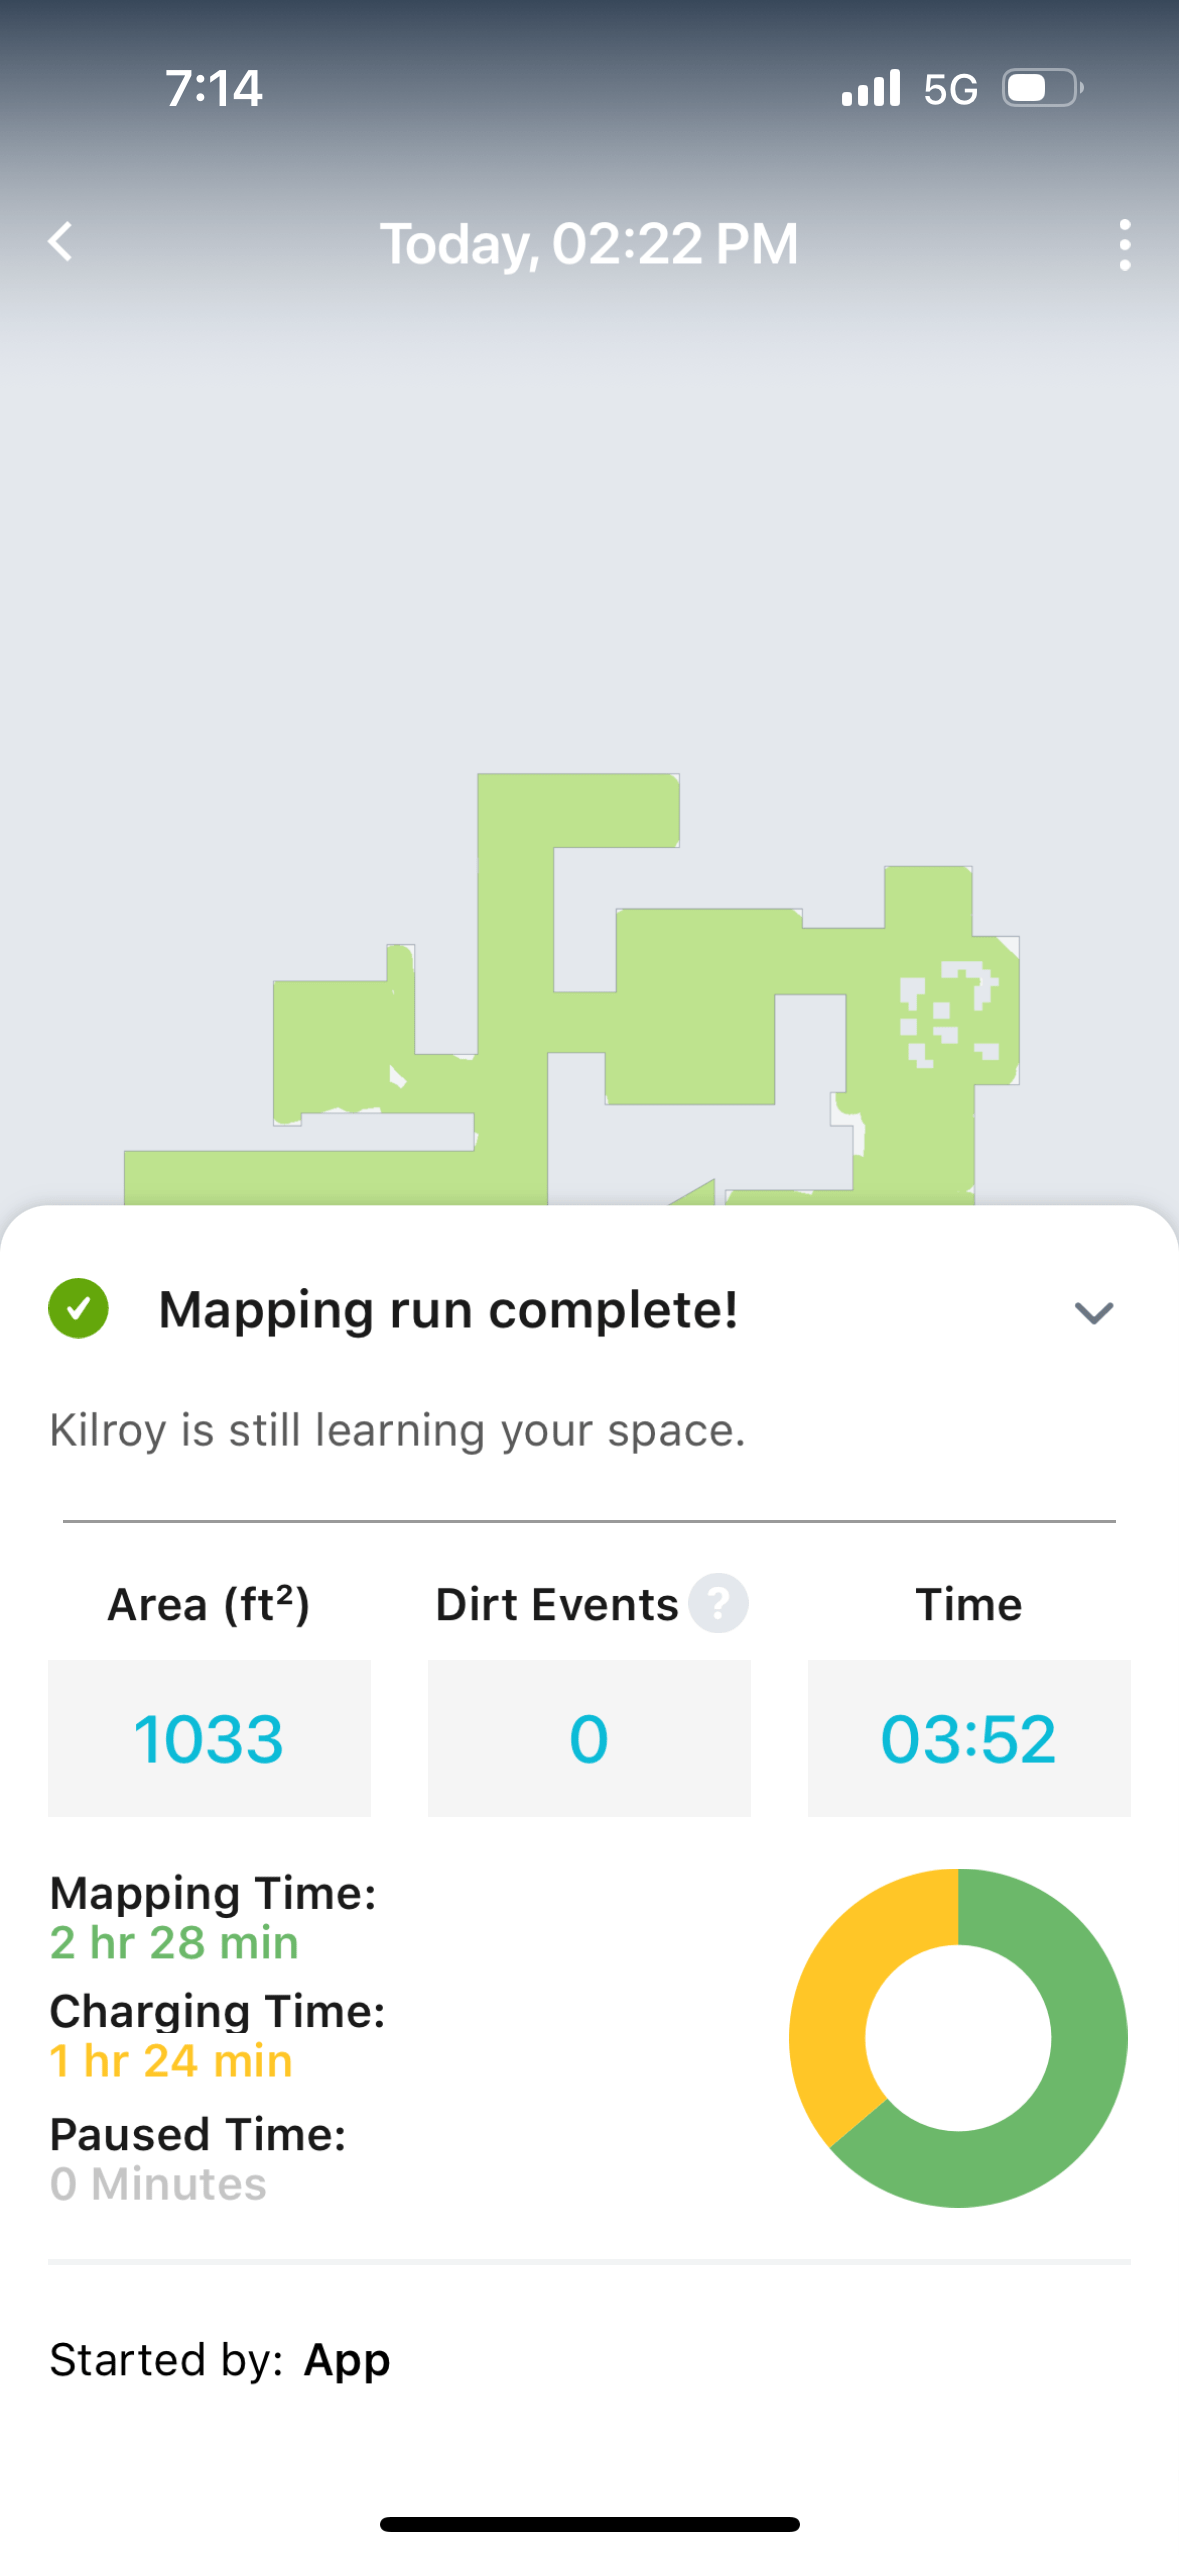
- It may take quite a while for your Roomba to map your home, depending on the size of your house. It may need to take a break to charge and then resume mapping. For us, it took almost 4 hours total, with about a 1 1/2 hour break for charging.
The first cleaning
You may want to send your new vacuum out on a cleaning mission before you decide on a schedule — just to check out its performance in your home. Before your new vacuum starts its first cleaning run, you will need to review and customize the map of your home.
Customize the map of your home
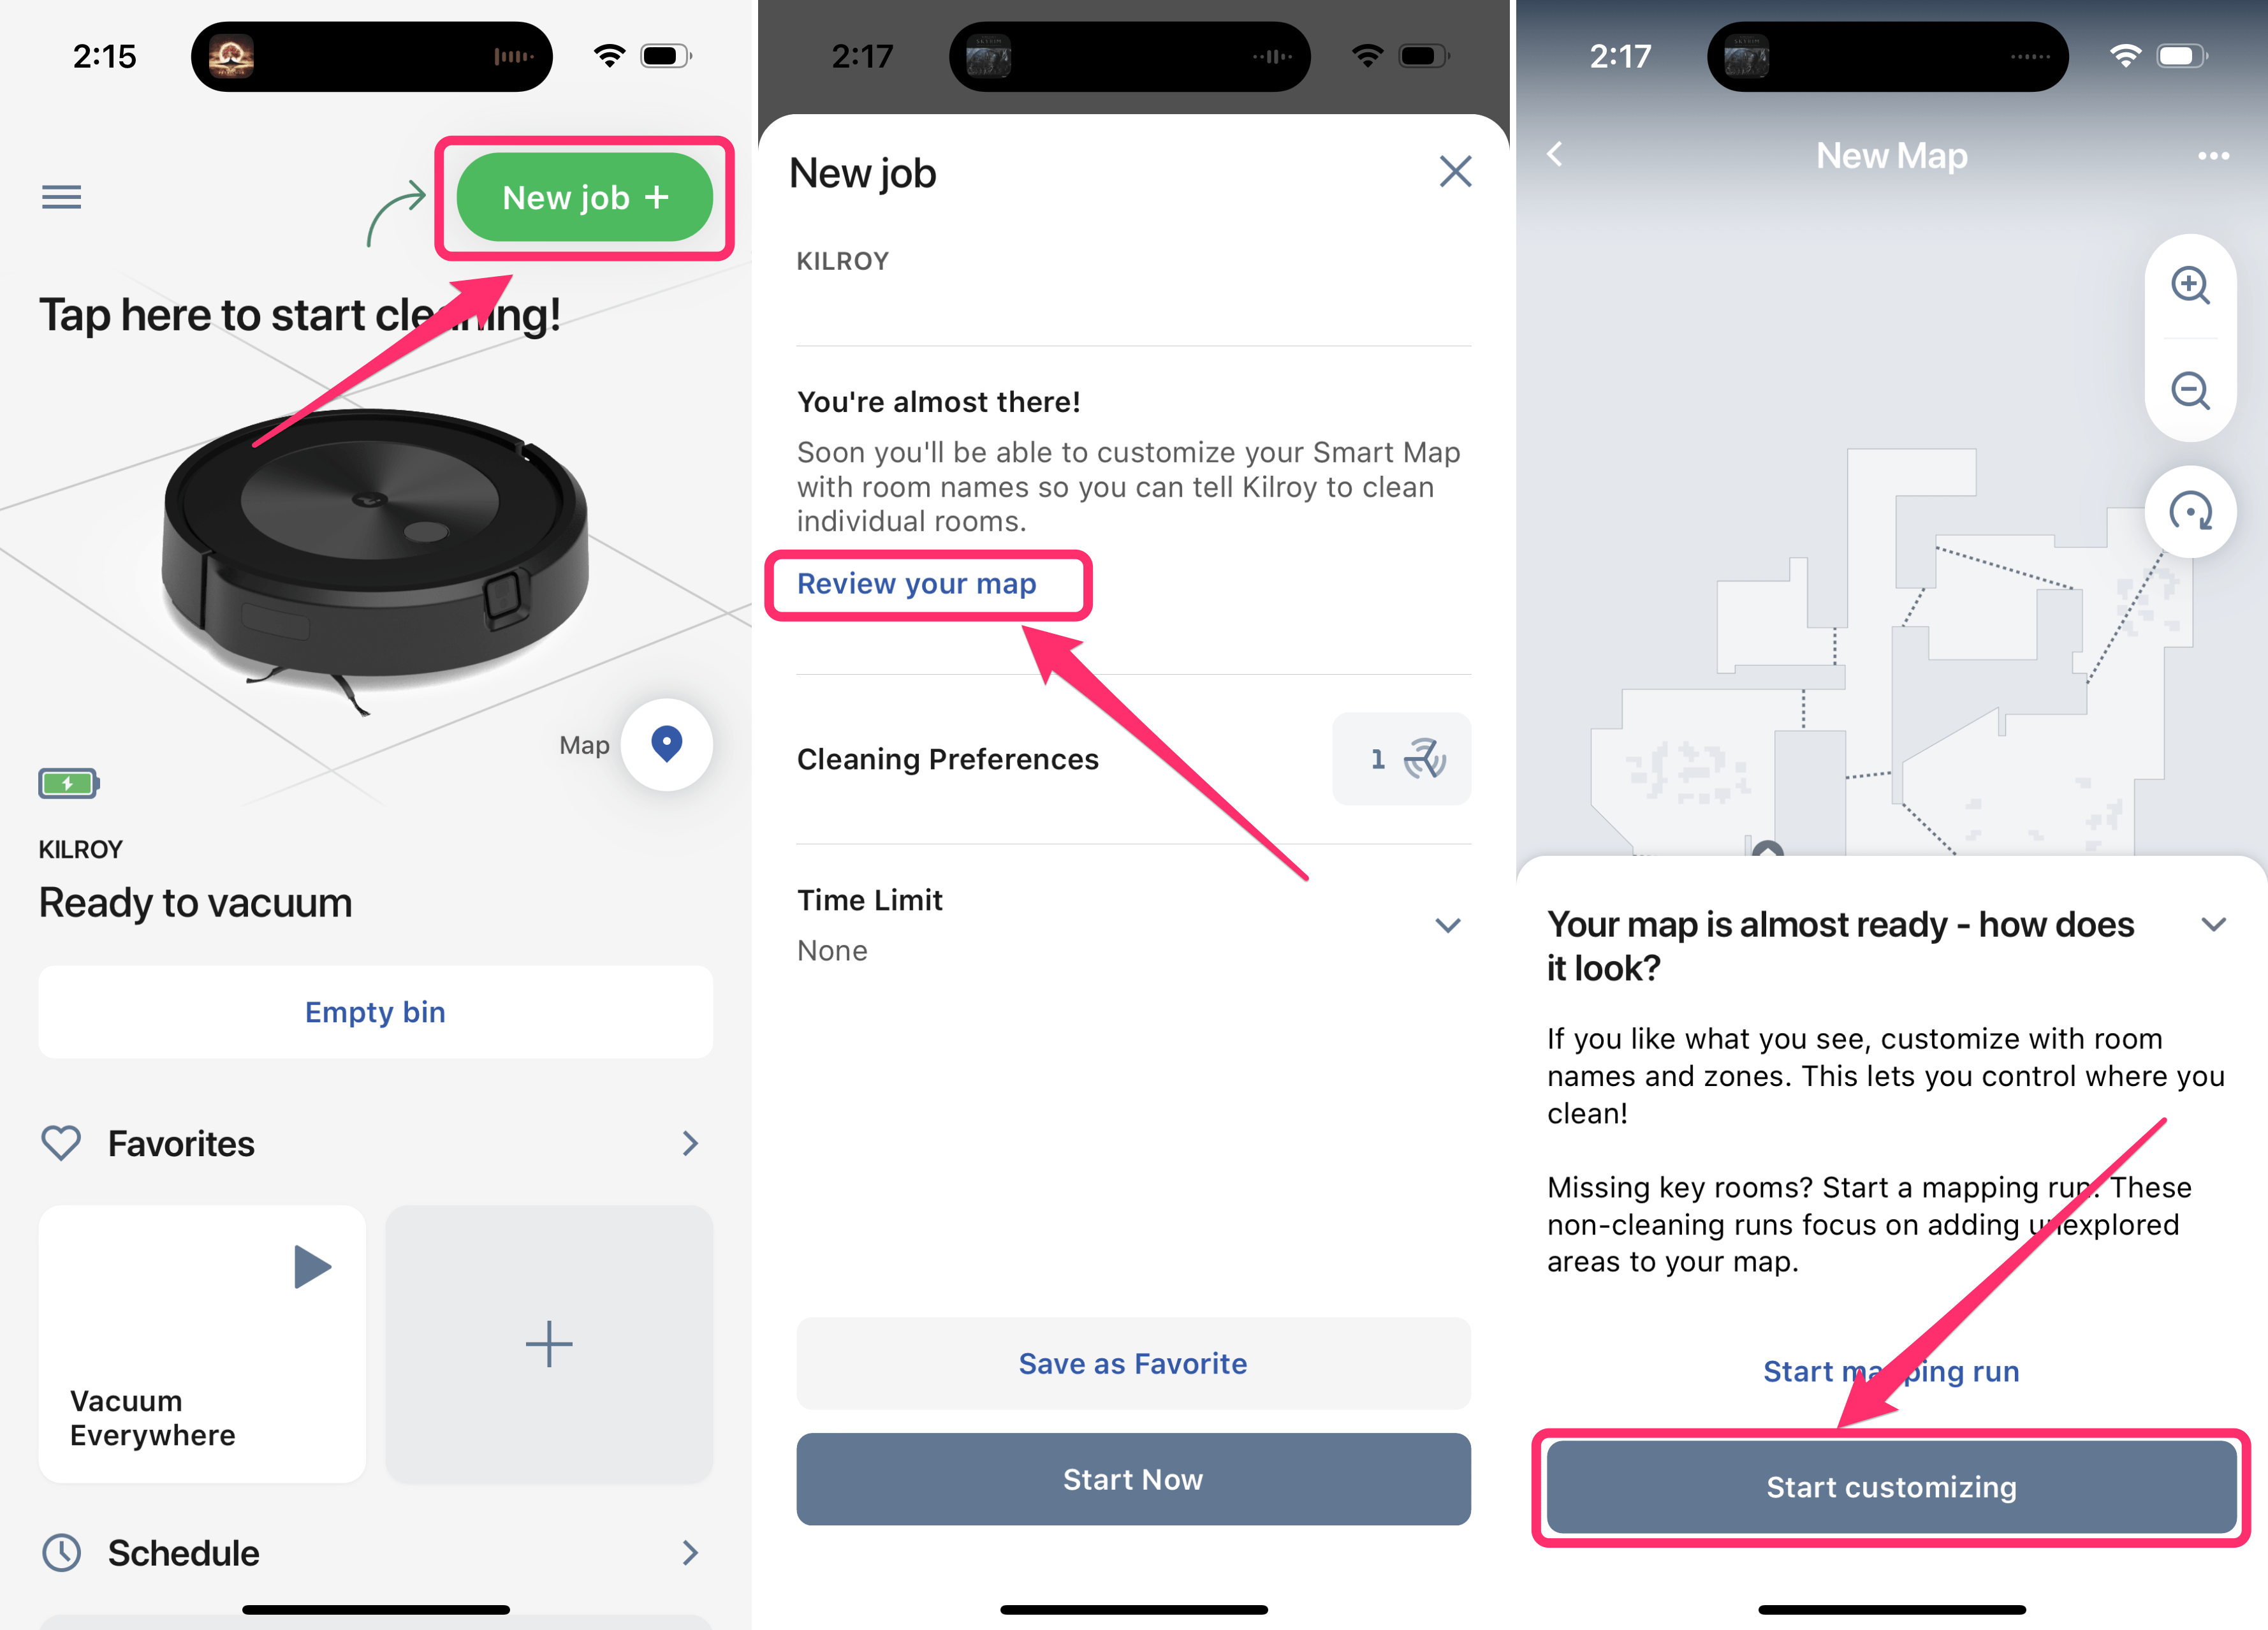
- In the Roomba app, tap New job +.
- Tap Review your map. Now you can add room names and zones. If things are missing from the map, you can start another mapping run. You can send your Roomba on a mapping run anytime later, too.
- If you are happy with the map, tap on Start customizing.
- Choose a name for your map and tap Next.

- Set the map to your preferred orientation by turning it with two fingers, then tap Next.
- Now set up your rooms:
- Tap on the dividers to edit or delete them.
- Use two fingers to zoom in on the map.
- Tap on a divider; then you can drag it, rotate it or tap the trash button to get rid of a divider.
- Name the rooms in your home.
- You can edit the map anytime by tapping on Map from the home screen, then selecting your map.
Send your Roomba
It’s time to send your Roomba on its first cleaning mission!
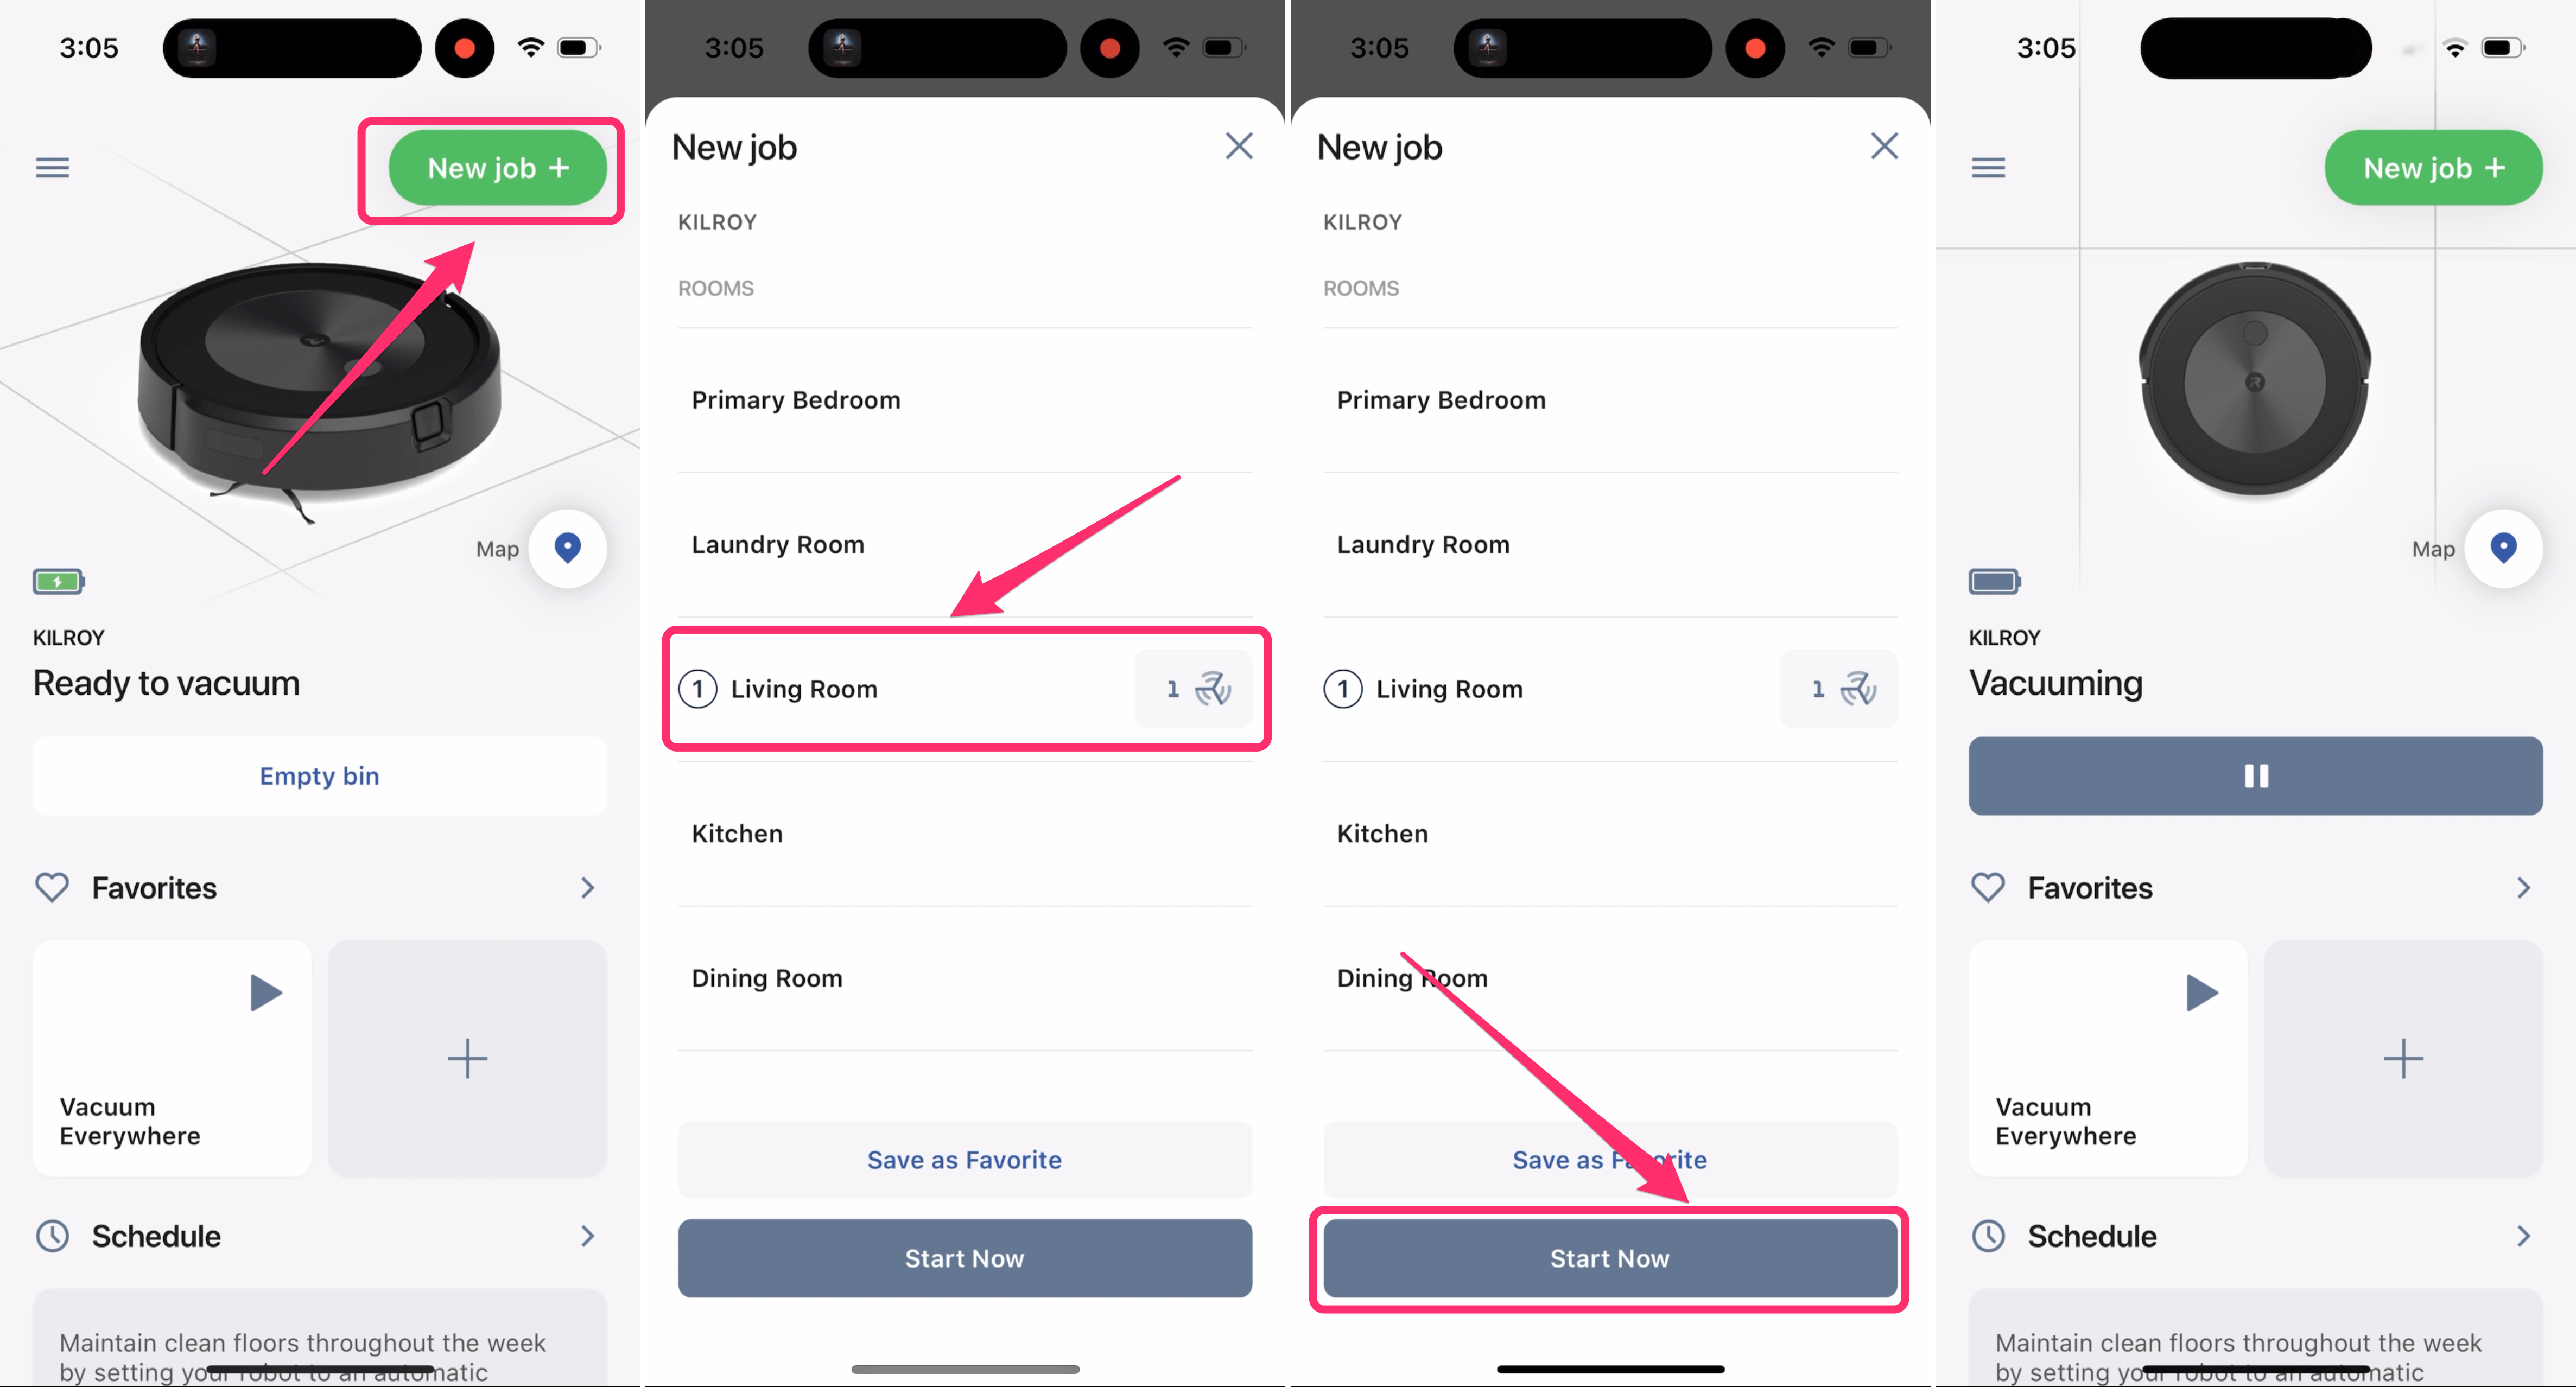
- Send your Roomba on its first mission by tapping New job +.
- Select Clean everywhere or tap on a few rooms to select them. Tap the room name again to deselect it if needed. Tap Start Now to begin.
- Your Roomba will clean the specified area. It may take a break to empty its bin; otherwise, it will just empty it at the end of its cleaning run.
Create a schedule
Many like for their robot vacuums to clean while they are away at work or while they are sleeping. For this, you will want to set up a schedule.
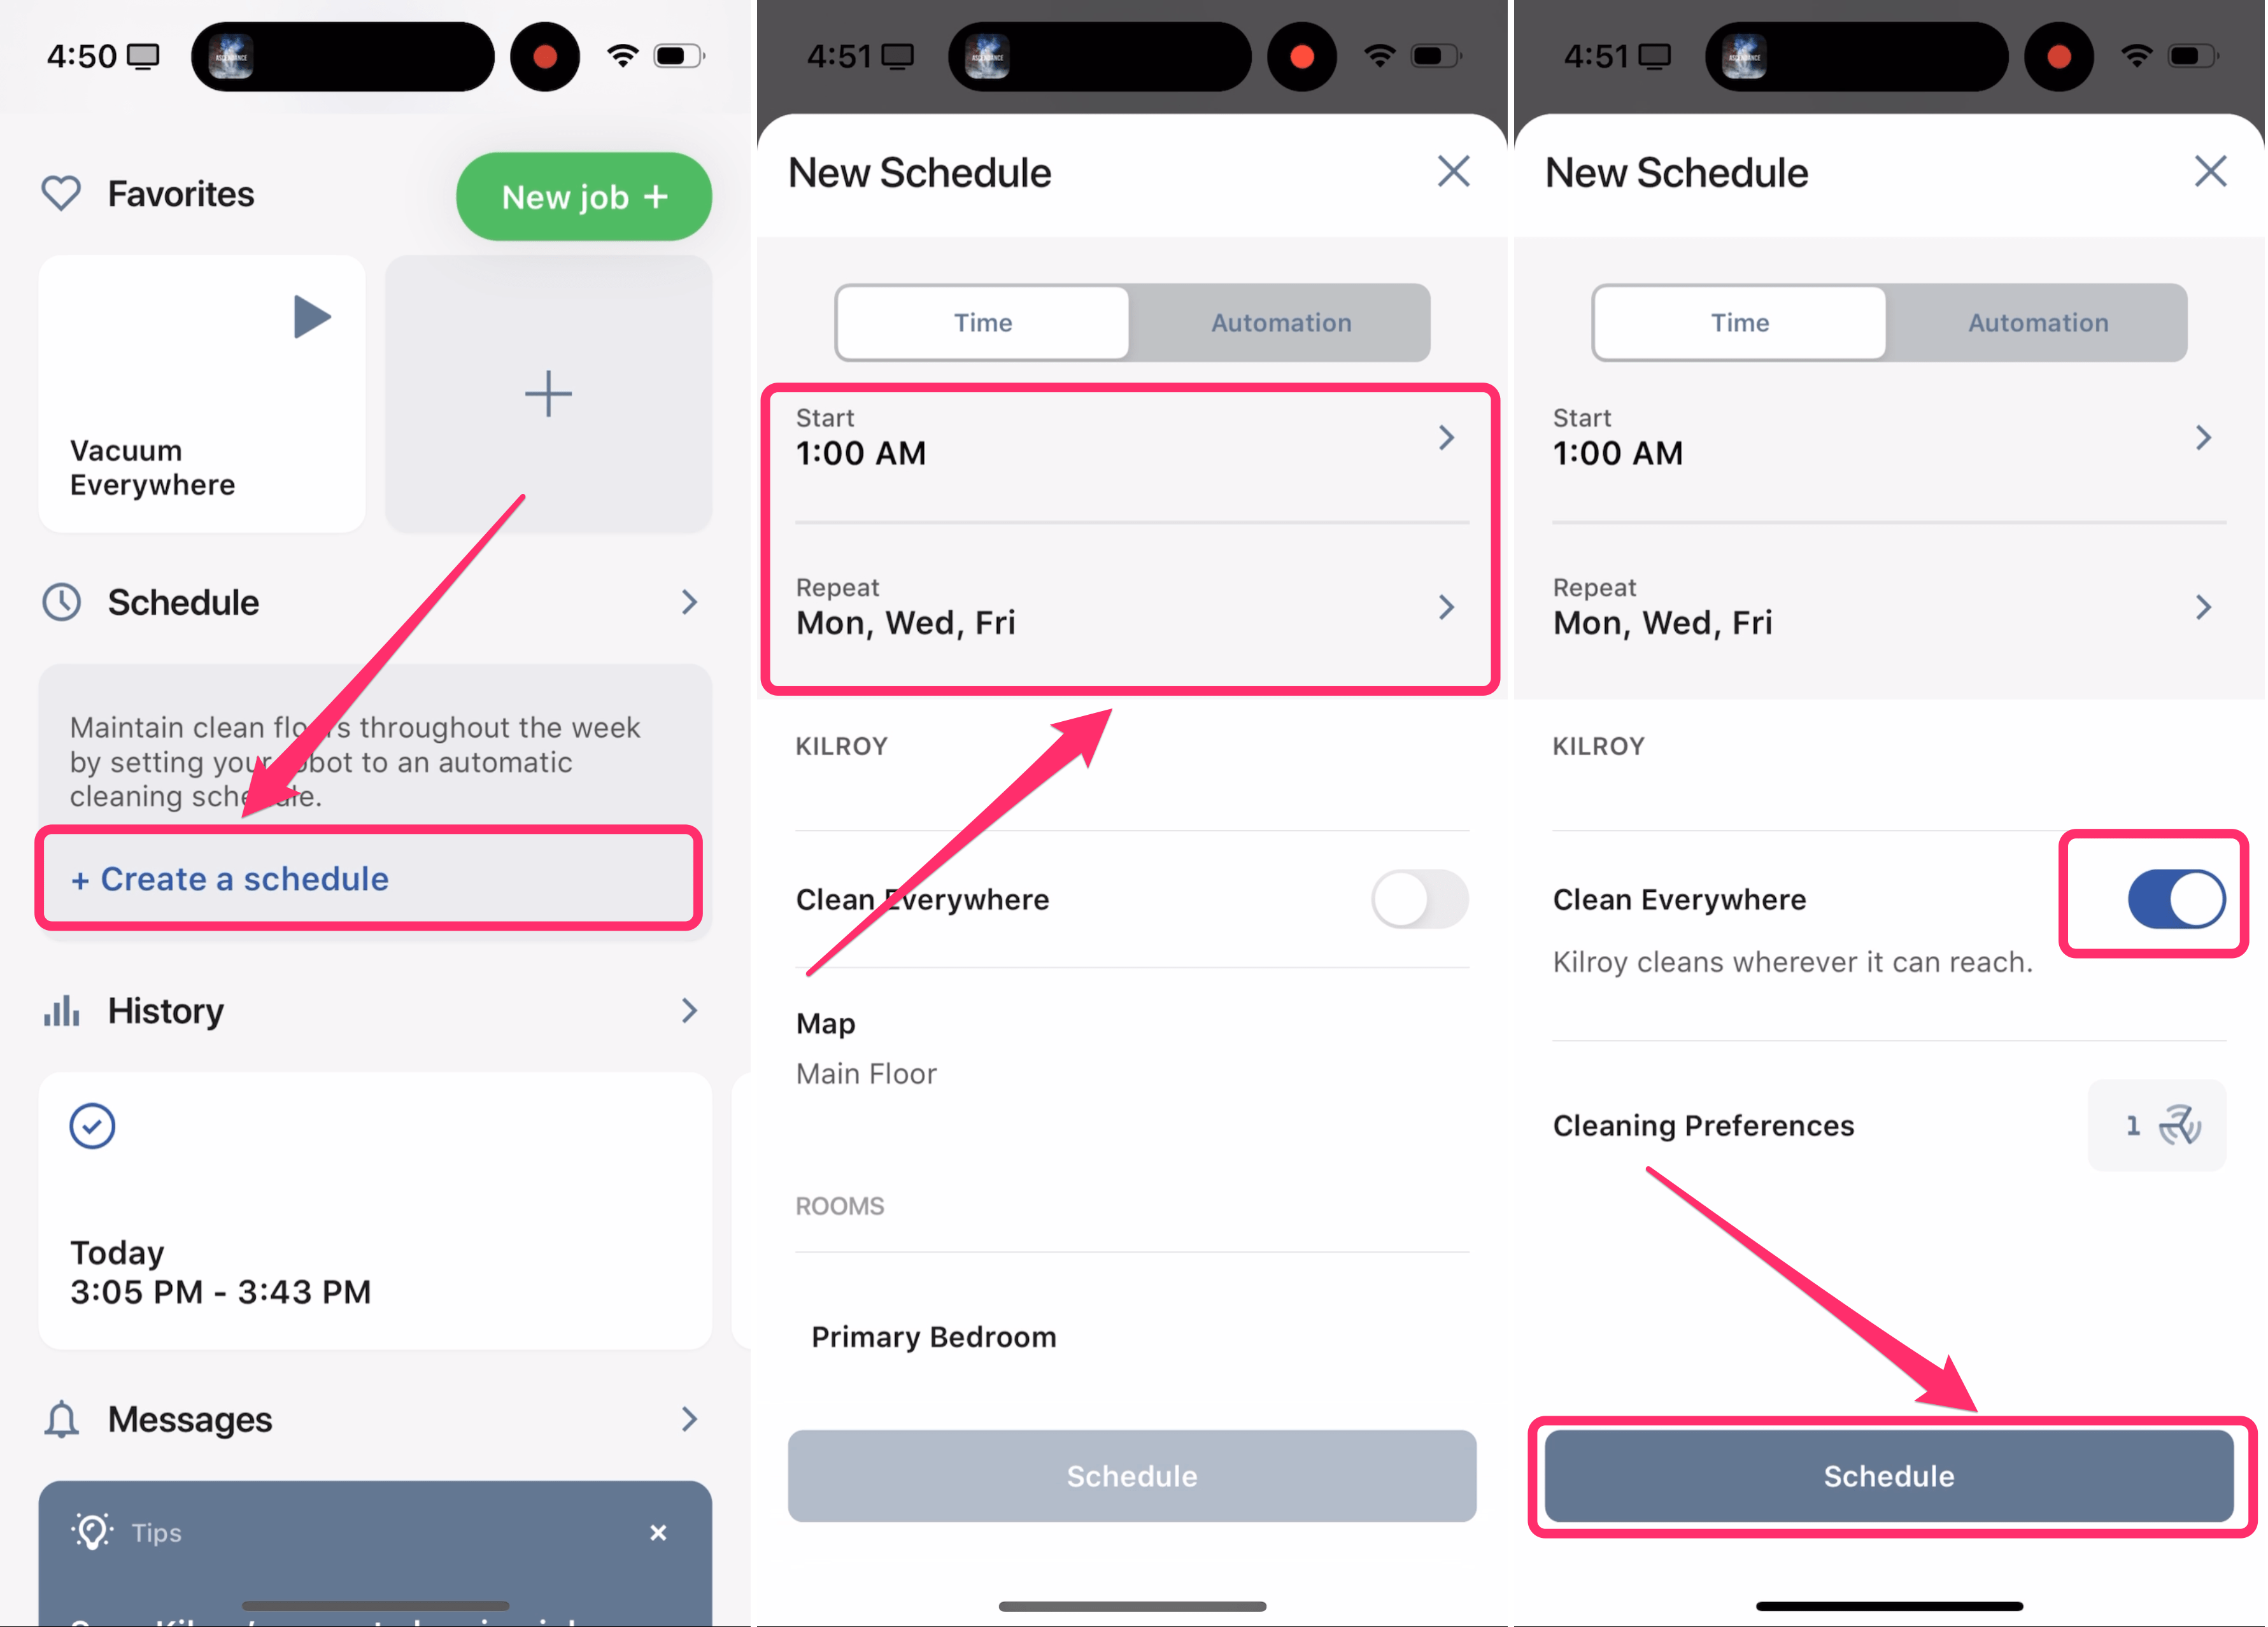
- Open the Roomba app and tap on Schedule or Create a schedule.
- Choose the time and days. Choose Clean Everywhere or choose specific rooms.
- Tap on Schedule.
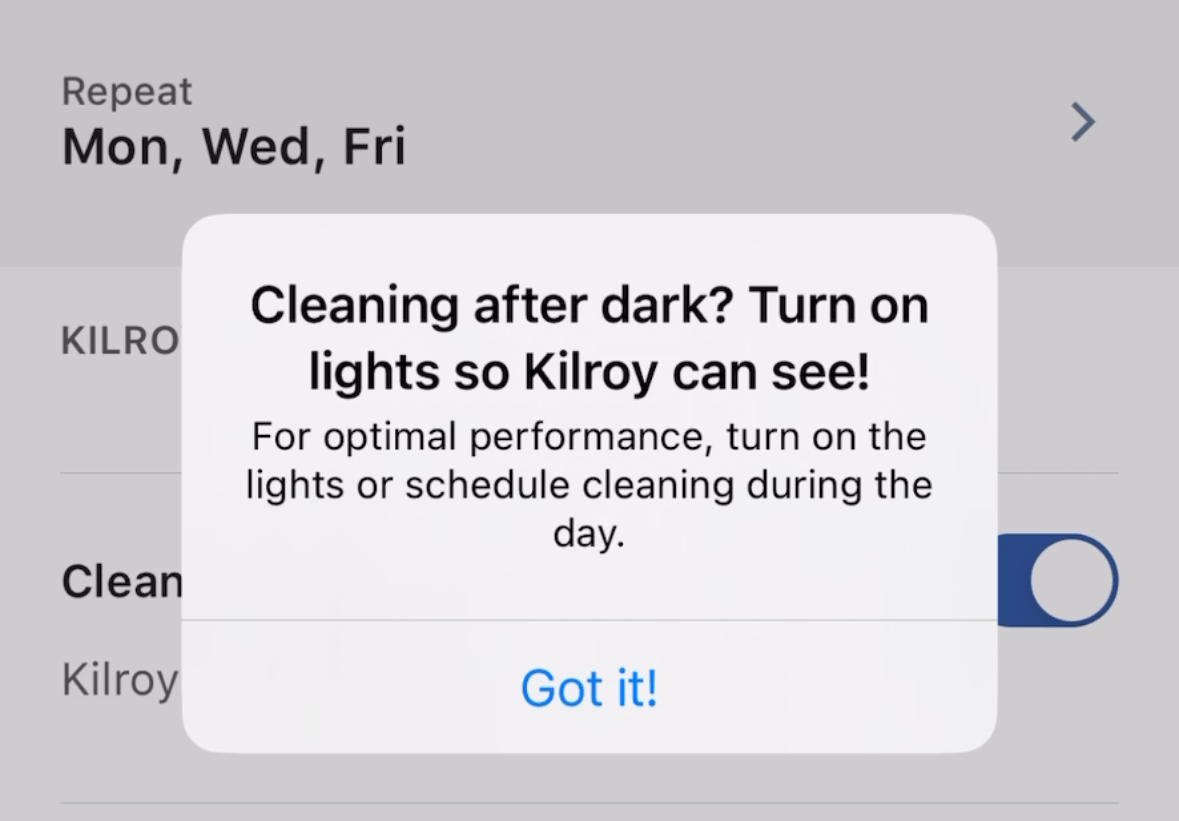
If you choose to have your Roomba clean at night, the app will warn you that your Roomba works best when the lights are on. If you don’t want to leave lights on, you may want to have your Roomba clean during the day.
Other great macReports articles