How to Update Zoom on Mac
Zoom has become a very popular video conferencing app used by many. You can install the Zoom app on your Mac. It is very important to keep the Zoom app up to date. For example, you may have read about a recent very serious security vulnerability that could have allowed anyone to control your Mac by giving root access. Zoom was quick to address this by releasing a patch to this vulnerability. In fact, Zoom periodically releases new updates for macOS.
It is strongly recommended that you use the latest version of Zoom. If not, you should quickly upgrade to the latest version before joining or hosting your next meeting. Sometimes, a Zoom window may also show a popup message saying, “your app version needs to be [version number] or higher to sign in, please update to continue.” These are called prompted updates that may include critical enhancements. In this article, I explain how you can update Zoom.
Important details before updating
- You should ensure that your macOS is up to date too. Go to System Preferences and Software Update to check for updates.
- You can view the current Zoom version installed on your Mac:
- Open Zoom and sign in if you are not signed in already.
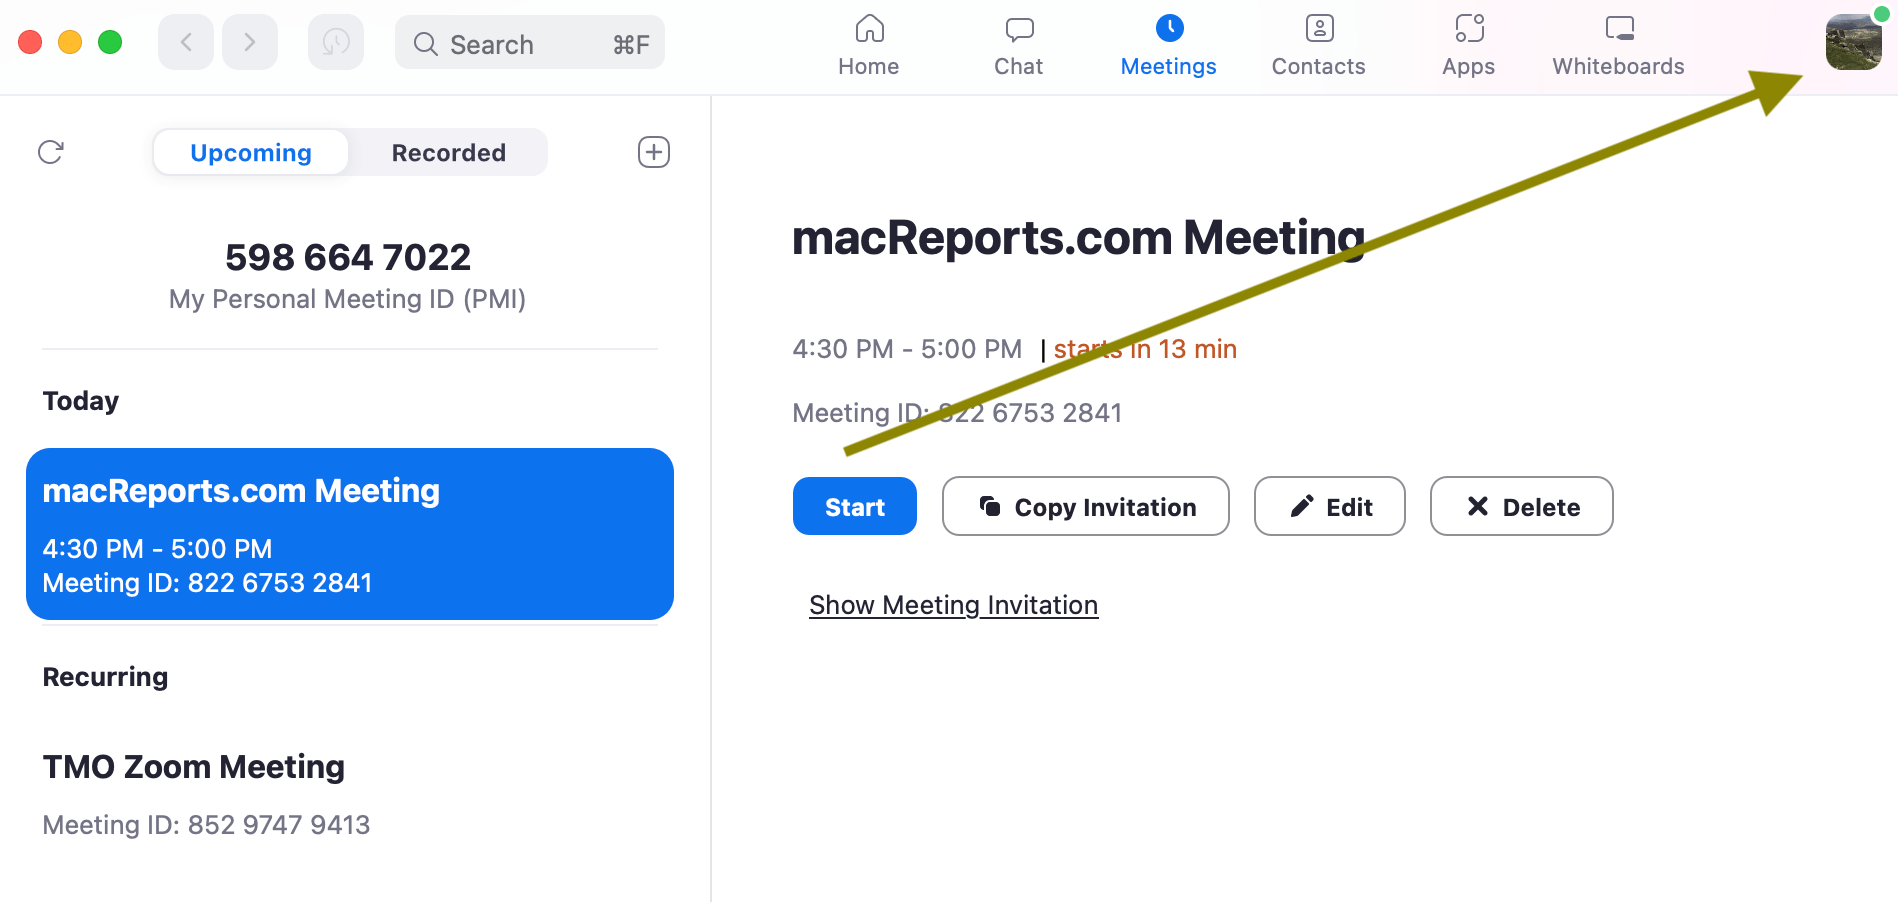
- Click on your profile photo located at the top-right corner of the window.
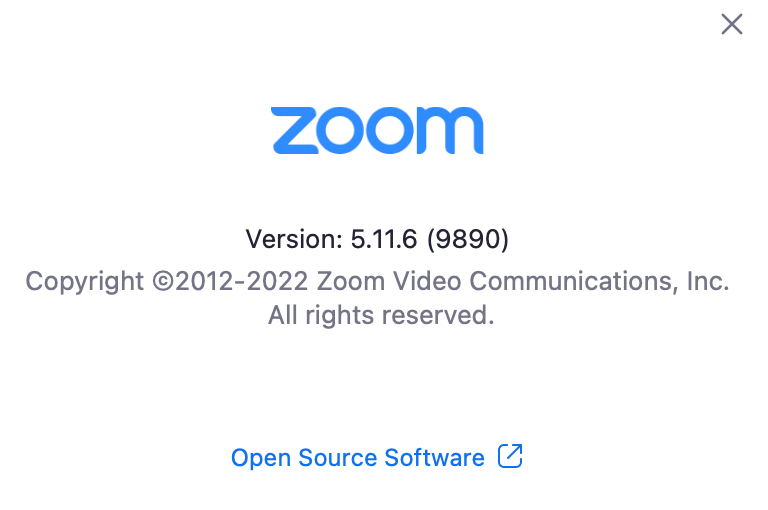
- Select Help > About Zoom. This will open a window showing your version. Then you can go to the Zoom releases page and compare your version and the latest version.

How to upgrade the Zoom desktop client for macOS
- Open Zoom and sign in.
- Click on your profile photo.

- Click Check for Updates.

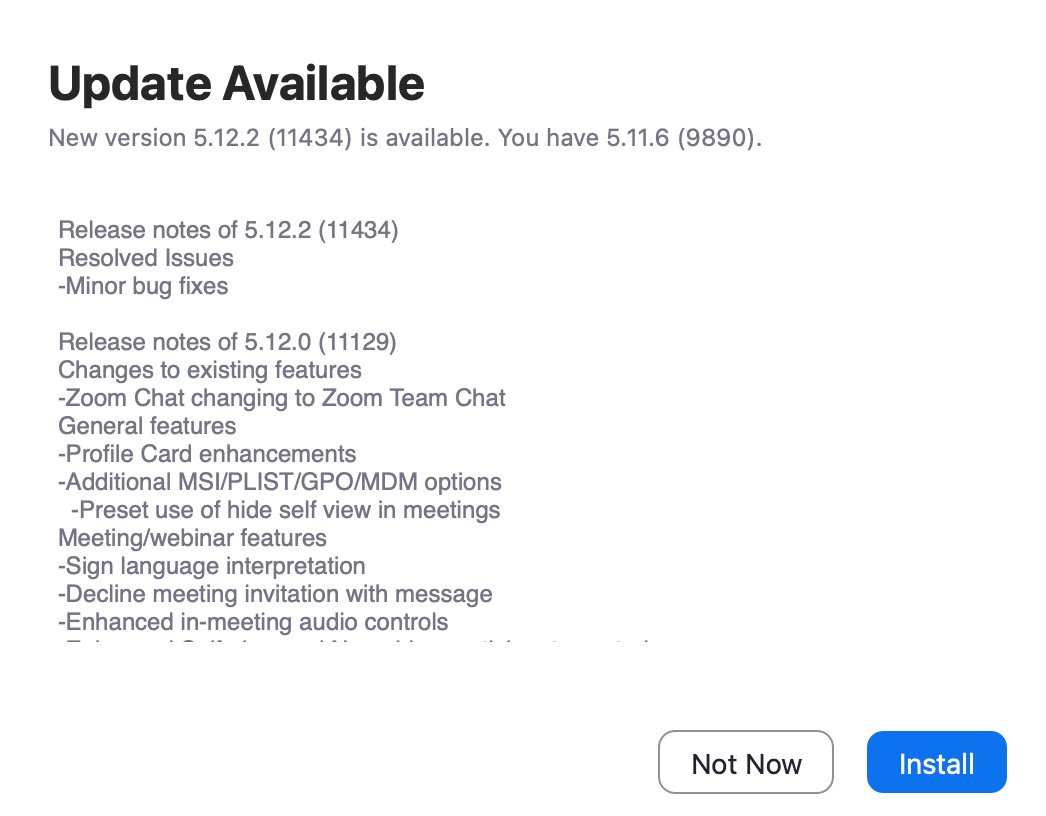
- The Zoom app will check for updates. If an update is found, click Install. Then Zoom will update itself. After updating, it will restart, and you can restart again. The whole process usually takes a couple of minutes.

- If this method does not work for you for some reason, you can also manually update. Go to the Zoom download page (https://zoom.us/support/download), then download Zoom and follow the onscreen instructions.
Now you are using the most secure and feature-rich Zoom version.
Turn on Automatic Updates
It can be a good idea to turn on Automatic Updates. If you turn this on, your Zoom app will prompt you to update when there is a new release. Here is how:
- Open Zoom and sign in.
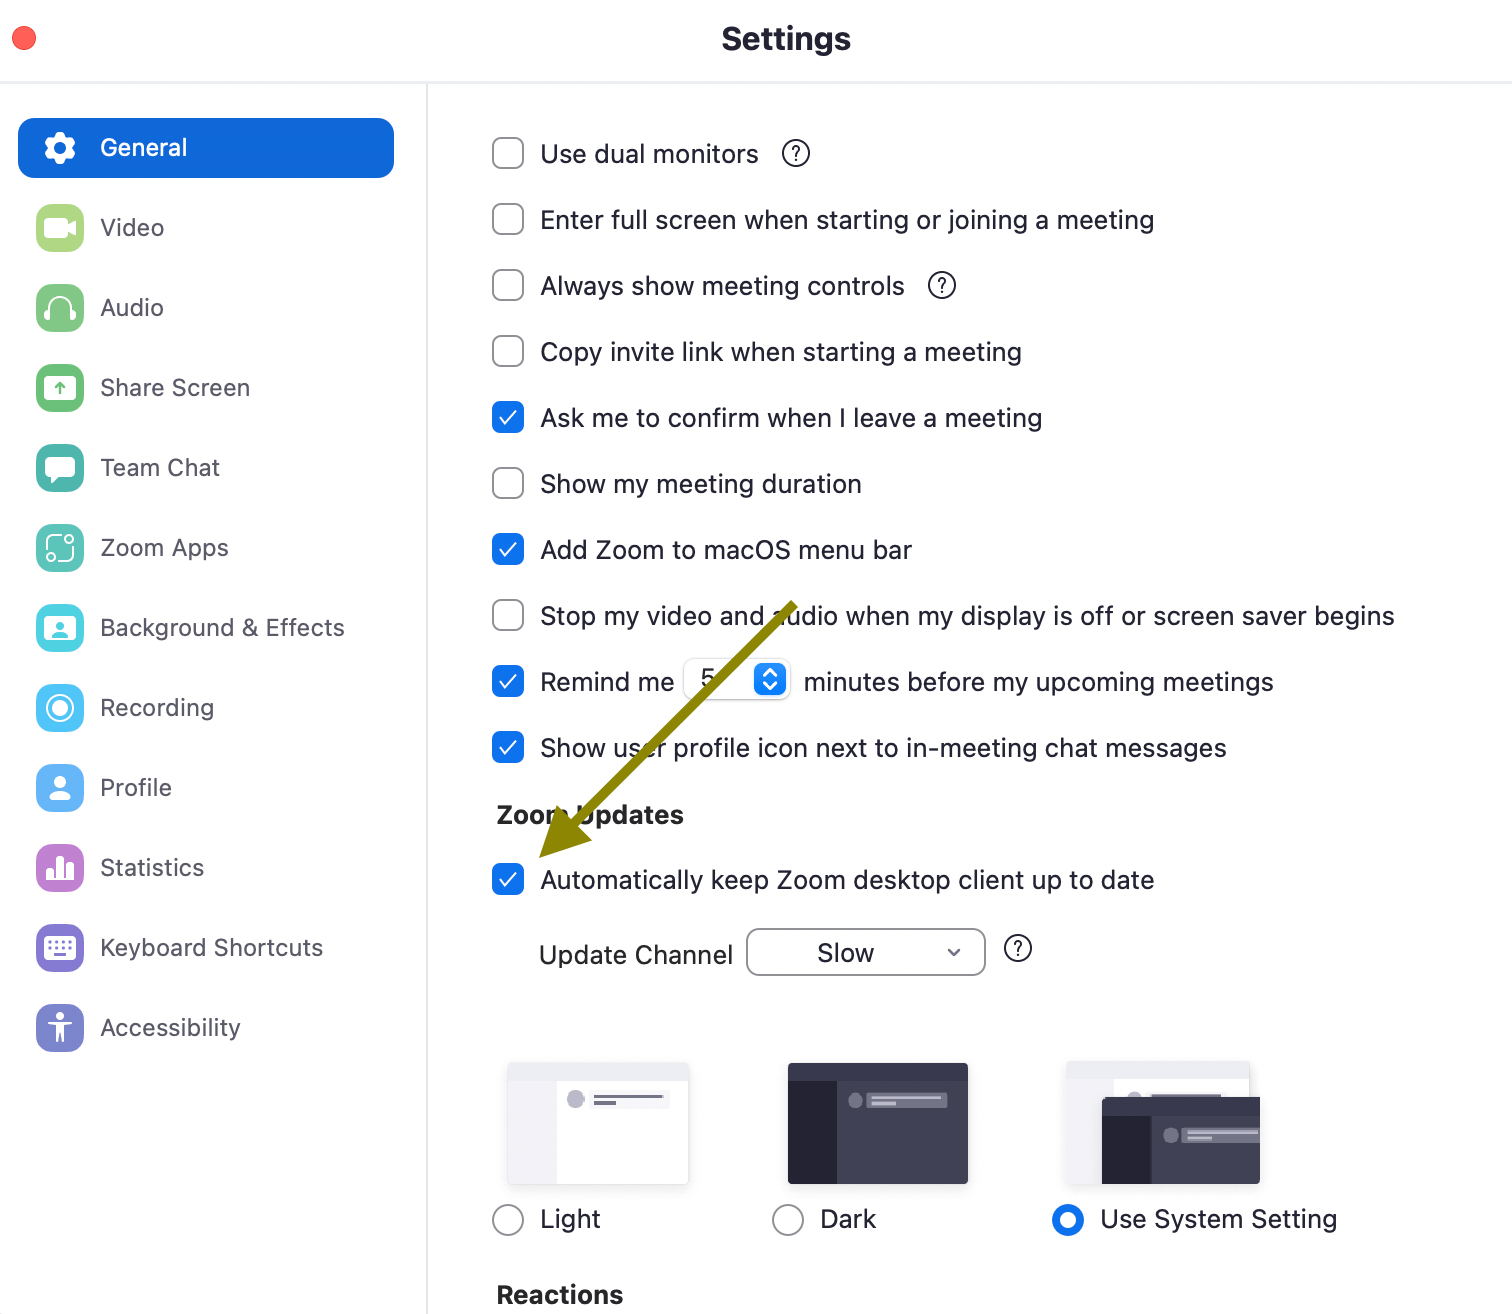
- Click your profile image and select Settings.
- From the left sidebar, select General.
- Then select “automatically keep Zoom desktop client up to date.” You may also see another option saying, “Update Channel,” with two selections, Slow and Fast. Slow is selected by default. The Slow option offers less frequent updates, while the Fast option lets you use the latest features as soon as they are available. The Slow option does not mean that you will end up with an unstable version. Only minor releases may be skipped until a major release become available.

Related articles

