iPad Is Disabled. How to Use Recovery Mode to Bring It Back
My niece’s iPad was disabled because she entered the wrong password too many times. An iPad will lock and become disabled for protection after the maximum number of consecutive password attempts are entered. This helps prevent someone from using trial and error to crack the password. The iPad will display text saying, “iPad is disabled.” You won’t be able to use the iPad in this state because you won’t be able to get past this screen. Fortunately, we were able to easily unlock the iPad using recovery mode. Recovery mode may be the only option for you if you forgot your iPad passcode. In this article, I explain how we fixed our disabled iPad. I also explain how you can address potential issues that may arise during the process.

What is Recovery Mode
Recovery mode is a diagnostic state. You will need a computer, either a PC with iTunes installed or a Mac, to start your device in recovery mode. You can use recovery mode to erase your iPad or iPhone. If your iPad or iPhone is disabled, the only thing you can do is erase it so that you can set it up and use it again.
Recovery mode is available for iPad and iPhone.
What you need for recovery mode:
- A USB cable to connect your iPad to your computer.
- A Mac or PC. If you are using a Mac, ensure that it is up to date. If you have a PC, ensure that you have the latest version of iTunes installed.
What recovery mode does and does not do:
- Recovery mode will erase everything and update your iPad to the latest iPadOS. All of your settings and data will be deleted. Everything will be restored to the factory defaults.
- After recovery mode, you will need to set up your iPad again. You can set it up as a new iPad or restore it from a backup.
- iCloud lock or activation lock will not be removed. When you set up the iPad, you will need to enter the Apple ID and password you used to set up your device before.
How to put a disabled iPad into recovery mode
Before you start, ensure that your computer and USB cable are nearby and ready.
Step 1: Turn off your iPad. Ensure that the iPad is not yet connected to your computer with your USB cable.
Before going to the step 2, locate the button for recovery mode:
- If your iPad has a Home button, use the Home button.
- If your iPad does not have a Home button, use the Top button.
Step 2: Press and hold the correct button (Home or Top), and quickly connect your device to your computer using the USB cable. Keep pressing the button until the next step.
Step 3: Keep pressing the button until you see the recovery mode screen on the iPad. It is an image of a computer and a cable, as you can see below. You may see an Apple logo. If you see the Apple logo, do not let go of the button until you see the recovery mode screen. The Apple logo may appear more than once.
Restore your iPad using recovery mode
Now, you can restore your iPad. On your computer, locate your iPad. You need to open Finder or iTunes: On a Mac with macOS Catalina or later, open Finder. On a Mac with macOS Mojave or earlier or on a PC, open iTunes.
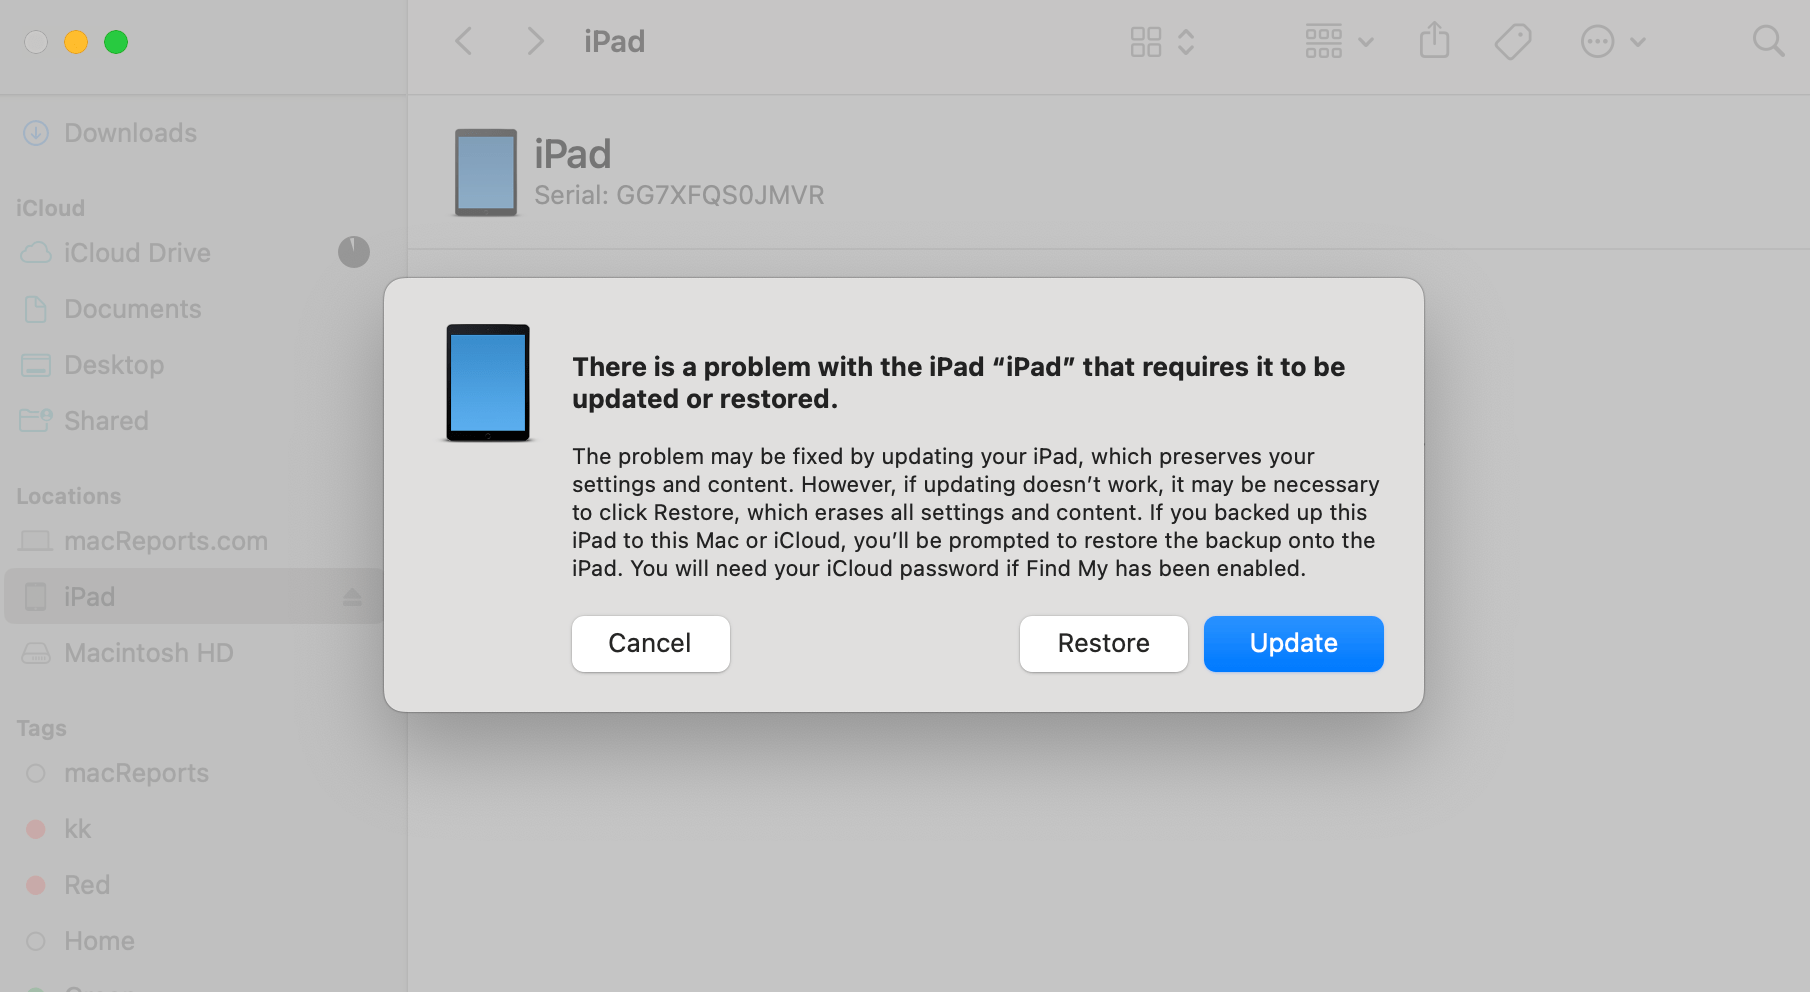
A popup will appear saying, “There is a problem with the iPad ‘iPad’ that requires it to be updated or restored.”
Choose the Restore option. The next screen will ask you if you are sure. The screen will tell you that everything will be erased. Click Restore and Update.
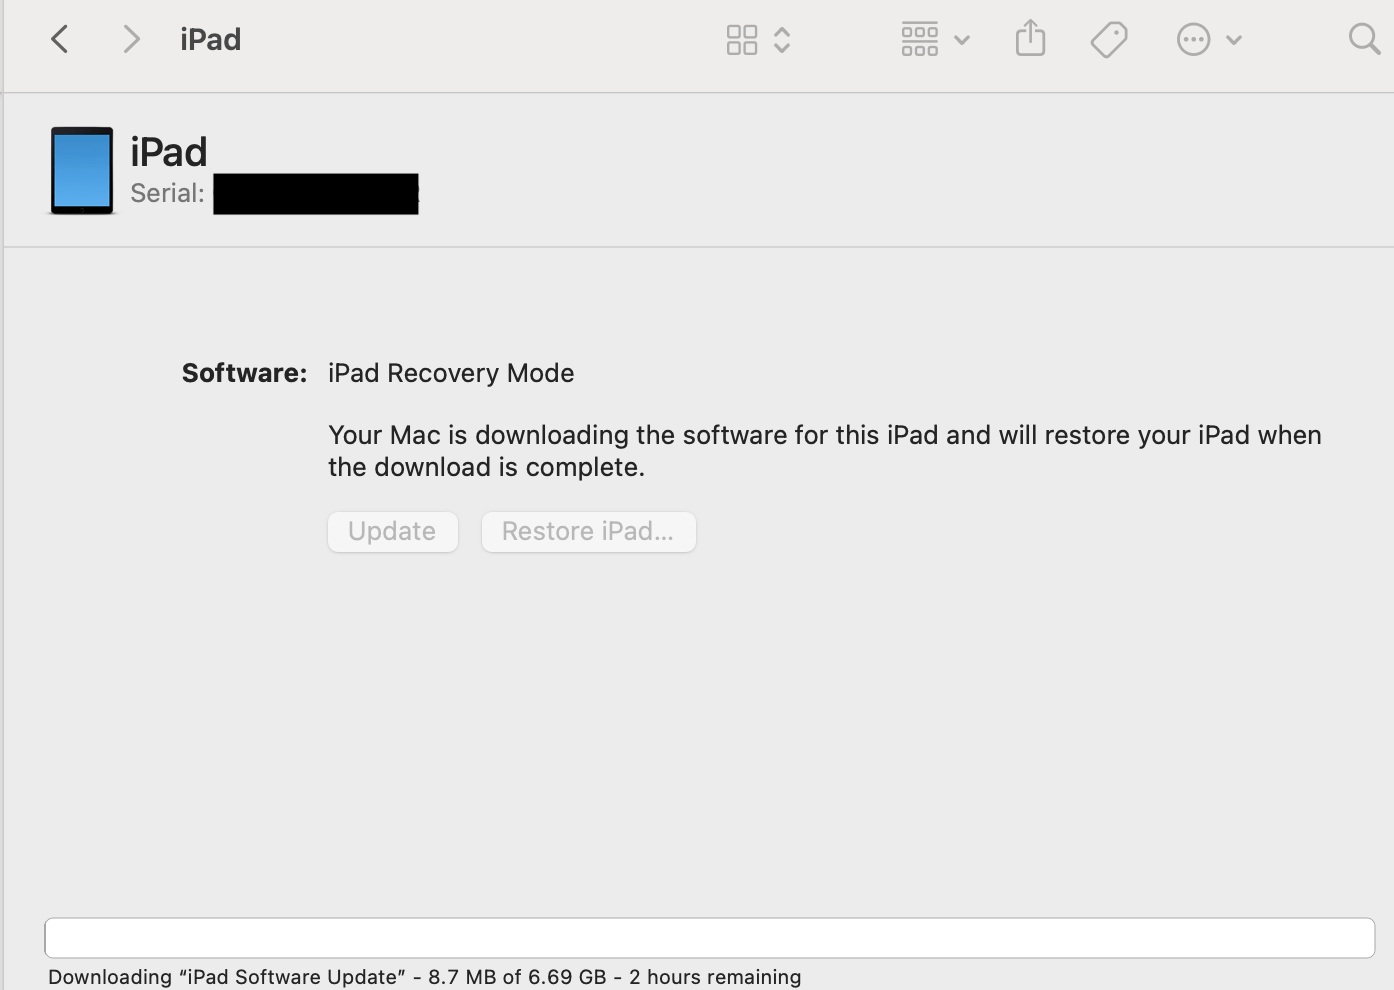
Wait for the process to complete. Your iPad will be restored and updated to the latest version of iPadOS.
Please note that the process may take more than 15 minutes. For me, the process took almost an hour. This depends on the speed of the internet connection and the size of the update. The thing is that your iPad will automatically exit recovery mode after 15 minutes. If this occurs, you will need to wait for the download to be completed. Then, you will need to turn off your iPad and repeat the same recovery mode steps again.
Your iPad will show the welcome screen when it is ready, and you can begin setting it up again.
Related articles


