How to Transfer Data to a New Mac
If you recently purchased a new Mac, you may be wondering about the best way to set up the new Mac. There are various ways to transfer data from an older Mac to a new one. We’ll help you decide which method is right for you.
Things to think about when transferring your data
- How much time and effort do you want to put into transferring to your new Mac? The simplest thing to do is completely copy everything from the old Mac to the new one.
- Do you have a lot of old junk on your old Mac? This could be a good time to clean up by simply not transferring everything.
- Are you keeping your old computer? If you’ll have your old computer around for at least a little while, you won’t need to worry about transferring everything all at once. You’ll be able to use your new Mac for a little while to figure out what you really need to have.
- Do you have a backup drive? (You should, of course.) Are most of your files synced via iCloud? If you have a reliable backup of your old computer, you can afford not to transfer everything to the new one. If you realize later you need something, you can get it from the backup.
- Are you transferring from an Intel machine to an Apple silicon Mac? Apps transferred from Intel to Apple silicon may not work.
Methods for transferring data to your new Mac
There are a few ways you can do this:
- You can use macOS’s built-in Migration Assistant. You can use this to transfer your data from a Mac or a Windows PC.
- You can restore your data from a Time Machine backup.
- You can sync your files using iCloud.
You can use one of these methods or a combination. There are pros and cons to each.
Migration Assistant
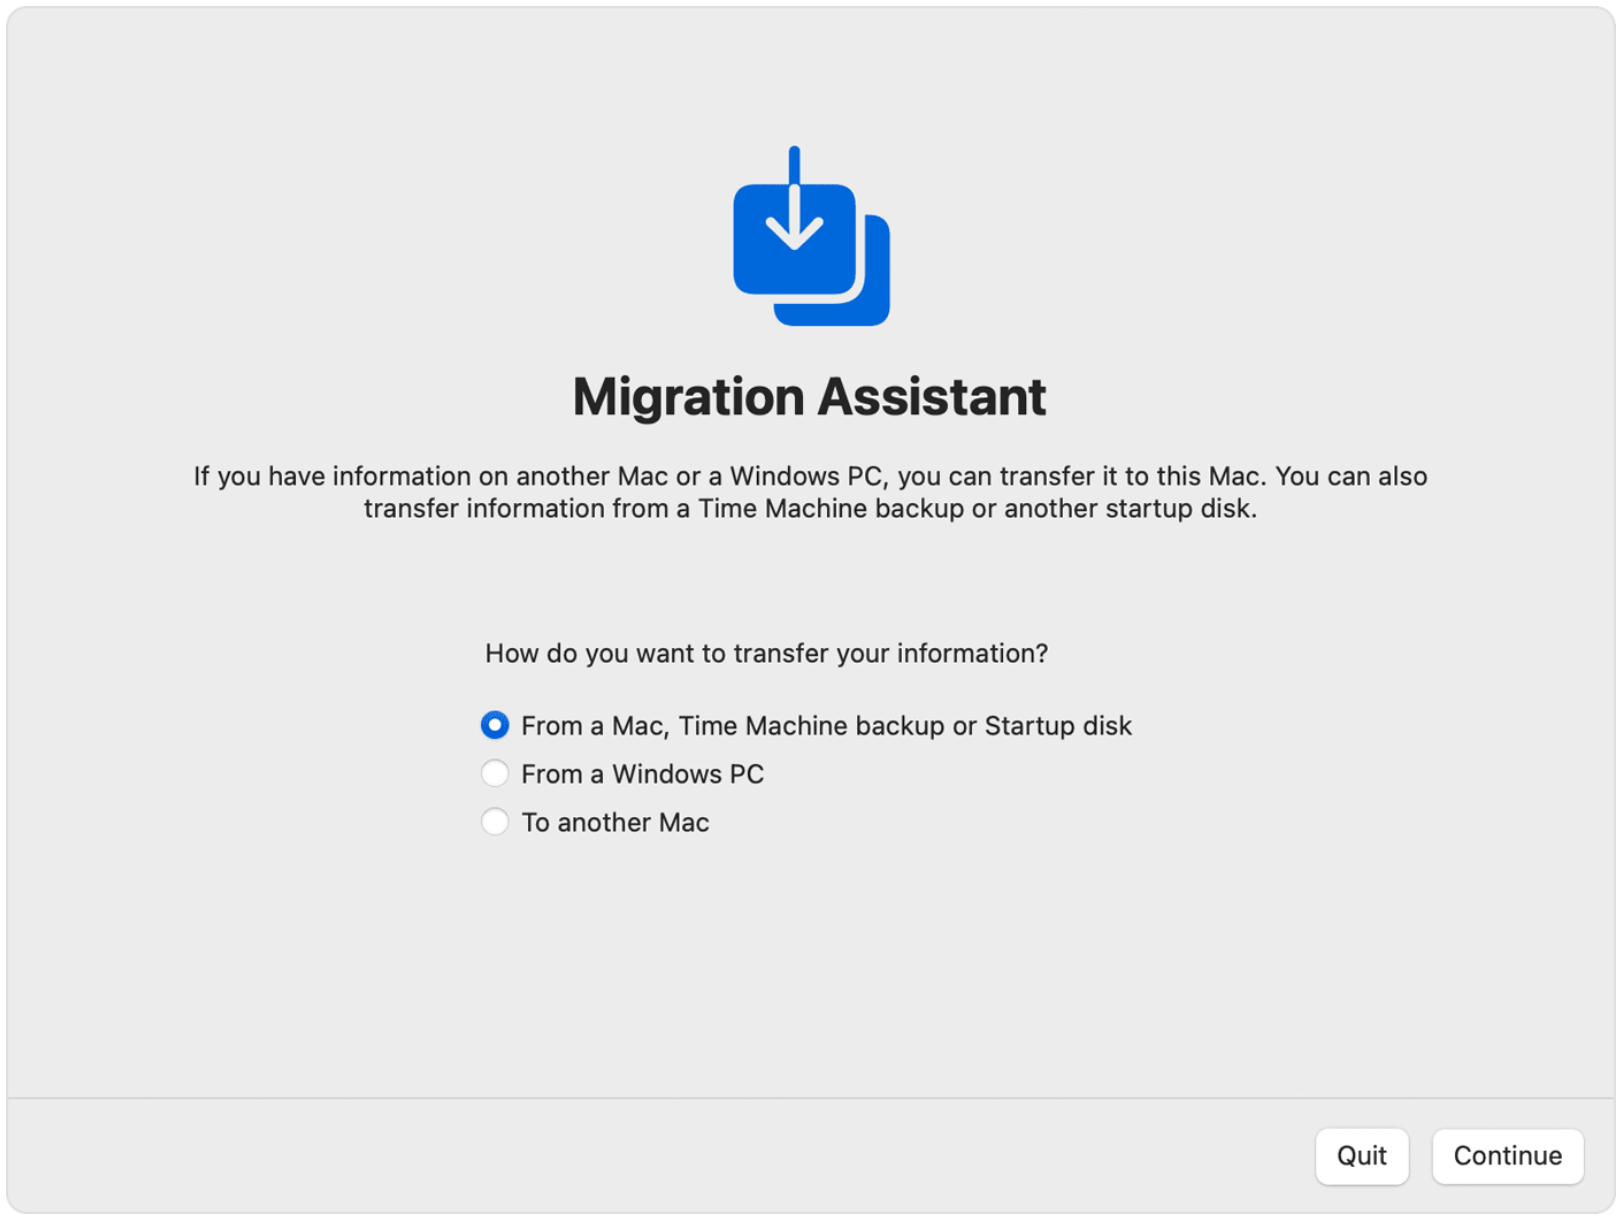
You can choose to transfer data from your old Mac using Migration Assistant. You can do this during setup or later. When you use Migration Assistant, you will see options to transfer:
- Applications
- User profiles
- Other Files & Folders
- System & Network
Pros
- This is the simplest way to transfer your data.
- You can select this option during the setup process.
Cons
- If you choose to transfer everything listed, you may be transferring some things you don’t need or apps that won’t work on your new machine.
- Both of your computers will be busy while the transfer completes, and it may take hours.
How to transfer using Migration Assistant
If you are doing this during setup, you will see the Migration Assistant screen and can follow the onscreen instructions on your new Mac. Otherwise, you will open Migration Assistant on your old Mac and on your new Mac. You can find Migration Assistant in Finder by going to Applications > Utilities or by pressing Command-Space bar and typing migration assistant. You can follow the onscreen prompts, but if you need more details, check out the Apple Support article on how to transfer data to a new Mac using Migration Assistant.
A Time Machine backup
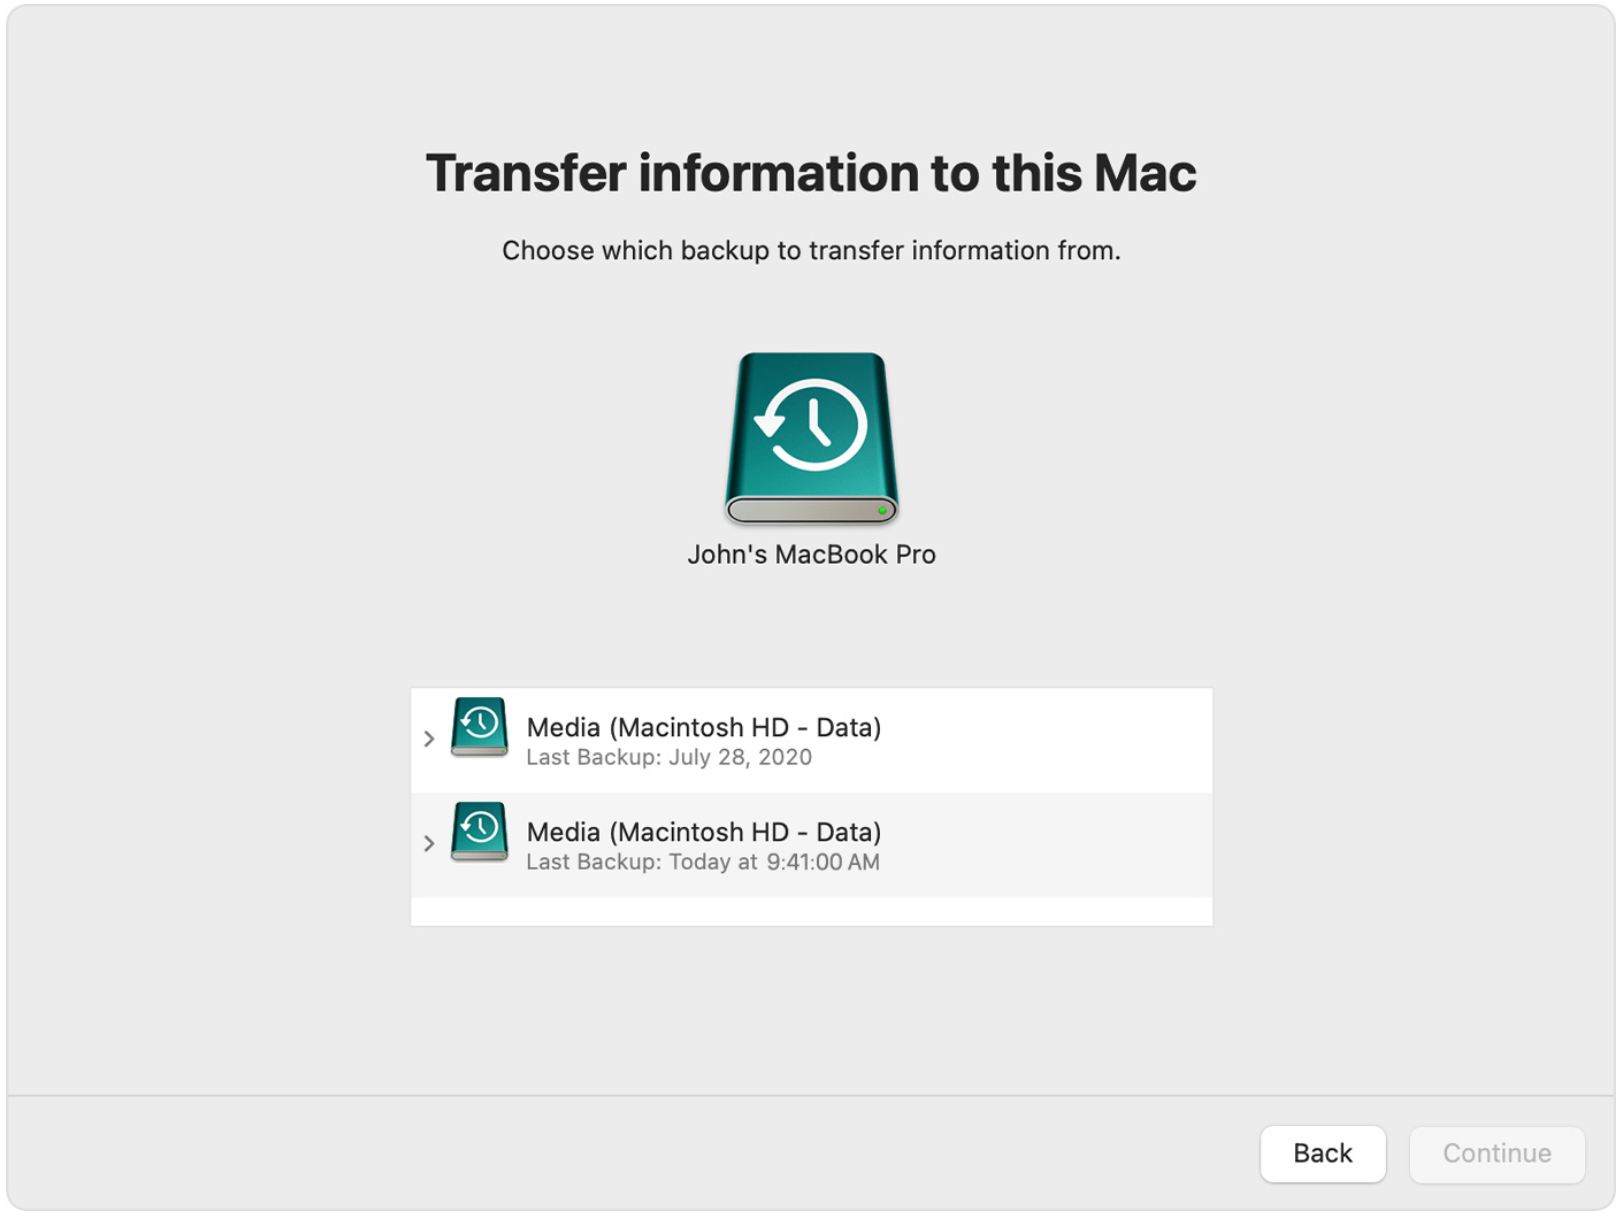
You can restore a Mac from a Time Machine backup. Doing this involves connecting the external disk that contains the backup to your new Mac and then opening Migration Assistant. Even if you have your old Mac available, you might choose this method instead (see the Pros).
Pros
- Your old Mac will be available to use while you complete the transfer.
- The transfer will likely be faster because you will be using a wired connection to your new Mac.
- You can choose to do this during the setup process (or later).
- If you will be selling or trading in your old Mac and if you are unsure whether you want to transfer things from your old Mac or just start from scratch, having the Time Machine backup available gives you time to decide. You can transfer data anytime, even after your old Mac is gone (although having at least two copies of your data at any time is recommended).
Cons
- If you choose to transfer everything, you may end up with things you don’t need or can’t use on the new machine.
How to transfer using a Time Machine backup
Since this uses Migration Assistant, it works the same way. Make sure you have a recent backup from your old Mac. You will need to connect the backup disk to your new Mac; then you will need to open Migration Assistant on your new Mac (or use Migration Assistant during the setup process). Take a look at the section above for more details on Migration Assistant.
iCloud
iCloud works differently than using Migration Assistant, so it isn’t a substitute. However, it does allow you to have many of your files from your old Mac available on your new Mac. If you currently use iCloud with your old Mac, everything in iCloud will be available on your new Mac.
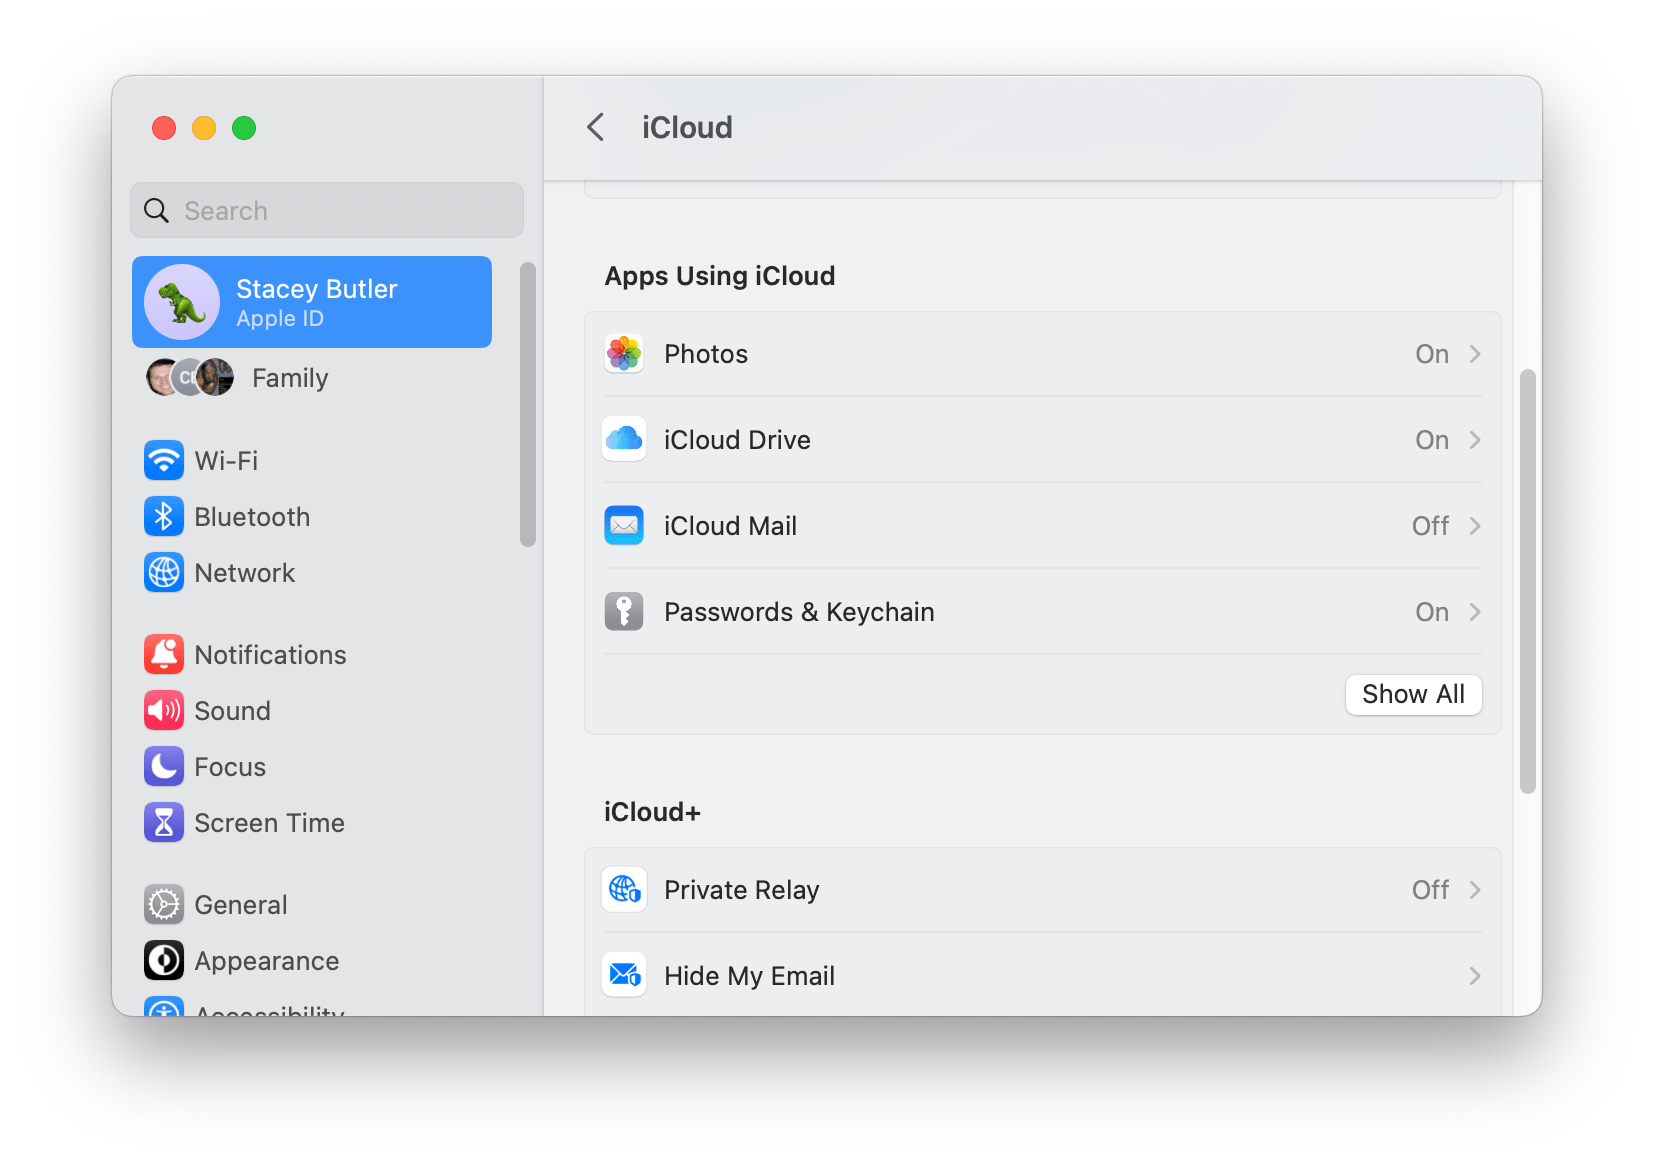
Now, it is important to know that iCloud does not contain a full backup of your Mac. You can see what data you are syncing with iCloud on your old Mac by going to System Settings > [your Apple ID name] > iCloud. Click on Show All to see everything being synced. Click on iCloud Drive to see more details about what you are syncing.
Pros
- You only have to sign in to iCloud on your new Mac.
- Your Mac(s) will be usable while the information transfers.
- You won’t be transferring (as much) old junk you don’t need or can’t use. It’s mostly just your files and photos.
Cons
- Not everything is transferred using iCloud. Your apps, settings and user profiles won’t be transferred.
How to transfer using iCloud
If you were using iCloud on your old Mac, simply sign in to iCloud on your new Mac. This is usually done during the setup process, but if not, open System Settings and click on Sign in with your Apple ID. After you are signed in, go to System Settings > [your Apple ID name] and click on iCloud. Under “Apps Using iCloud,” check that everything you wish to sync is turned on.
Other thoughts
There are many ways to transfer files from one Mac to another. If none of the above works for you, you can always transfer some files the old fashioned way by dropping them on a thumb drive or other external disk.
Related articles


