AirTag Precision Finding is Not Working, How to Fix
Several users have said that they are unable to use Precision Finding to help find the AirTag. Some users have said this function stopped working suddenly and while for some it never worked properly. For example, users have reported that they receive the following error message:
Connected. Signal is weak.Try moving to a different location.
You can use Airtags to locate your items such as your keys or wallets. The precision finding feature helps you pinpoint your items. If you are having issues with locating items with AirTag, then this article is for you. This article explains how you can fix this problem.
- Follow the steps for when Location Services is not working.
Check your settings
Please check these settings on your iPhone or iPad:
- Ensure that Find My is enabled on your device (Settings > Your name > Find My).
- Ensure that Bluetooth is enabled on your device (Settings > Bluetooth).
- Ensure that you have a strong Wi-Fi or cellular connection. If your Wi-Fi signal is poor, try restarting your Wi-Fi router/modem. You can do so by unplugging (wait 30 seconds) and plugging back in.
- Ensure that Location Services is enabled (Settings > Privacy > Location Services). If it is already enabled, turn it off, wait 30 seconds and then turn it on.
- Ensure that System Services is enabled. To check, go to Settings > Privacy > Location Services > System Services.
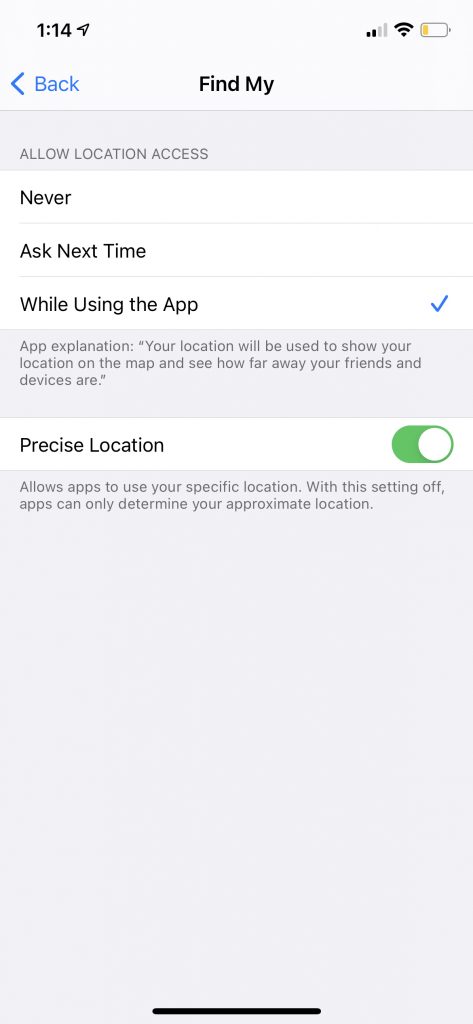
- Ensure that Precision Finding is enabled. To do that, go to Settings > Privacy > Location Services and tap Find My and then turn on Precise Location. Furthermore, ensure that “Ask Next Time,” “While Using the App,” or “While Using the App or Widgets.” is checked.
- Ensure that your iPhone or iPad has the latest version of iOS or iPadOS. You can go to Settings > General > Software Update to check for updates.
Restart
Restart your iPhone or iPad and then test the Airtag again. Here is how:
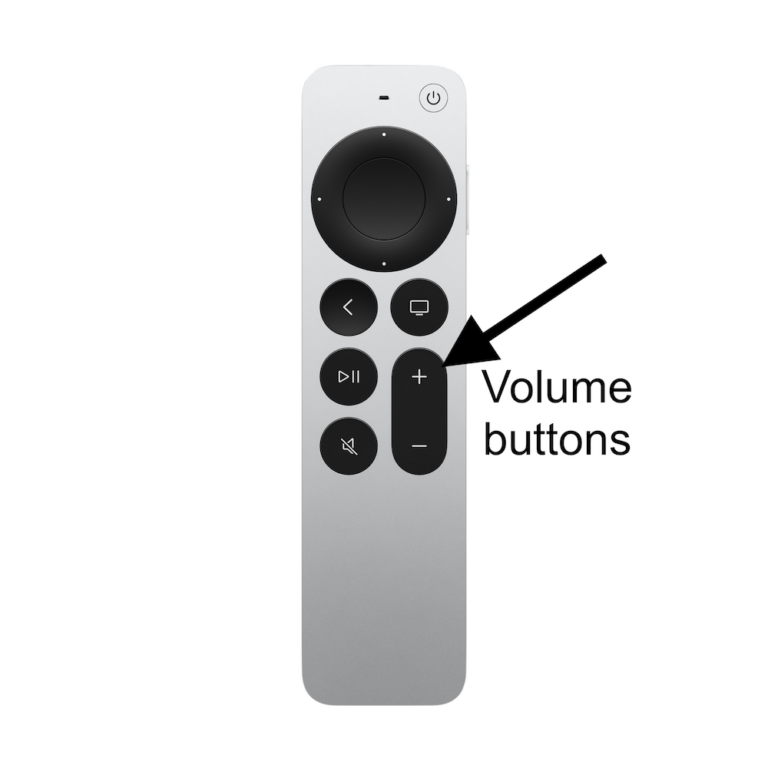
- iPhone X, 11 or later, and iPad without a Home button models: Press and hold the volume up (or down) and the side buttons together until the power off slider appears. Then drag the slider. Wait a few seconds for your device to turn off. And press and hold the side button until the Apple logo appears.
- Other iPhone and iPad models: Press and hold the power button (side or top) until the power off screen appears. Drag the slide and wait a few seconds so that your device turns off fully. Then press and hold the power button until you see the Apple logo.
Change the battery
Change the AirTag battery and try again. Your iPhone will let you know when your battery is low. If the battery is low, you may have this connection problem. AirTags use a basic CR2032 battery. Here is how you can change the battery:
- Ensure that the silver side is facing you, if not turn over.
- Press down on the stainless steel and rotate counterclockwise while pressing down.
- Remove the silver top when it is loose.
- Remove the battery and replace it with a new battery.
- Put back the stainless steel bottom.
- Press down and rotate the cover clockwise until it stops.
Reset
If you are still having this problem, you may want to reset all of your location settings to the factory default. This is a simple process. But after the reset, all of your apps will stop using Location Services but you can grant access again. Here is how:
- Tap Settings.
- Tap General.
- Tap Reset.
- And tap Reset Location & Privacy. And then follow the onscreen instructions.
Debug
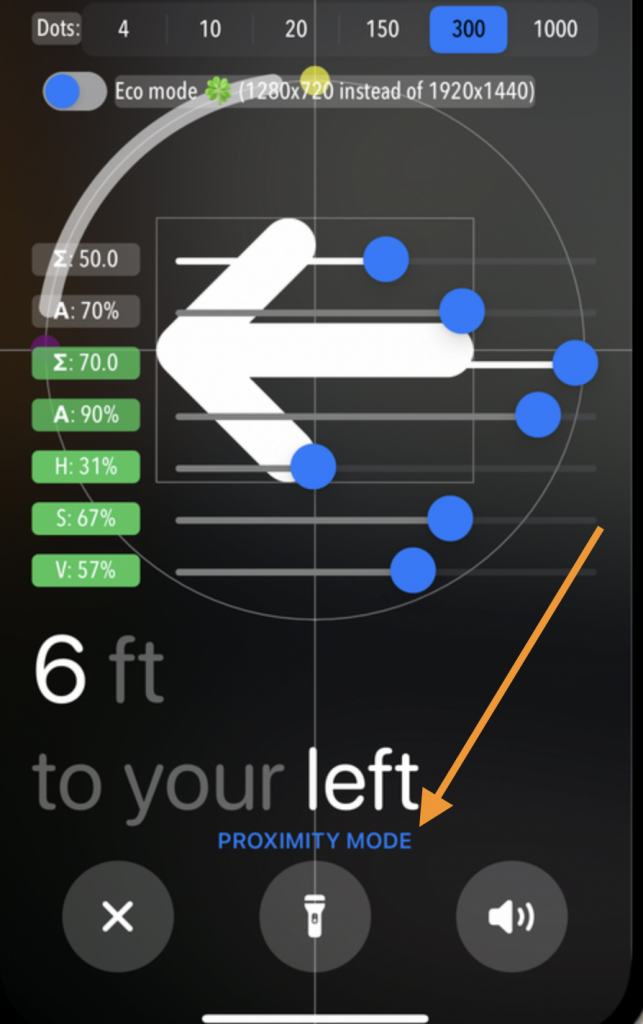
The AirTag settings include a hidden debug mode, the AirTags Precision Finding interface. Did you enable this mode and change some settings, knowingly or unknowingly? If you never used this debug mode, then this step does not apply to you. Here is how you can check this:
- Activate Precision Finding.
- Tapp on the item’s name five times, and this will turn on the developer debug mode.
- Find the textual button at the bottom that you can tap to switch between “Proximity Mode” and “Interactive Mode”.
- Ensure that “Proximity Mode” is selected.
- And now exit the debug mode by tapping the name again five times.
See also:


