What to Do If You See ‘Your disk does not have enough free space’ to Update Mac
At some point in the life of their Mac, many users will come upon the “Your disk does not have enough free space” message when they try to do a software update. Even though the update itself may not be that large, updates can still require a significant amount of space while they are installing. If you see this message, you won’t be able to complete the software installation until you free up some space on your Mac.
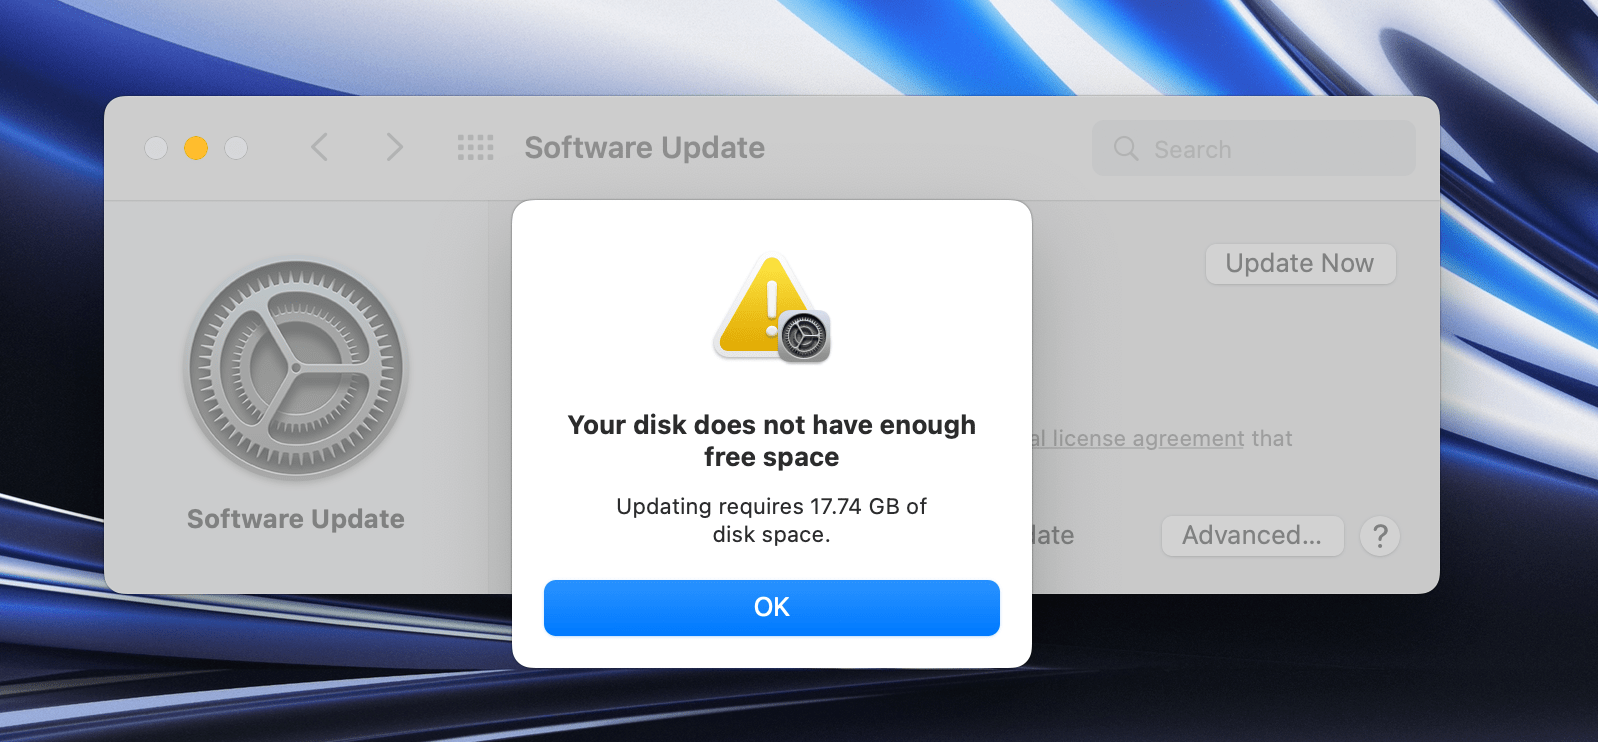
The message lets you know how much space you’re going to need.
How to free up disk space on your Mac
Before you free up space by deleting files, you may want to back up your Mac using Time Machine or using other backup software.
Viewing and managing your storage space
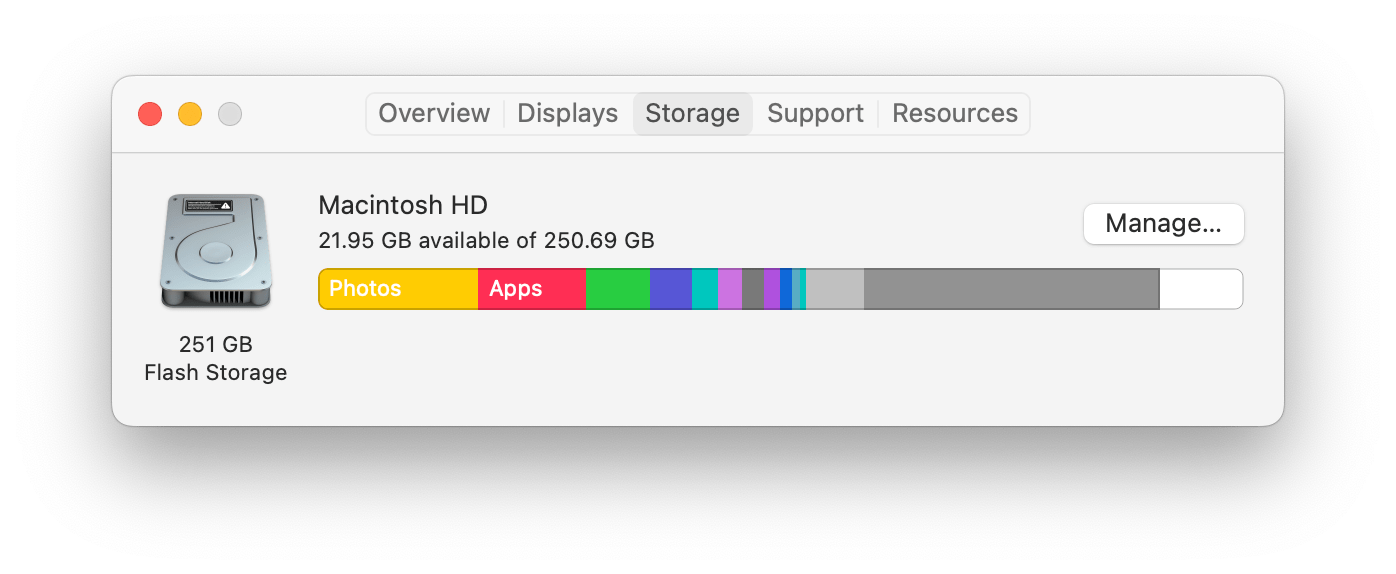
To see how the storage space on your Mac is being used:
- Go to the Apple menu and click on About This Mac.
- Click on the Storage tab. It may take a minute for the information to fill in.
- Click on the Manage button.
- From here, you can see how your storage is being used and some recommendations for freeing up space.
Ways you can free up some space
Take a look at what is using a significant amount of space on your machine; this will help guide you in deciding where to look to free up some space.
The Recommendations
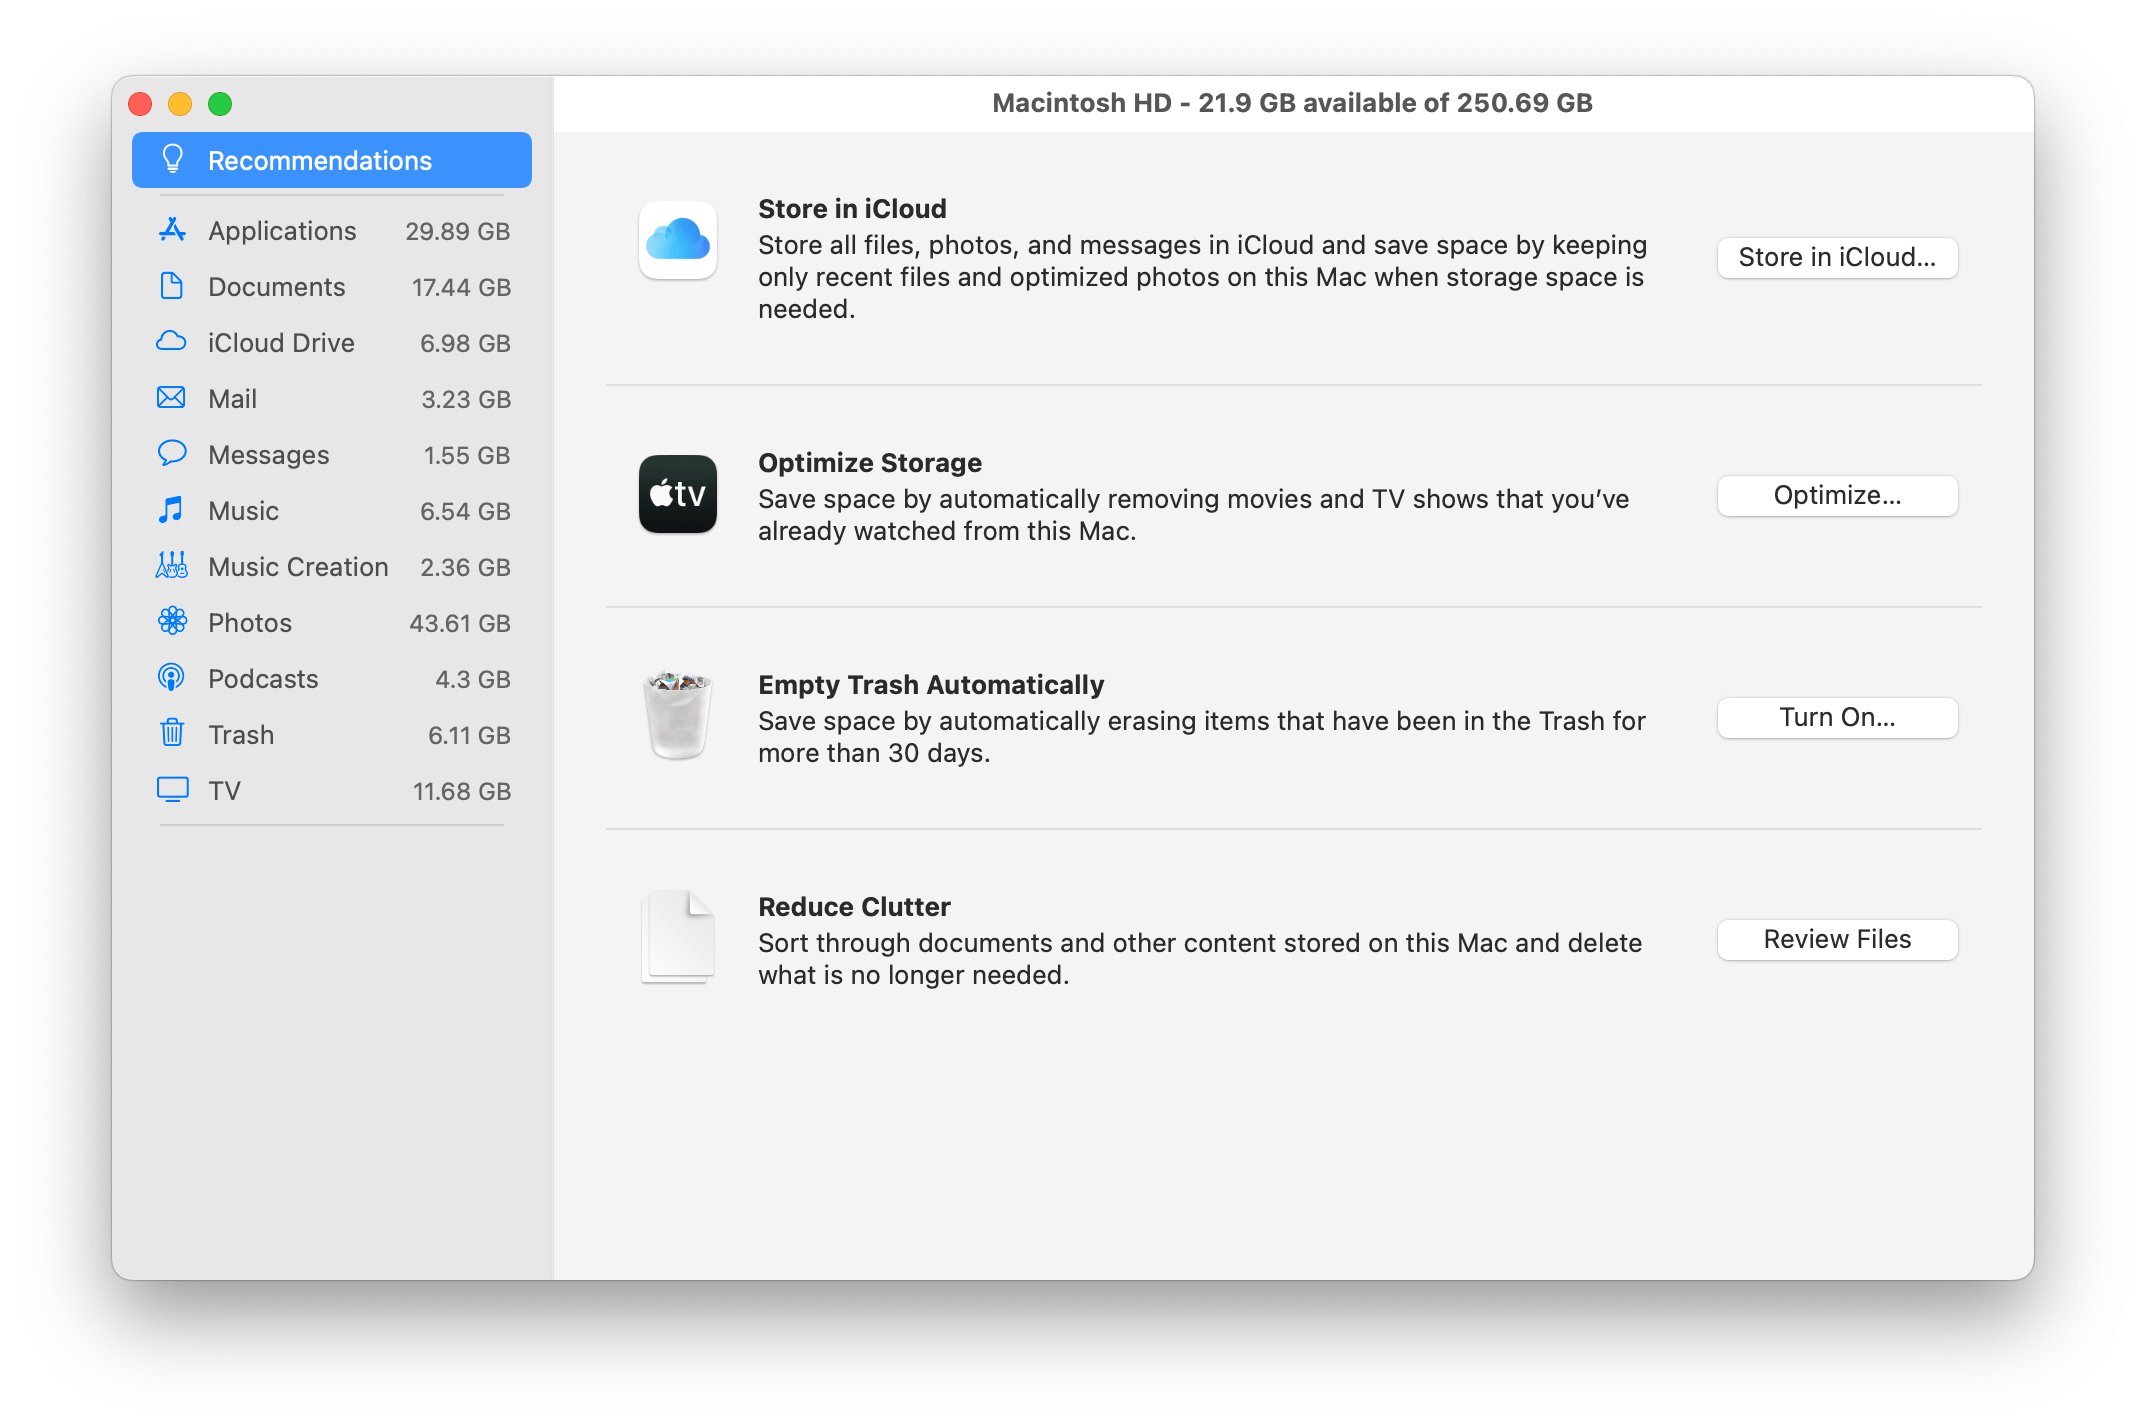
When you first get to the manage storage window, you should see some recommendations in the main part of the window. You can choose one or more of these recommendations if you like.
- Store in iCloud: If you click on the Store in iCloud button, when you need space, most of your files will be stored in iCloud except the ones you have been using recently. The high-quality version of your photos will stay in iCloud, and only lower-quality versions will stay on your Mac. You can purchase more iCloud storage if you need.
- Optimize Storage: If you click the Optimize button, any movies or shows that you have already watched will be removed from your Mac. (You would need to download them again later.)
- Empty Trash Automatically: If you click on the Turn On button, files in your Trash will automatically be erased after 30 days.
- Reduce Clutter: If you click on Review Files, you will have the opportunity to manually go through documents and other files to erase what you no longer need. It opens the same window as does clicking on Documents in the sidebar.
Photos
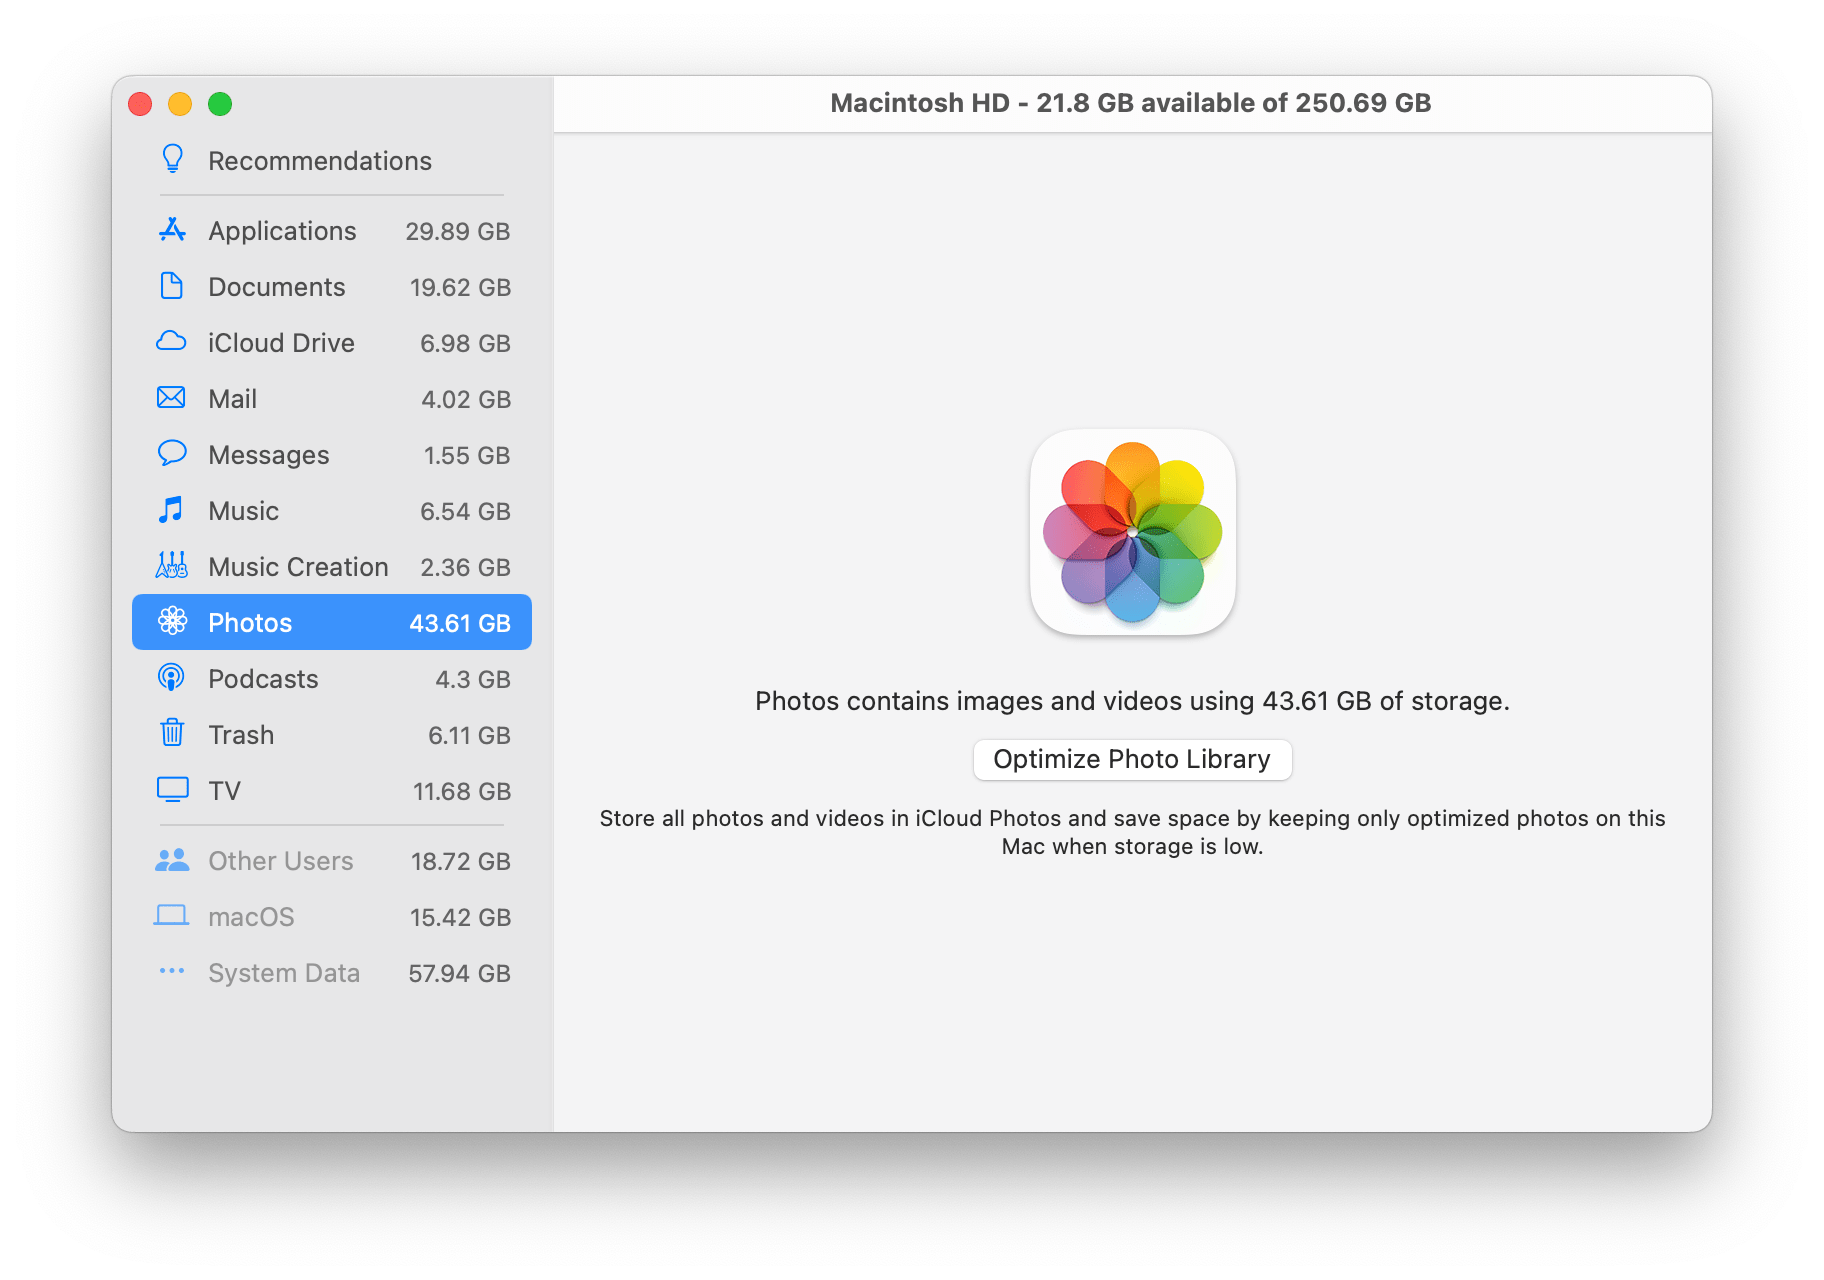
For many, your photos will be taking up a lot of space on your Mac. You can click on Photos in the sidebar, then click on Optimize Photo Library to keep only optimized (smaller, lower resolution) photos on your Mac. The higher quality versions will remain in iCloud.
Applications
Applications often take up a lot of storage on your Mac. Click on Applications in the sidebar and look through the list. By default, the list is ordered from largest to smallest. If you see applications you know you don’t need anymore, select them, then click on Delete. You’ll be asked to confirm and if you are sure you don’t want or need that application anymore, click on Delete. You may then need to enter your user password to make the changes.
TV
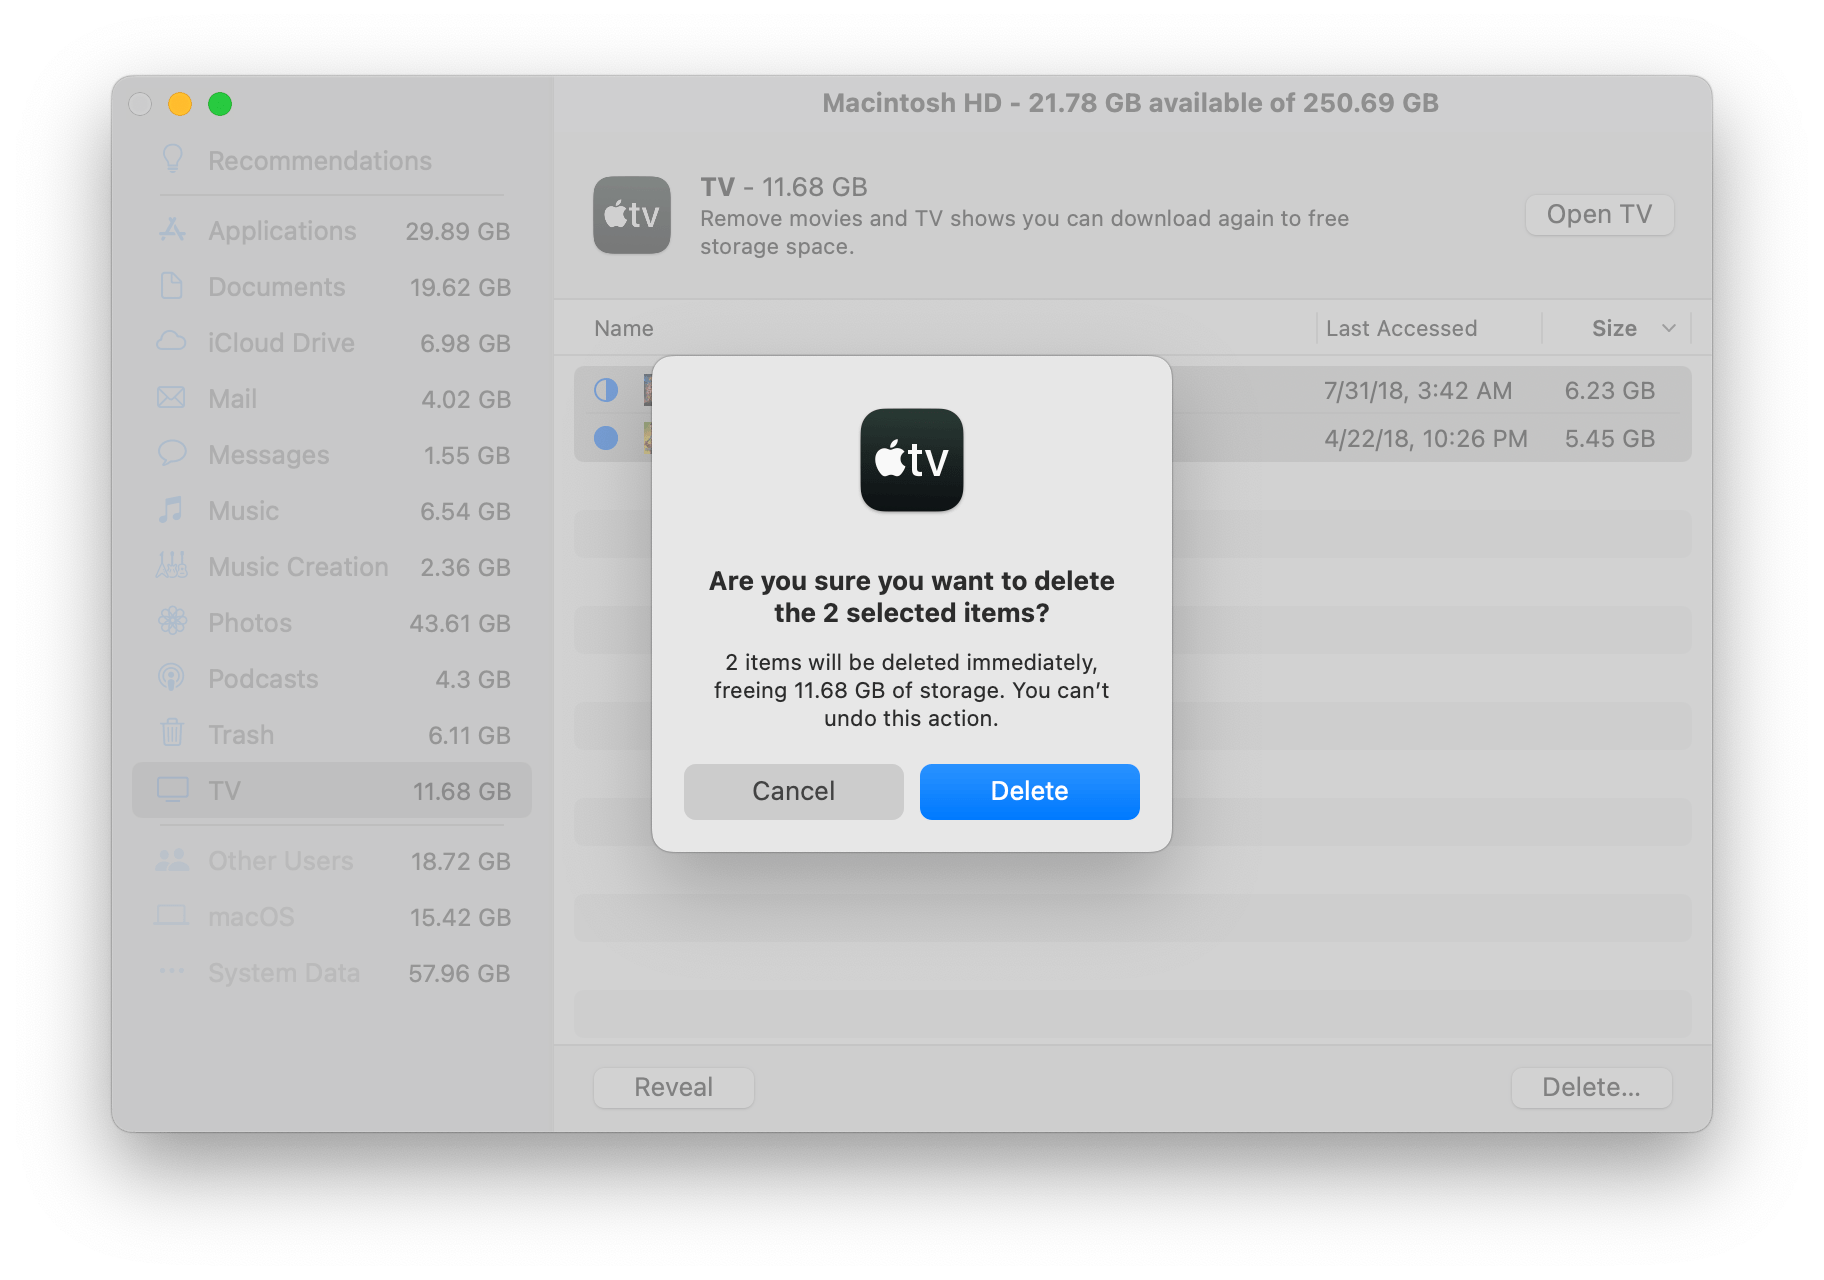
If the number of GBs next to TV is significant on your Mac, you can get rid of some of your shows and movies. Chances are you have already watched them and don’t really need them sitting on your Mac anyway. Click on TV in the sidebar. Select the shows you want to get rid of and then click on Delete. You’ll see a popup warning, but you can download movies and TV shows again if you have purchased them. If you want to remove your selected shows, click on Delete again.
Music Creation
If you don’t really use GarageBand, click on Music Creation. You can click on Remove GarageBand Sound Library to free up a couple of GB. The sound library can be reinstalled later.
Other items from the sidebar
In the sidebar, you will also see Documents, iCloud Drive, Mail, Messages, Music, Podcasts and Trash. You can click on any one of these and delete files.
- With Documents, you may not even recognize some of the files you see, so this option make take some time for you to sort out what is there.
- Although iCloud Drive may be taking up space on your Mac, you also might be using it.
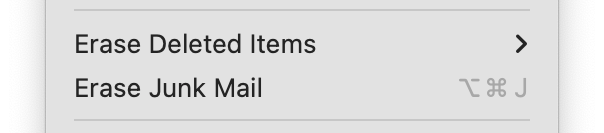
- Clicking on Mail may not bring up anything useful. You can free up space in Mail by deleting junk mail and erasing deleted items:
- Open the Mail app and from the top menu bar, go to Mailbox. Choose Erase Junk Mail and then go back and choose Erase Deleted Items.
- With Messages and Music, you may have many things you could delete. Again, if you want to free up space here, it may take some time for you to sort through files. For example, you may have many photos and videos in Messages that have been sent to you by friends and family.
- If Podcasts are taking up a significant amount of space for you, go ahead and click on Podcasts in the sidebar. Then you can select and delete podcasts that you don’t need saved on your Mac.
Other tips
External storage
If you are not sure about deleting some of your files, you can always move some to an external storage device. That way, you won’t have to sort through your files or worry that you have deleted something you will need again later.
Compress files
You can compress some files so that they take up less space. See How To Zip and Unzip Files In macOS for more.
Related articles