How to Clean Your iPhone’s Microphone
Your iPhone’s microphone is an essential part of your device. If you are having sound-related problems, your microphone may be to blame. For example, if others can’t hear you during phone or FaceTime calls or Siri can’t understand what you are saying, this may mean that your microphone is not picking up your voice properly. Sometimes your videos may have poor audio; again, it is possible the microphone may not be able to absorb sound efficiently.
A common issue that may cause microphone issues is dirt. Dirt, dust and debris can build up in the openings of your microphone port holes. Your phone will not be able to receive your voice and the sound around well if the microphone hole is blocked by dirt and other similar objects. This can cause an obstruction. If you clean your microphone, you can fix this issue.
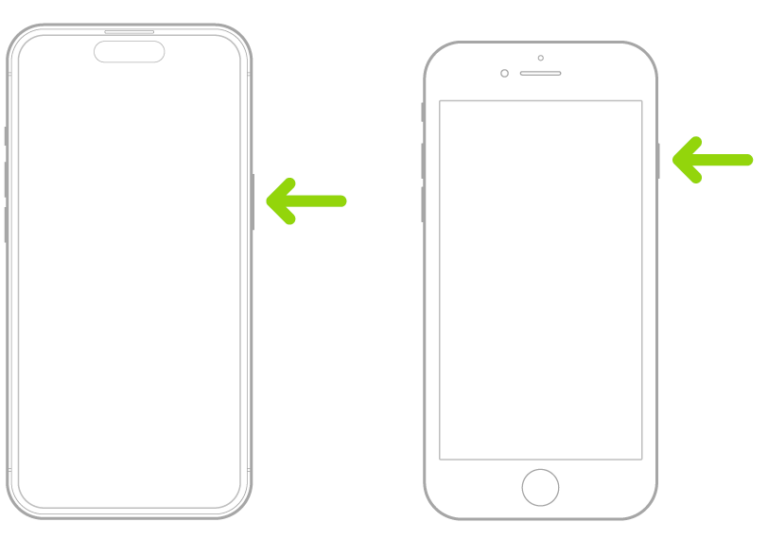
1. Remove your case, unplug from power source and turn off
If your iPhone has a case, remove it. This makes performing the next steps easier. After the cleaning is completed, you can put it back on. Furthermore, if your phone is connected to a power source, disconnect it. And lastly, turn your iPhone off.
2. Locate your iPhone’s microphones
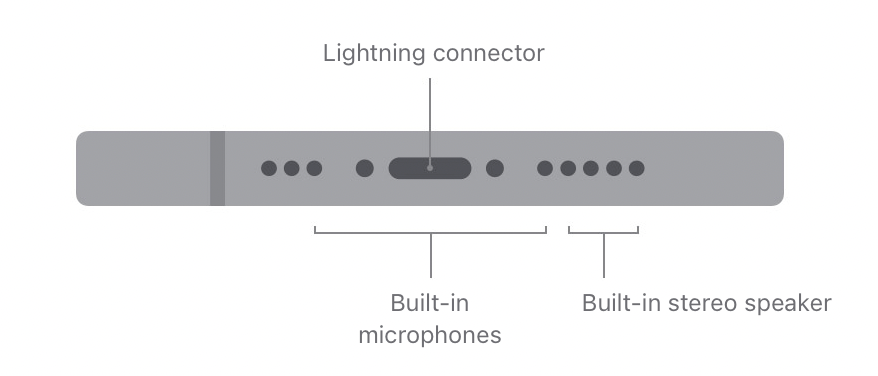
Yes, it is totally normal if you do not know where your iPhone’s microphones are located on the device. Your iPhone has multiple built-in microphones. It may be a little tricky to locate them. iPhone 5 and later models have three different microphones built into the device. Microphones are small round openings. Here is where they are located:
- The first one is located on the bottom of your phone. This one is used for calls.
- The second one is located on the front side at the top of your iPhone, embedded into the earpiece, right next to the selfie camera. This one may be used for, along with others, capturing audio when recording videos. This microphone is also used to pick up voice commands.
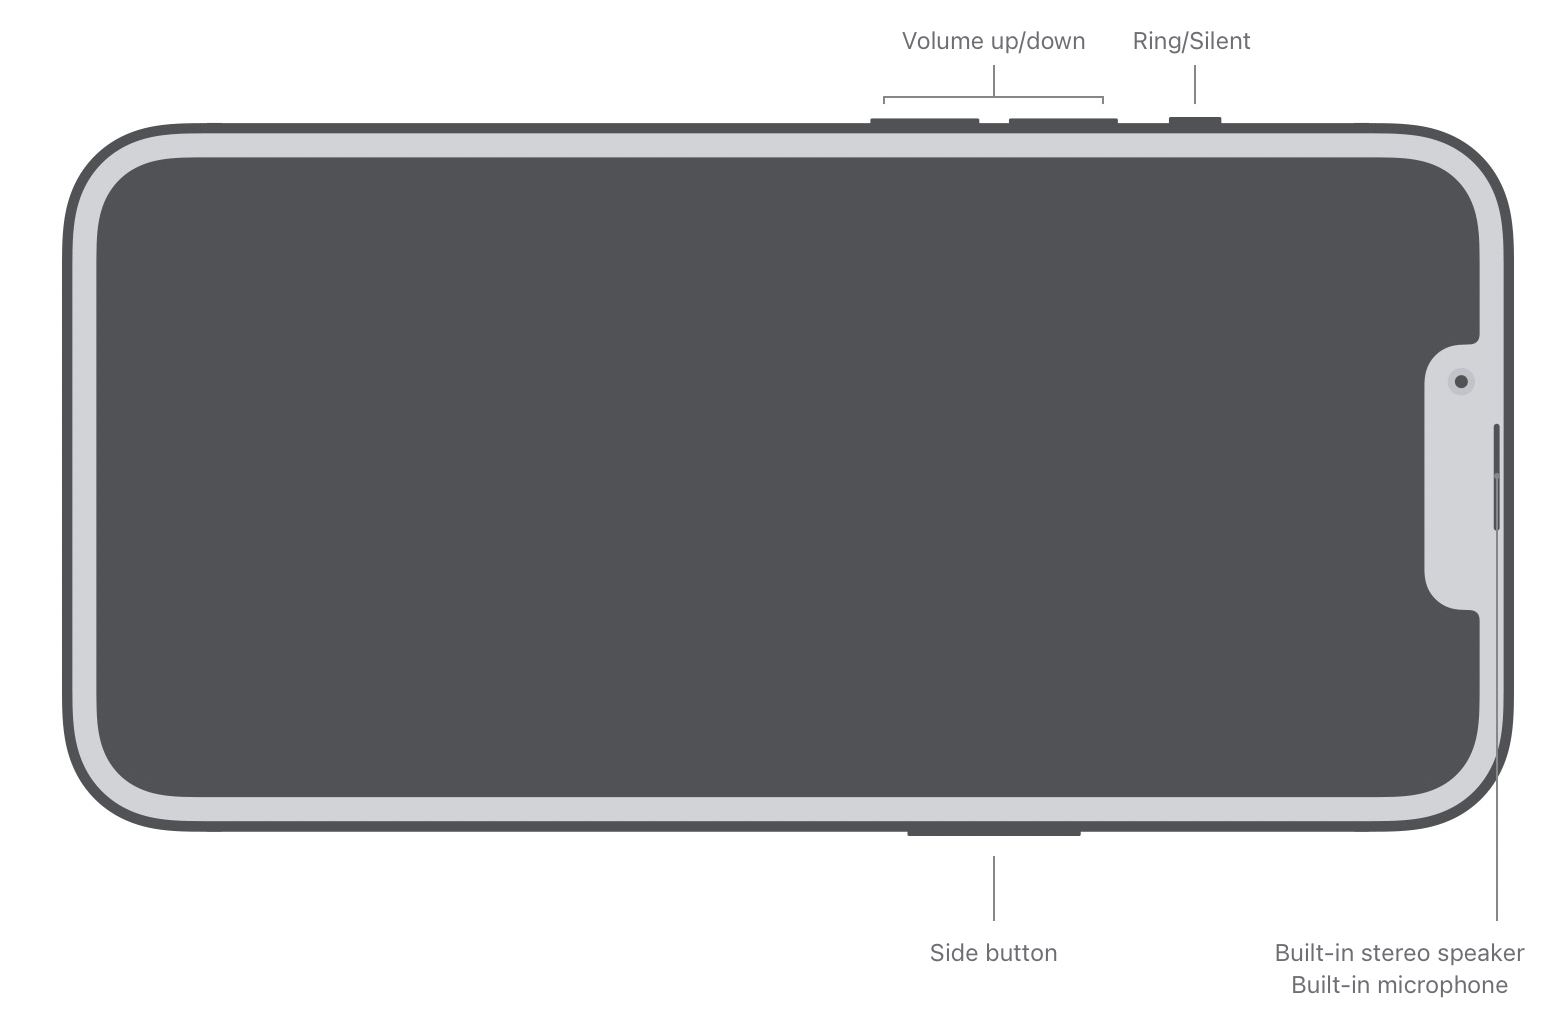
- And the third one is located on the back side of the device, built into the rear camera. Again this one is used for capturing audio when recording videos.
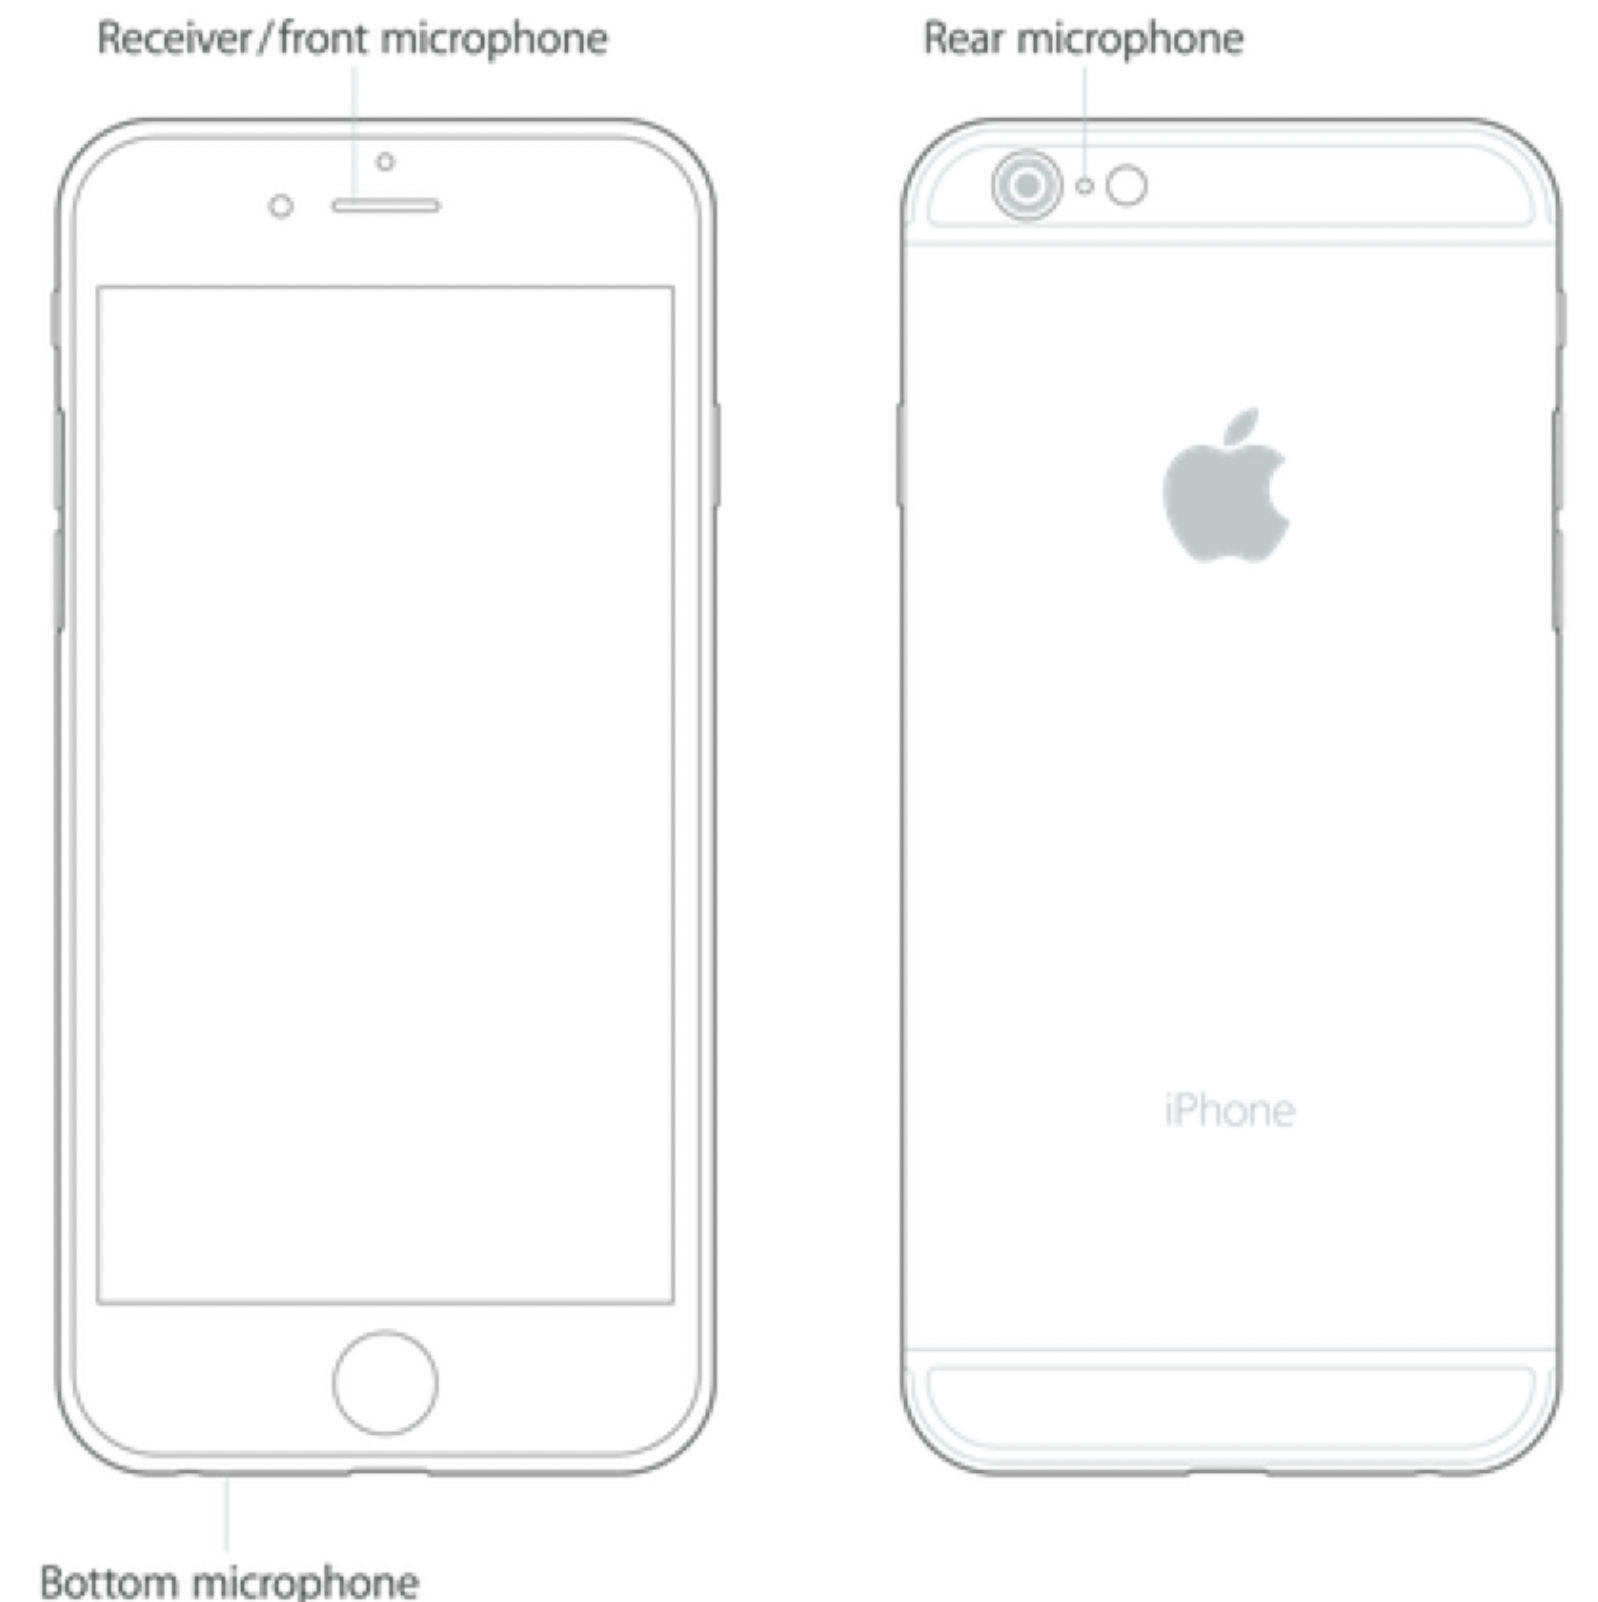
You should clean all of these microphones for the best results.
3. What to use and not use for cleaning
The key word here is gentle. We must be gentle because we do not want to cause damage.
- Do not use any metal objects to clean them, like a paperclip.
- Do not use water or any other sort of liquid.
- Do not dip your device into a cleaning solution.
- Do not use canned compressed air. Many may suggest this, but this is a bad idea it may push stuff inside further that you may never be able to get them out. However, you can use an air blower.
- Use a dry, clean, soft bristle brush; this can be a soft (clean) toothbrush.
- You may use a toothpick to very gently pluck out debris.
- Do not use any sharp tools.
- You may use a vacuum, again, with caution.
4. How to clean the microphones
- Before proceeding with the microphone cleaning, I recommend cleaning your iPhone first. Get a soft, slightly damp cloth and gently wipe all of the exterior surfaces, front, back, sides, top and bottom.
- If you use the toothpick, do not insert it too far. Proceed with extreme caution.
- Only make small, gentle movements when cleaning the holes using a brush.
- You may pull debris and dirt using a vacuum with a crevice tool attached. Ensure that the vacuum suction is not too strong. You may use painter’s tape to seal the ends of the vacuum.
- Use the air blower after using the brush to sweep away anything that comes out.
Related articles


