How to Move a File or Folder on Mac
Moving files or folders on your Mac can be a great way to organize your Mac. You can also move them to fix certain problems, such as the installation failed error. There are a variety of methods available to move Mac files and folders (and other items) from one source or level to another on your hard drive, iCloud or connected device. When you move a file or folder, you are transferring it from its current location to the desired location. Depending on the method you use, the process may or may not involve creating a copy of the moved item.
Method 1: Drag and drop
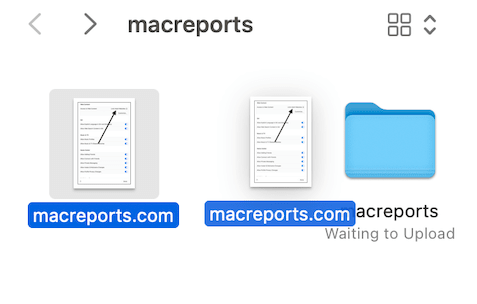
For many, including me, this is the easiest and most practical way to move files and folders on a Mac. The idea is simple. Find something on your screen and drag the object to another part of the screen, like how you would move a physical object in real life. This is a common method available in most computer systems.
- Locate the file or folder you want to move.
- Using your mouse or trackpad, drag the item to the new location. This new location can be a folder or a different disk. Simply drag it until it is on top of the folder or disk, and then drop it.
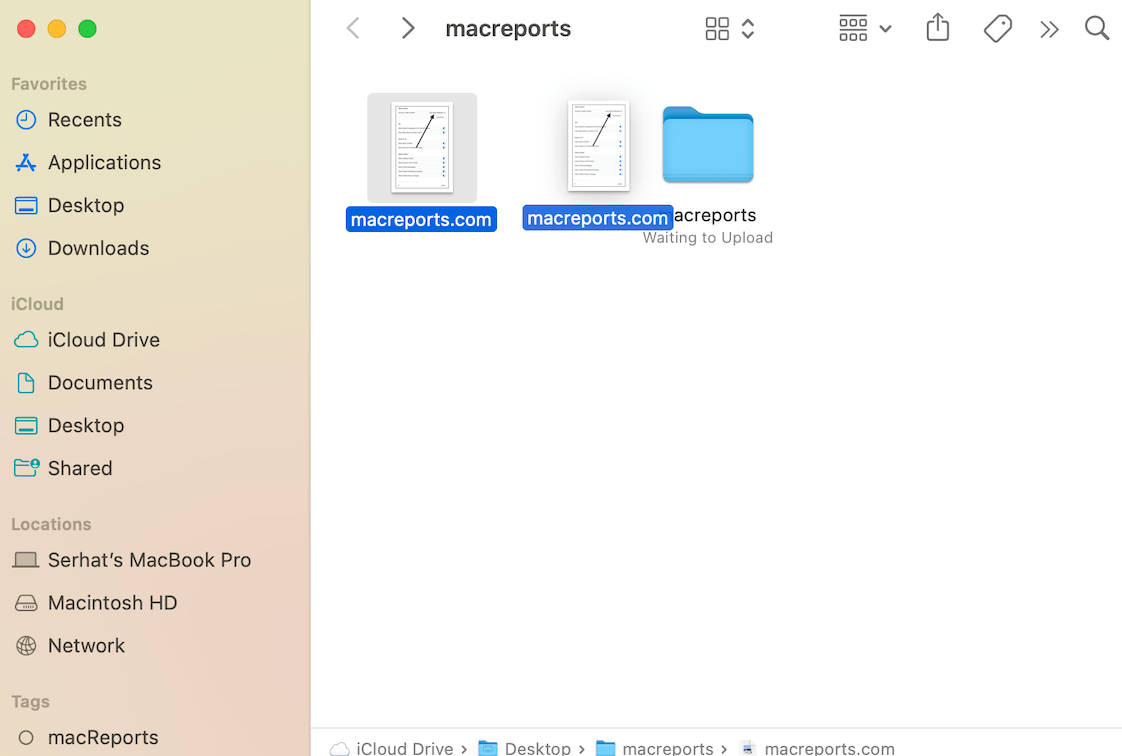
- This will transfer the file or folder to the new location. There won’t be a copy left in the original location. If you want to keep a copy, you have two options:
- Select the item to move, press and hold the Option key, drag the item to the new location, then release the Option key. A plus sign will appear indicating you copied the document.
- You can also press the Option and Command keys together when dragging. This method will create an alias (shortcut) to the original file in the new location. An arrow will appear, indicating you are creating an alias.
- You can drag and drop multiple items at once. First, select multiple items. You can do so by pressing and holding the Command key and clicking items. Then you can drag and drop all of them.
Method 2: Copy and paste
You may not be able to perform drag and drop due to limited fine motor skills. Or you may prefer not to use it. If you don’t want to move files on your Mac via drag and drop, you can try copy and paste. Simply select a file or folder and copy it and then open the new location and paste it. This will create a copy of the original. The original item will still stay in its original location.
To copy: There are several ways to copy:
- You can right-click the item and select Copy.
- You can use the Command–C shortcut after selecting the item.
- After selecting the item, you can select Edit > Copy from the menu bar.

To paste: There are several ways to paste:
- Right-click the destination and click Paste.
- You can use the Command–V shortcut.
- You can use the Edit > Paste option in the menu bar.

Method 3: Use the Move option within the file
This option can be used to move files but not folders on Mac.
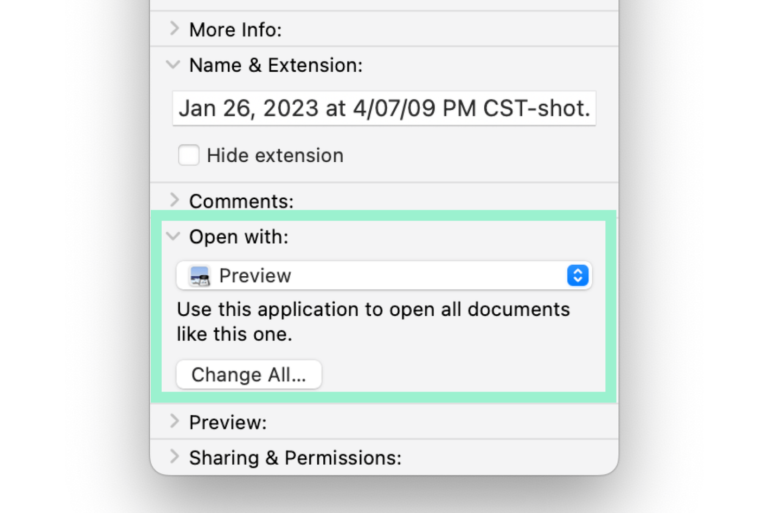
Open the file you want to move. If your default app is Preview, it will be opened in Preview, which has the Move To option. Most other apps also have this option. Then do one of these:
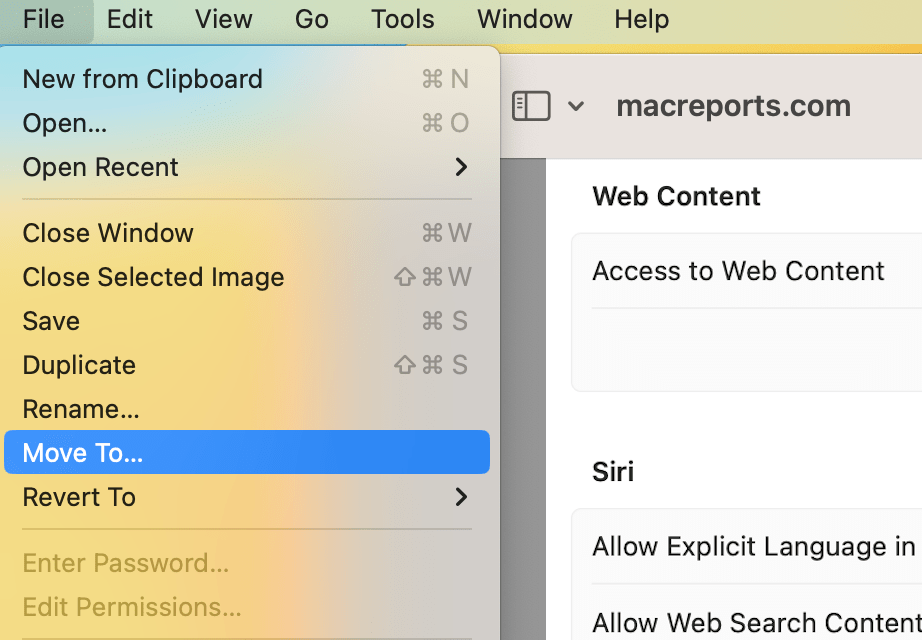
- From the menu bar at the top, select File > Move To and select a new place. Then click Move.
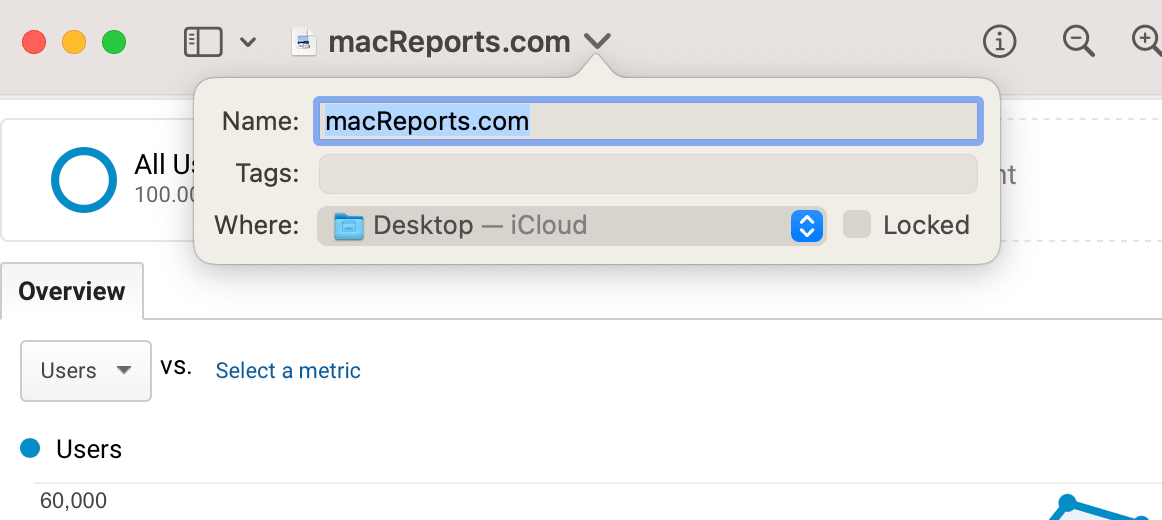
- Click the title of the file twice to open the title options. You will see a field named Where. Open the drop-down menu next to it. Then select where you want to move the file. If you click Other, a Finder window will open, and you can choose a place.
Related articles
- Plist File, What is It? What Does It Do?
- How to Access Your iCloud Files and Photos on Another Computer
- How to Access and Share iCloud Drive Files on iPhone or iPad
- Unable to Open Office Files on Mac, How to Fix
- How To Show Hidden Files On Your Mac
- “…” Will Damage Your Computer You Should Move It To The Trash, Fix
- What Is a DMG File on Mac?


