How to Add Text to Video in iMovie on Mac
With iMovie, you can easily add custom text to your videos on your Mac. There can be various reasons why you may want to add texts. For example, text overlay on your videos can be used as:
- Titles
- Intertitles
- Credits
- Captions
Are you experiencing issues with iMovie? We explain how you can fix iMovie problems in the “iMovie not working” article. iMovie is free and you can download and install it from the Mac App Store.
See also: How to record your screen.
Add Text to an iMovie video
Create a project
Before we add texts, we will create an iMovie project and add photos and videos to your iMovie project. If you know these steps, you can skip.
Create a new iMovie project:
- Open iMovie.
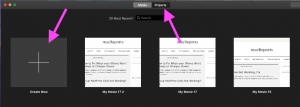
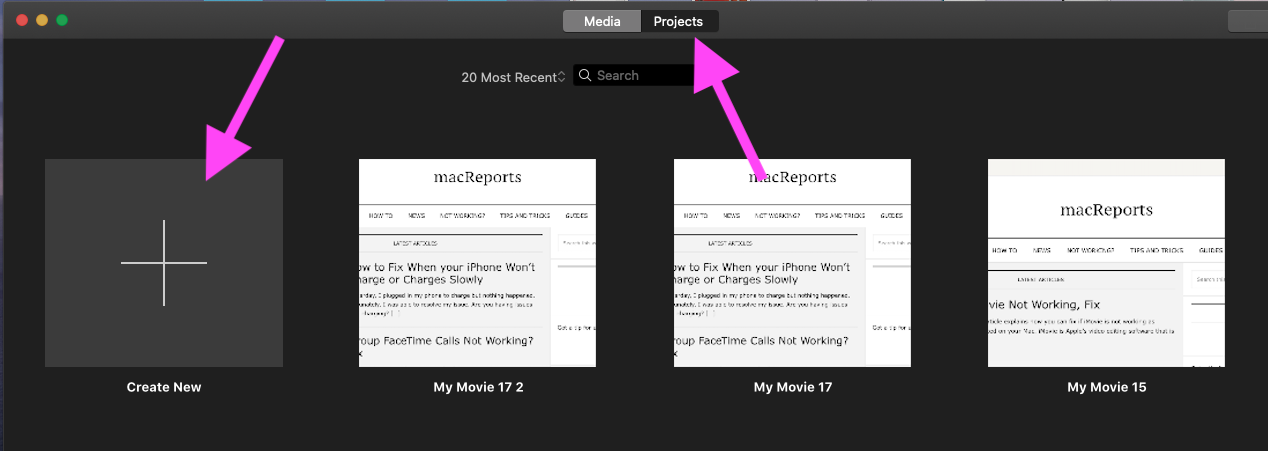
- Click the Projects tab to open the Projects browser.
- Click Create New and Movie. (You can also open an existing project).
- Your new projects will open.
- Now you can add clips, videos or photos. You can also record and add audio.
See also: Screen recording failed?
Add photos or videos:
There are multiple ways to do this:
- You can use the Libraries list in iMovie:
- You will see the Libraries section in the left-hand sidebar.
- Click Photos. And find a video or photo you would like to add.
- Then you can drag it into the timeline of your project.
- Or you can drag your videos or photos into iMovie from the Photos app on your Mac.
- You can drag any video or photo into the timeline of your iMovie project.
- You can also drag content from your desktop into the timeline.
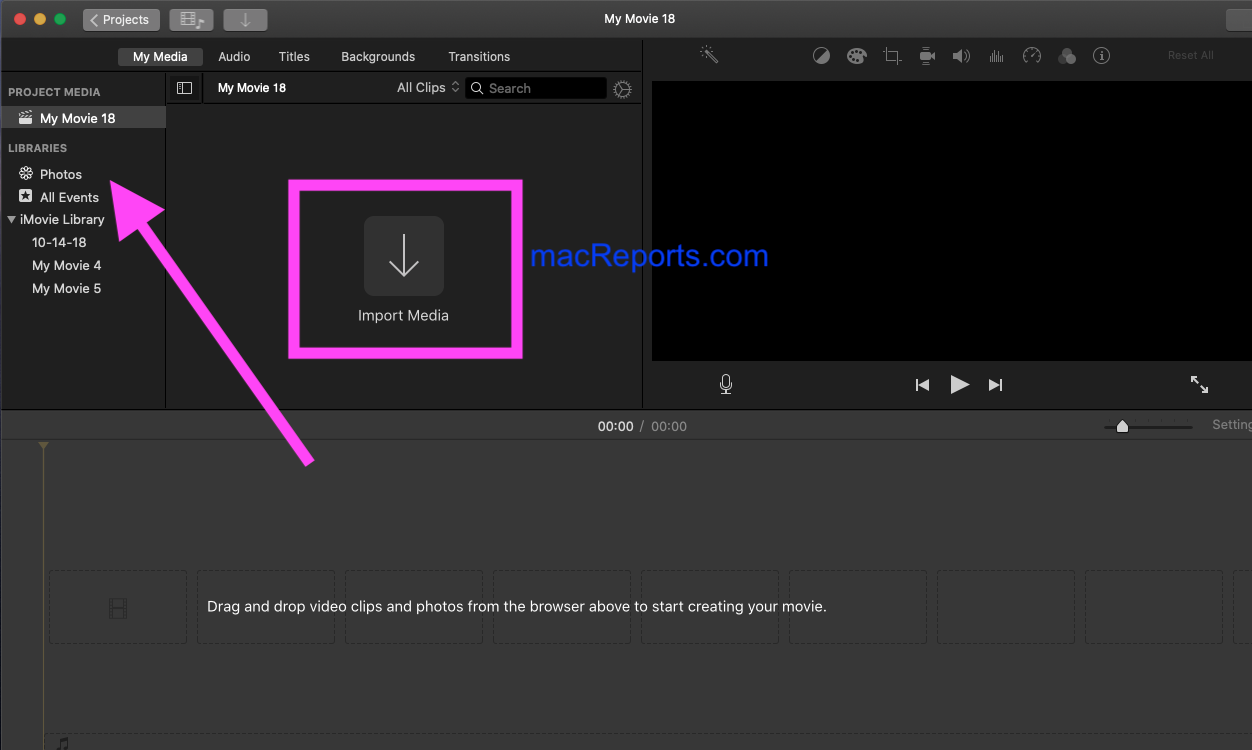
- You can click the Import Media button and find/select the file to import then add the media.
You can remove the Zoom effect.
Add text
We will add the screenshot of our website by clicking the Import media button.

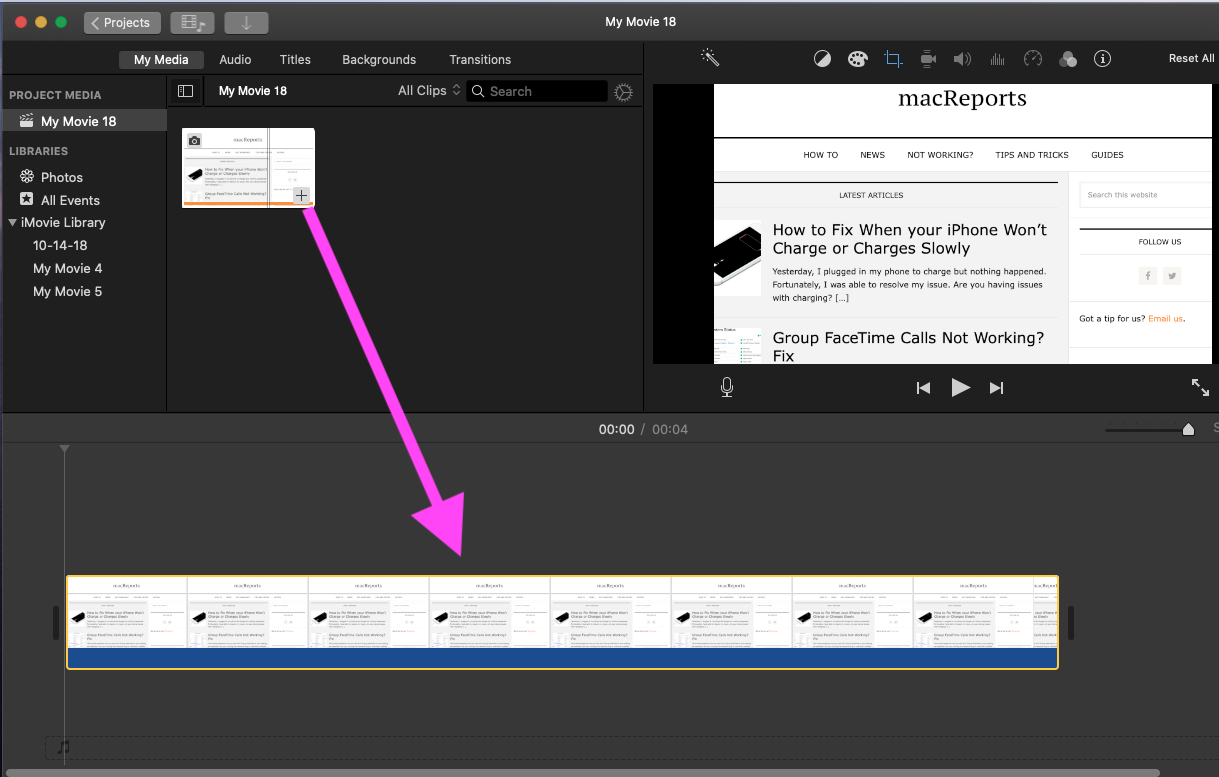
Now, we will drag the thumbnail of the movie or photo we just imported into the video timeline below.
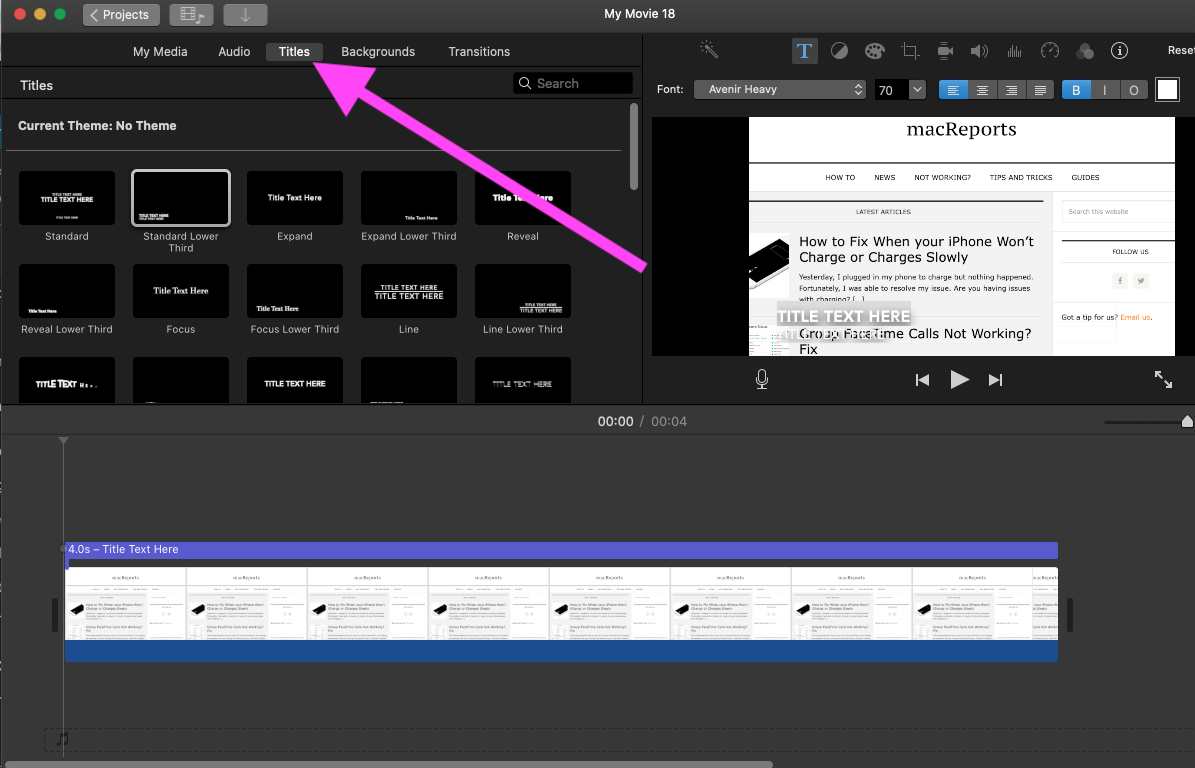
Now, we will click Titles and the menu of text options and styles to choose from will appear.
See also: Screen Sharing not working?
You can preview each text option by moving your mouse over its thumbnail. This preview will let you see what the title or text will look like when it is applied to your movie.
You will see pre-made title sequences available. There are a lot of options to choose from. For example, some of them are:
- Scrolling credits.
- Vertical drift.
- Drifting.
- Pop-up.
- Pull focus.
- Pixie dust.
- Clouds.
- Date and time.
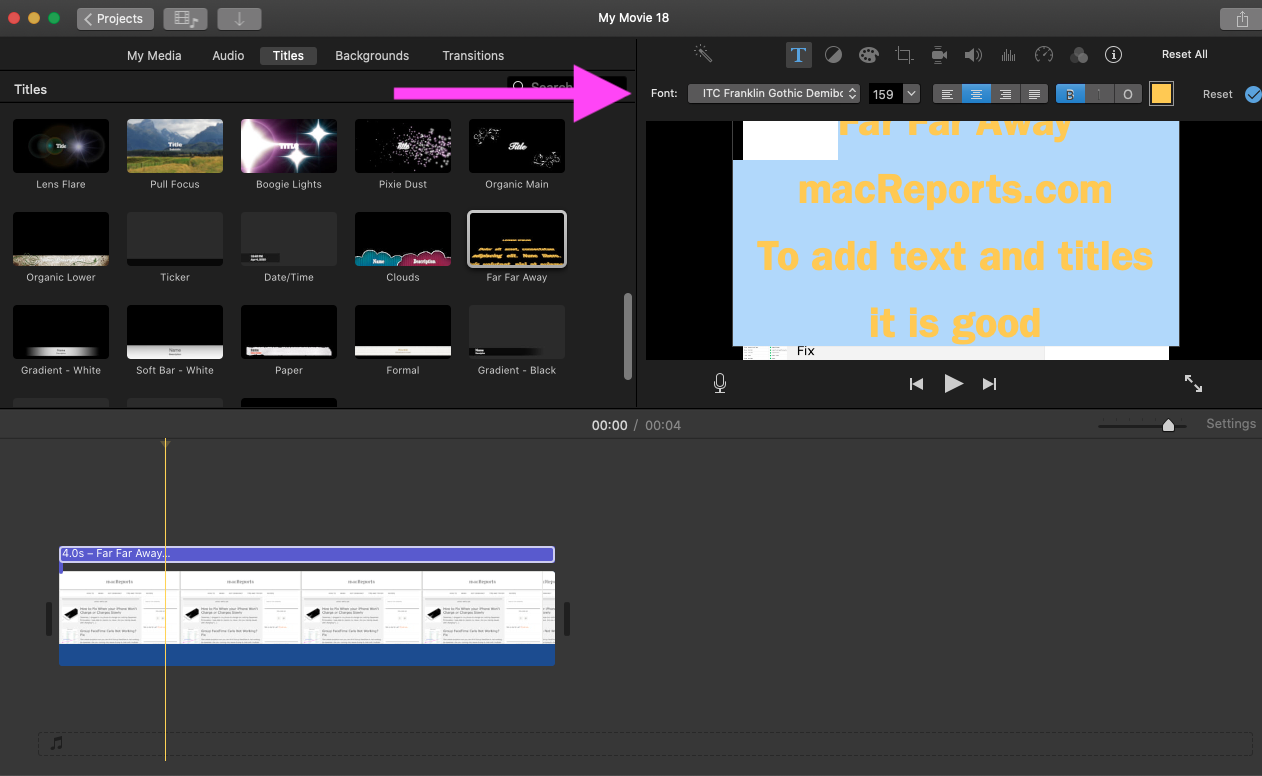
- Far far away (like the one in Star Wars).
Once you find the one you like, you can double click it to add. You can also drag it and drop it where you want it to appear.
If you want, you can customize your text (font style, size, color, and alignment) using the Text Control menu, this will appear directly above the Viewer.
You can also further customize your text:
- You can drag the right or left edges of the text bar to make it longer or shorter.
- You can move your title by dragging it to a new location.
And done. Now you can save or share the video by going to File and Share.
See also: