SIM Card Issues after iOS 17, How to Fix
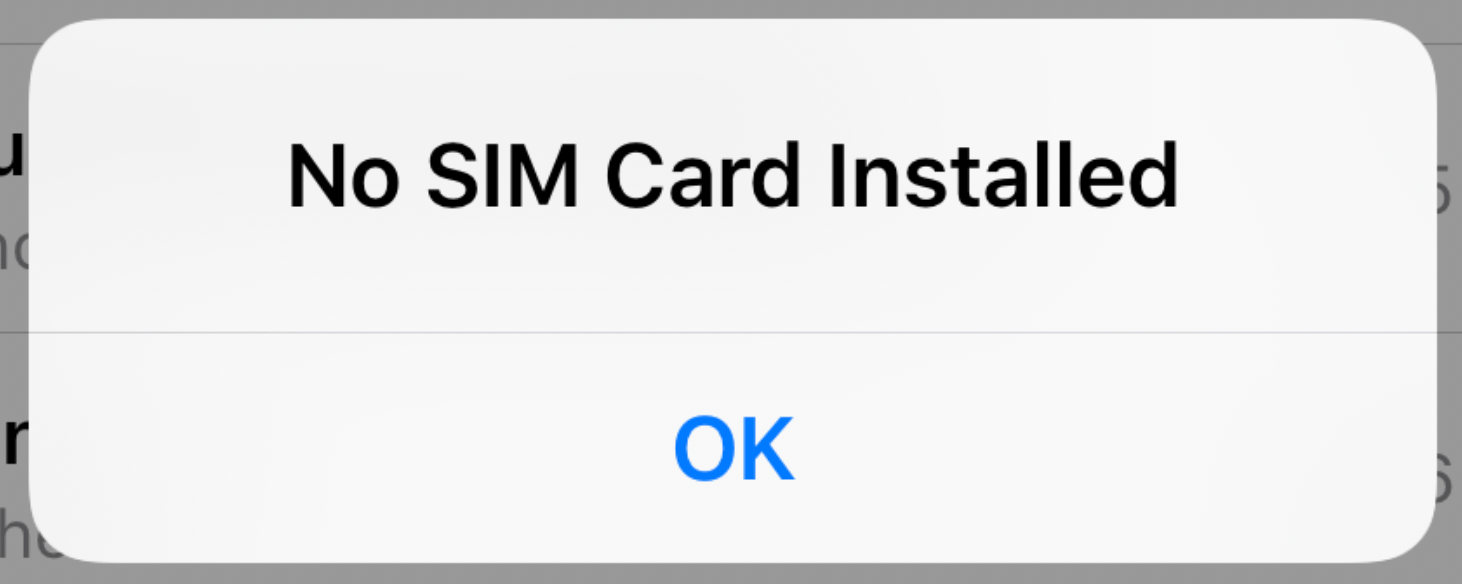
Some users have been seeing one of various SIM card related error messages, such as SIM Failure, Invalid SIM, No SIM, No SIM Installed, etc., popping up on their iPhones. You may also have seen a notification like Searching, No Signal, or SOS on the iPhone’s screen.
Are you encountering SIM card related errors on your iPhone after an upgrade, causing the absence of cellular signal bars? If your SIM card does not work due to these errors, making calls, using mobile/cellular data, and sending or receiving SMS texts will not be possible. As a side note, you may still be able to send iMessages and make regular Wi-Fi calls. The good news is that you may be able to troubleshoot and resolve the issue quickly.
Please try following the steps below, in this order, until your issue has gone.
1. Turn Airplane mode on and off
Begin by navigating to iPhone Settings or the Control Center and enabling Airplane mode. After a 15-second wait, disable Airplane mode. If your carrier name appears in the status bar or Control Center, it indicates that the SIM card is functioning properly.
2. Restart your iPhone
Restarting is always a good idea. Restart your device to see if you can fix this issue. If you are just starting to use a new SIM card, always restart first.
3. Update your iPhone
Apple may have released a new iOS 17 version to address this problem. Go to Settings > General > Software Update to check for updates. If there is an update, follow the instructions on the screen.
4. Check for a carrier settings update
Especially after major iOS releases, carriers may release updates to ensure that their service is working perfectly with iOS. These types of updates do not occur often. To check this, go to Settings > General > About. If there is an update, a popup will appear. Please ensure that your iPhone is connected to Wi-Fi, as this requires an active internet connection. If you do not have Wi-Fi, find a Wi-Fi and try this step again.
5. Check to see if your SIM card is damaged
Remove the SIM card from your iPhone, wipe it gently with a soft, dry cloth and place it back in. Please note that this step is applicable for iPhones with a physical SIM card. Not all iPhone models have SIM cards, as some iPhone 14 and 15 models only have eSIMs.
- Locate the SIM tray. It can be on the left or right side of the iPhone, depending on the model.
- Eject the tray using the SIM ejector tool that came with your iPhone or a paperclip. Simply insert it into the pinhole on the tray. Apply a little pressure, and the tray will pop out.
- Now remove the SIM card and clean it with a dry, soft cloth. Be gentle.
- Then, put the card back into the tray. Please ensure that the notched corner matches the notched corner of the tray.
- And push the tray back in.
If you see visible damage to the SIM, contact your carrier and ask for a replacement, as we explain in the next step.
6. Contact your carrier
You can contact your carrier by phone or by visiting their local store. Tell them about your problem. And ask them for a SIM card replacement. Carriers will either replace the card at no cost or for a nominal fee.
7. Reset your network settings
If your issue continues, try this step. Please note that when you choose to Reset Network Settings on your iPhone, it means you are initiating a process that will revert all network-related settings to their default configurations. This action includes Wi-Fi passwords (you will need to reenter them afterward), VPN settings, Bluetooth pairing and more. But you should also know that your content (photos, files, etc.) and other data stay intact. To do this, go to Settings > General > Transfer or Reset iPhone > Reset > Reset Network Settings.
Related articles


